I’ve always been a big fan of home automation and the smart home movement. The idea that you could have your house - the space you live in - do stuff for you, even without you telling it to - was magical to me. It was the very definition of “the future” in my eyes.
But using the smart home solutions around me wasn’t enough - there were always cases where I needed a product “just for me” - and the only way to have it was to build it on my own. This post is about one such product.
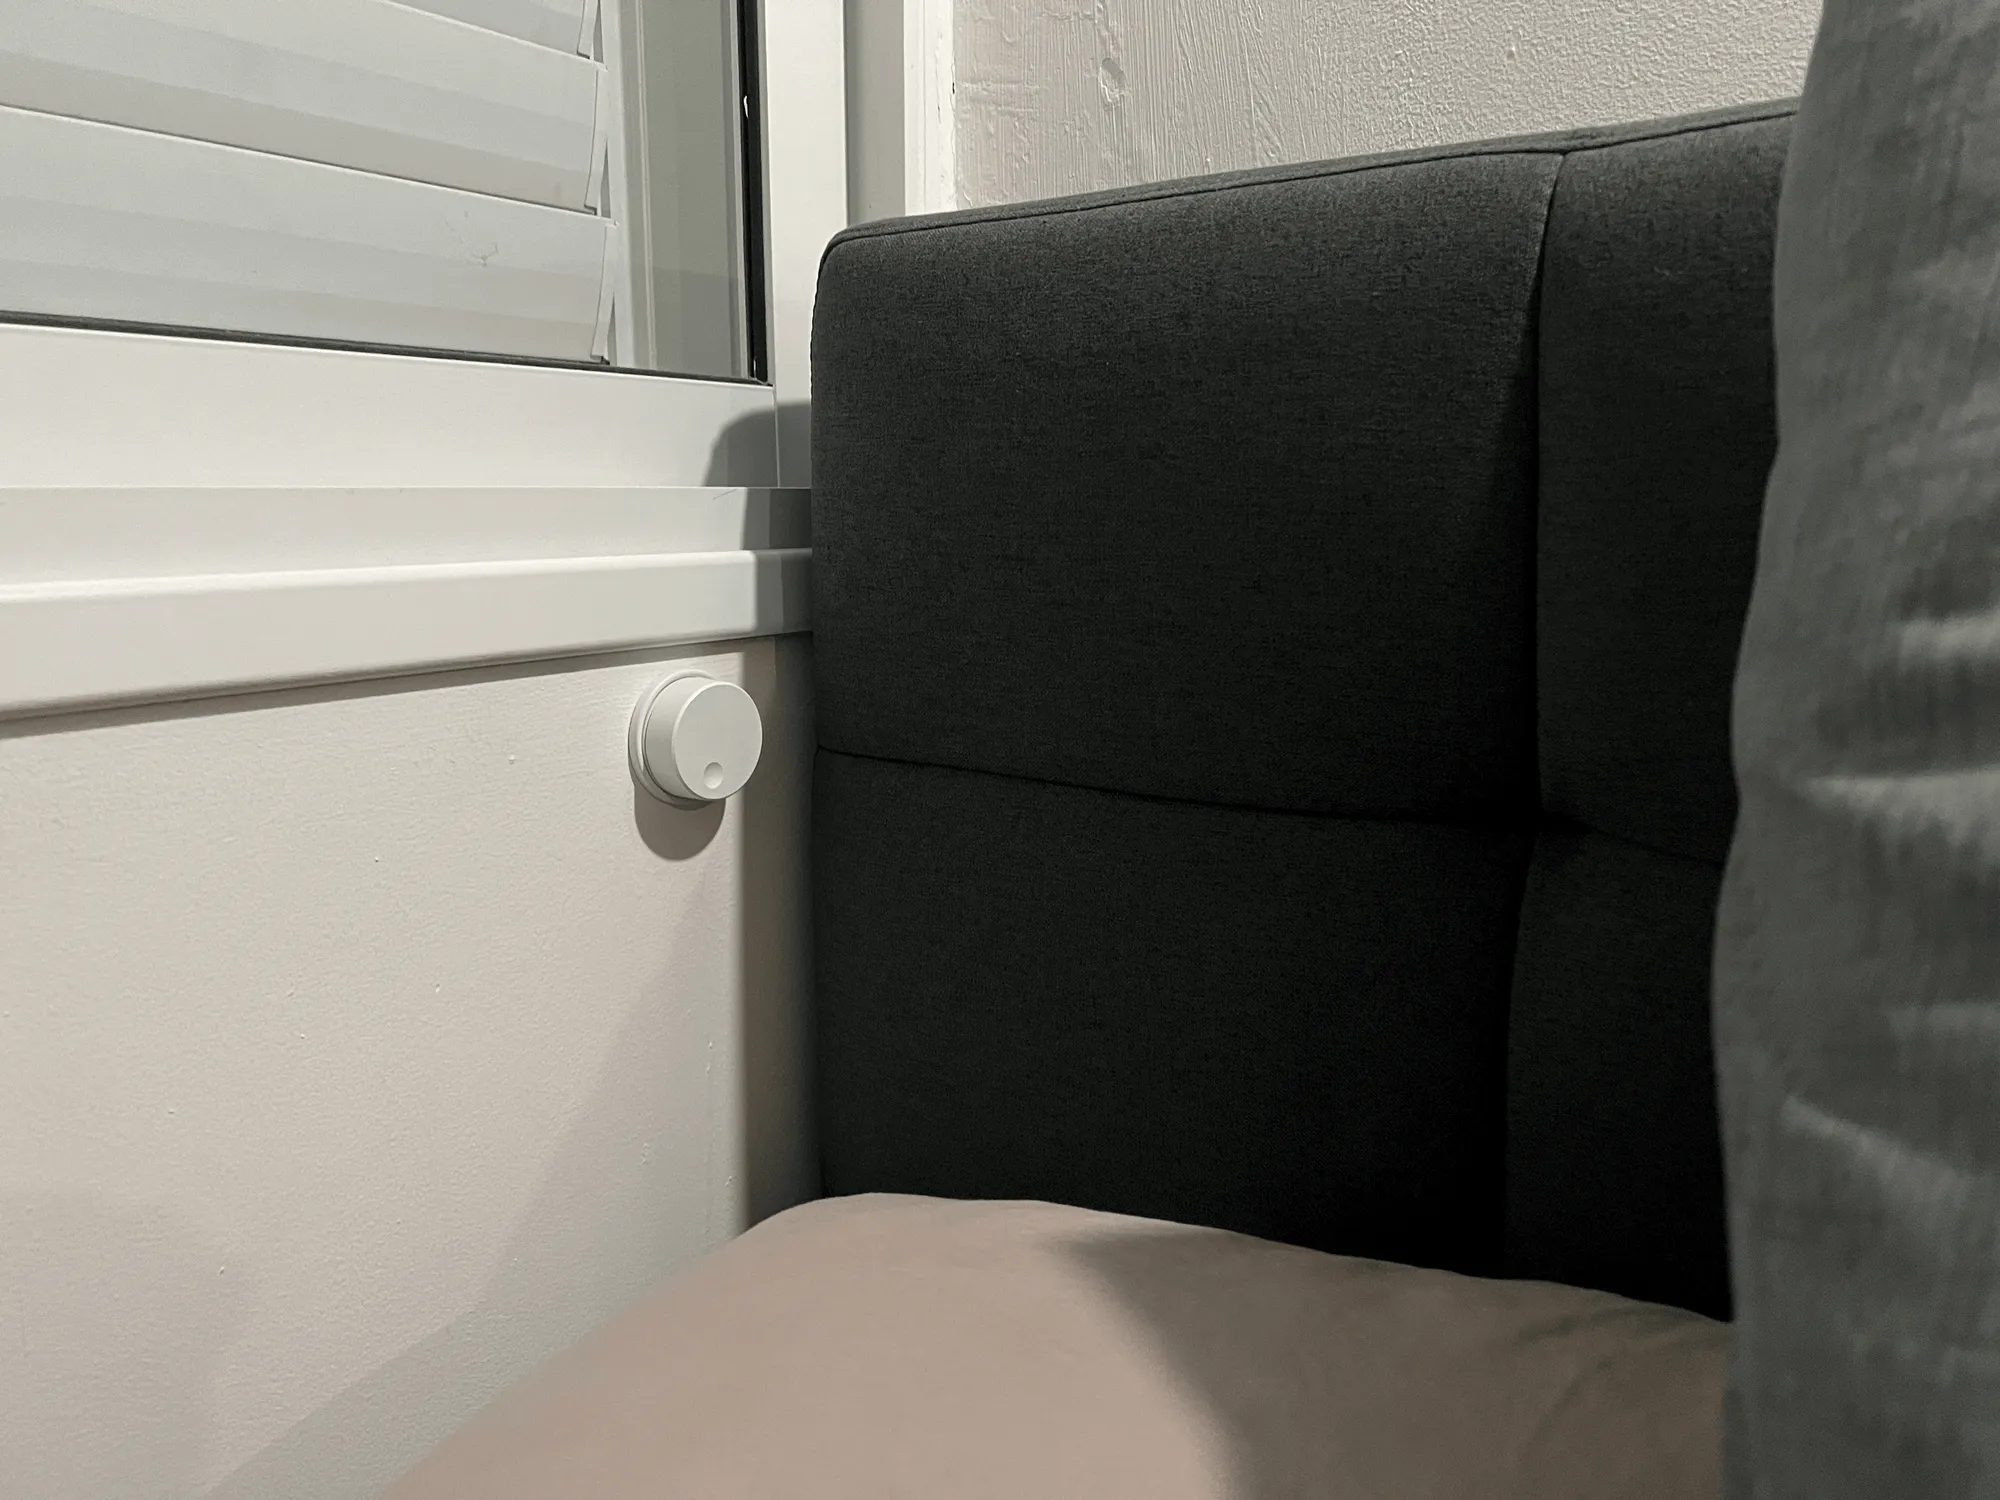
I’ve recently purchased a Sonos sound controller from IKEA. It’s a simple device, but it serves its purpose quite well - I’ve hung it above my bed, and now I can control the volume of my sound system without having to take out my phone, go to the app, and scroll a bar. I can do it while half asleep.
And the comfort of this - the ability to do stuff without having to think about it or operate an app - made me think that I should find a way to have the same experience with my smart lightning.
I know - it’s stupid. Light dimmers have been around since the 60s. Not exactly something you would label as an innovative home accessory. And besides - wasn’t the whole point of smart lights that you control them via an app and there is no need for a physical dial or buttons? Just buy a regular light!
But again - this physical control is convenient, and I’ve decided it would be a fun project to work on. In addition, it was an opportunity to try a platform I’ve wanted to try out for a while - ESPHome.
ESPHome
ESPHome is an open-source project made by the same people that wrote Home Assistant, and it aims to provide an easy way to create smart home entities based on the ESP board family and control them via the Home Assistant platform.
From their website:
ESPHome is a system to control your ESP8266/ESP32 by simple yet powerful configuration files and control them remotely through Home Automation systems.
The idea is simple - you wire up an ESP32 board (or an equivalent) to a sensor and use the ESPHome environment to hook it up into Home Assistant, where you can use it as part of your automations, routines, and scripts.
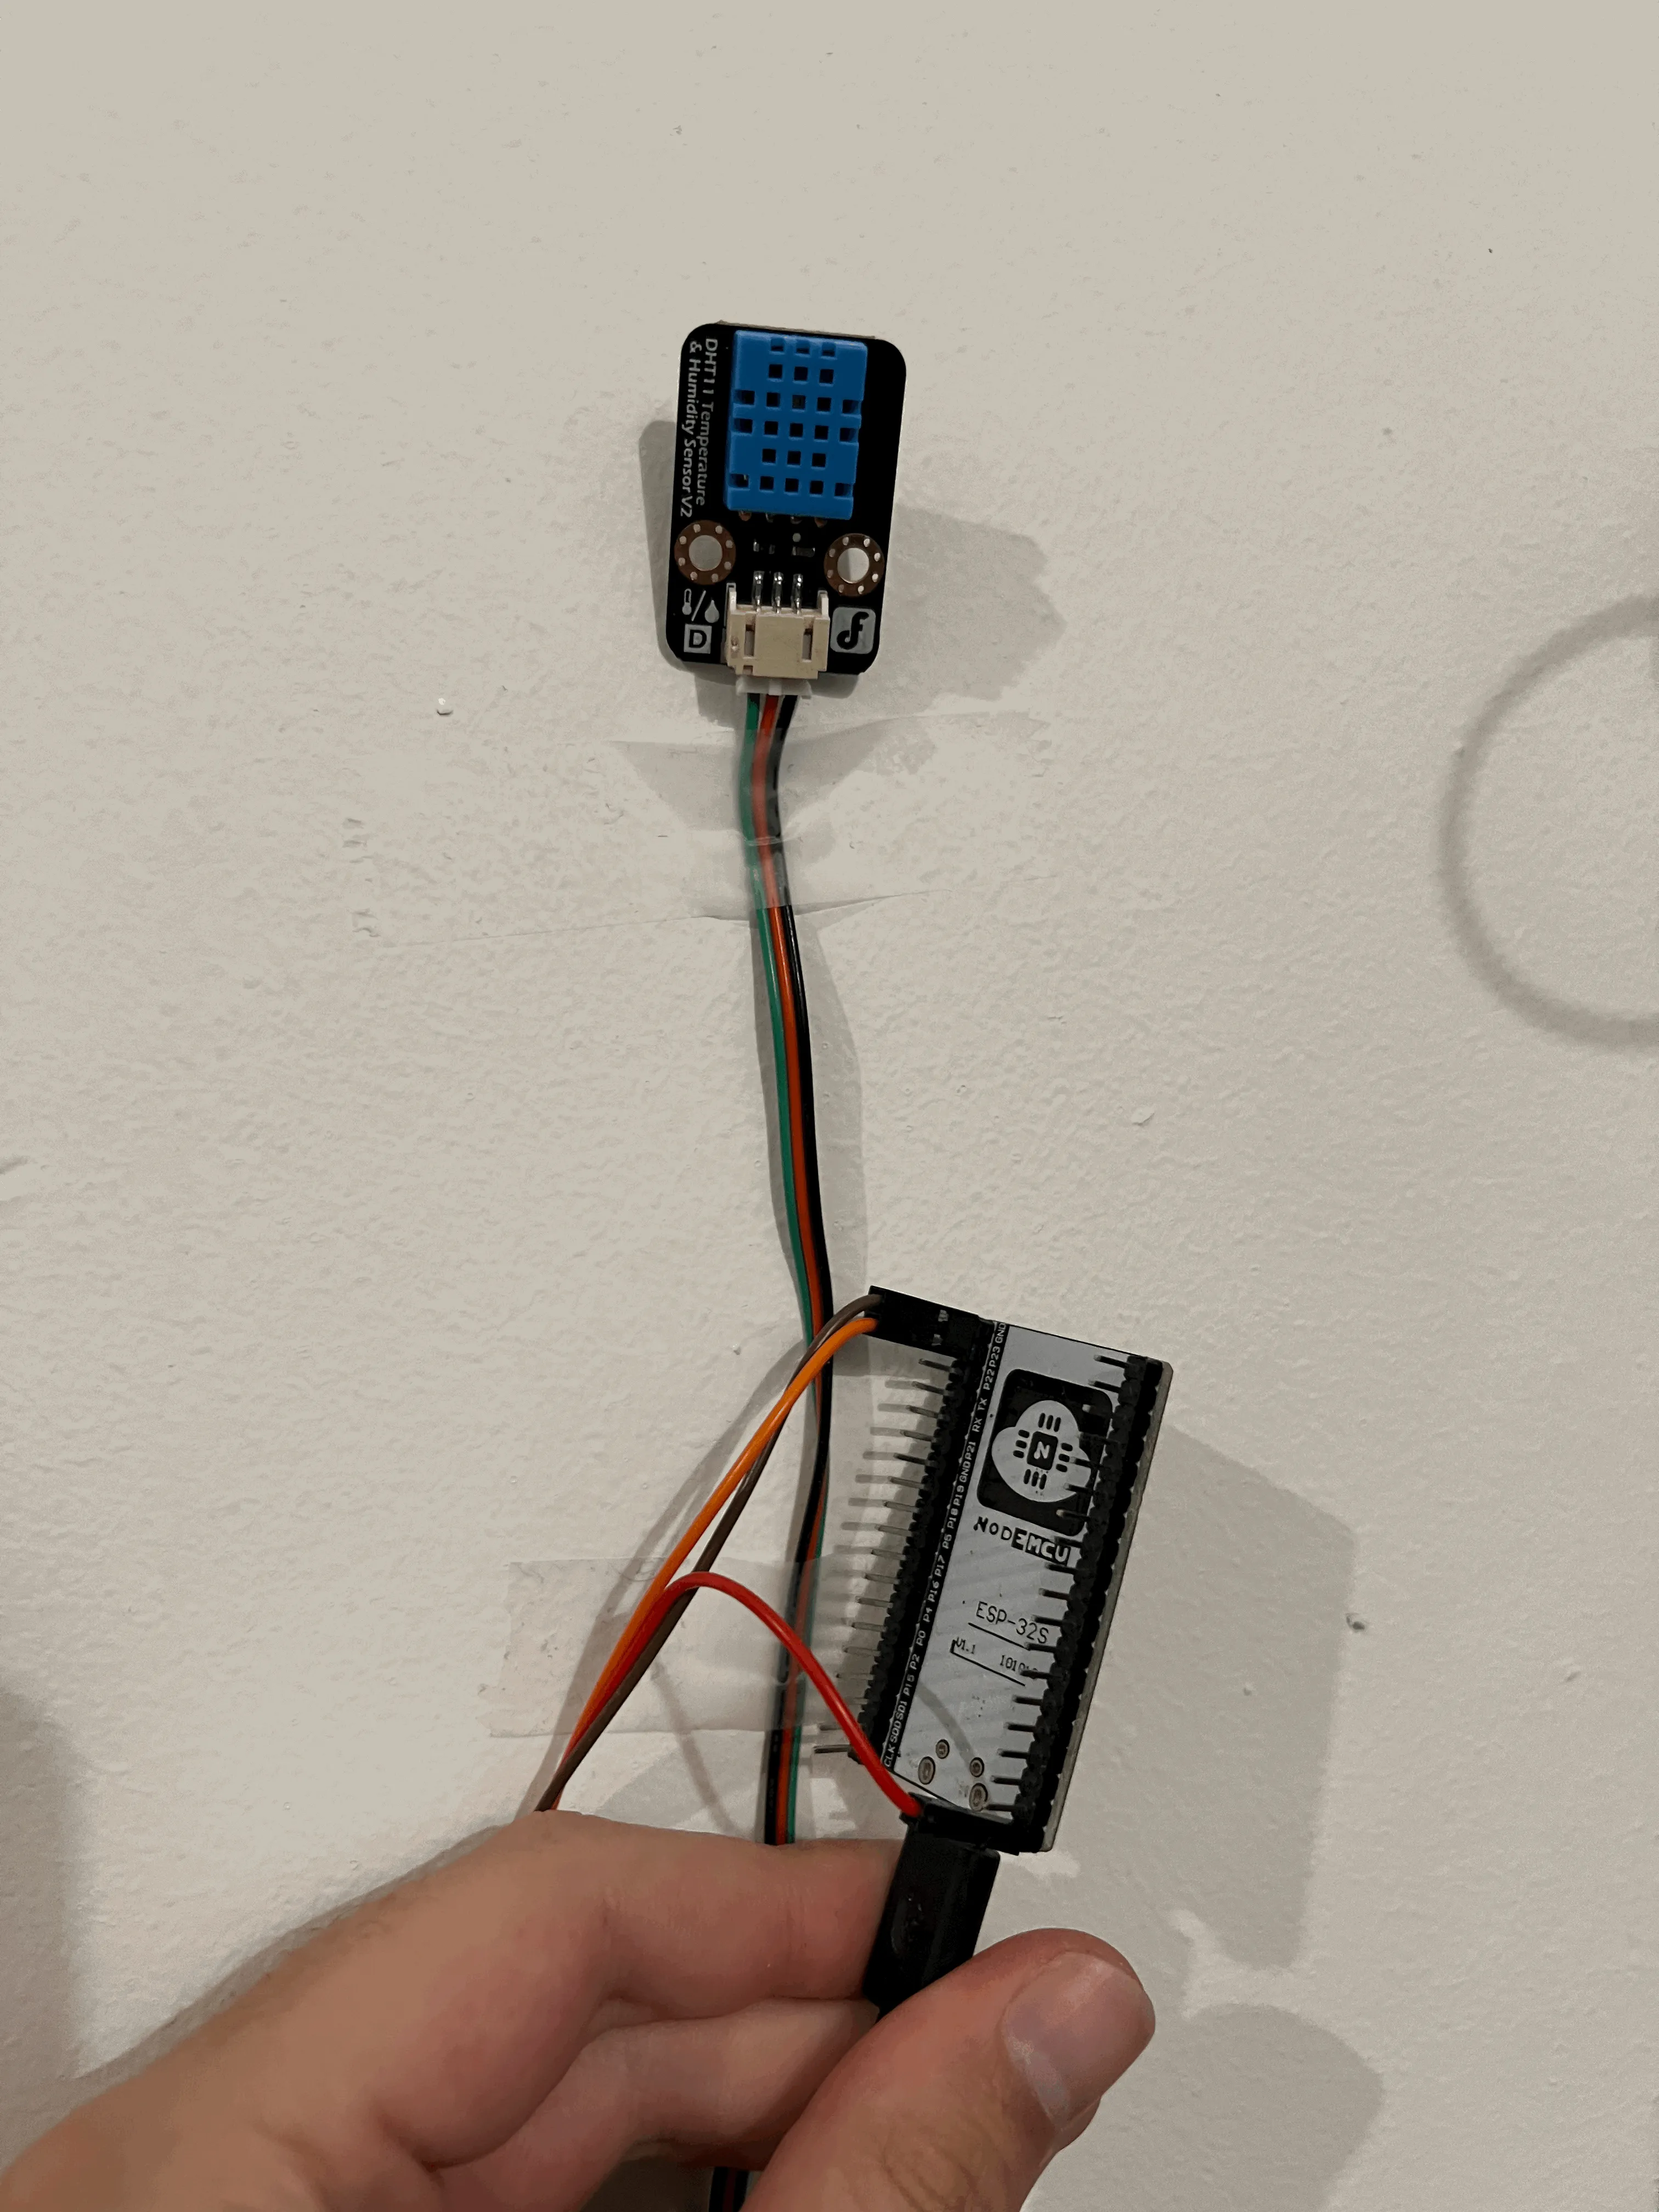
Before starting with the lighting project, which I figured would be a bit more challenging, I’ve decided to start with a simple “pet project” - a temperature sensor. My AC is almost always on at this time of the year here in Israel, and sometimes I wake up freezing in the middle of the night. So I figured that running an ESP with a temperature sensor connected would be a good test case to the platform - and got to work.
Setting up a sensor in ESPHome
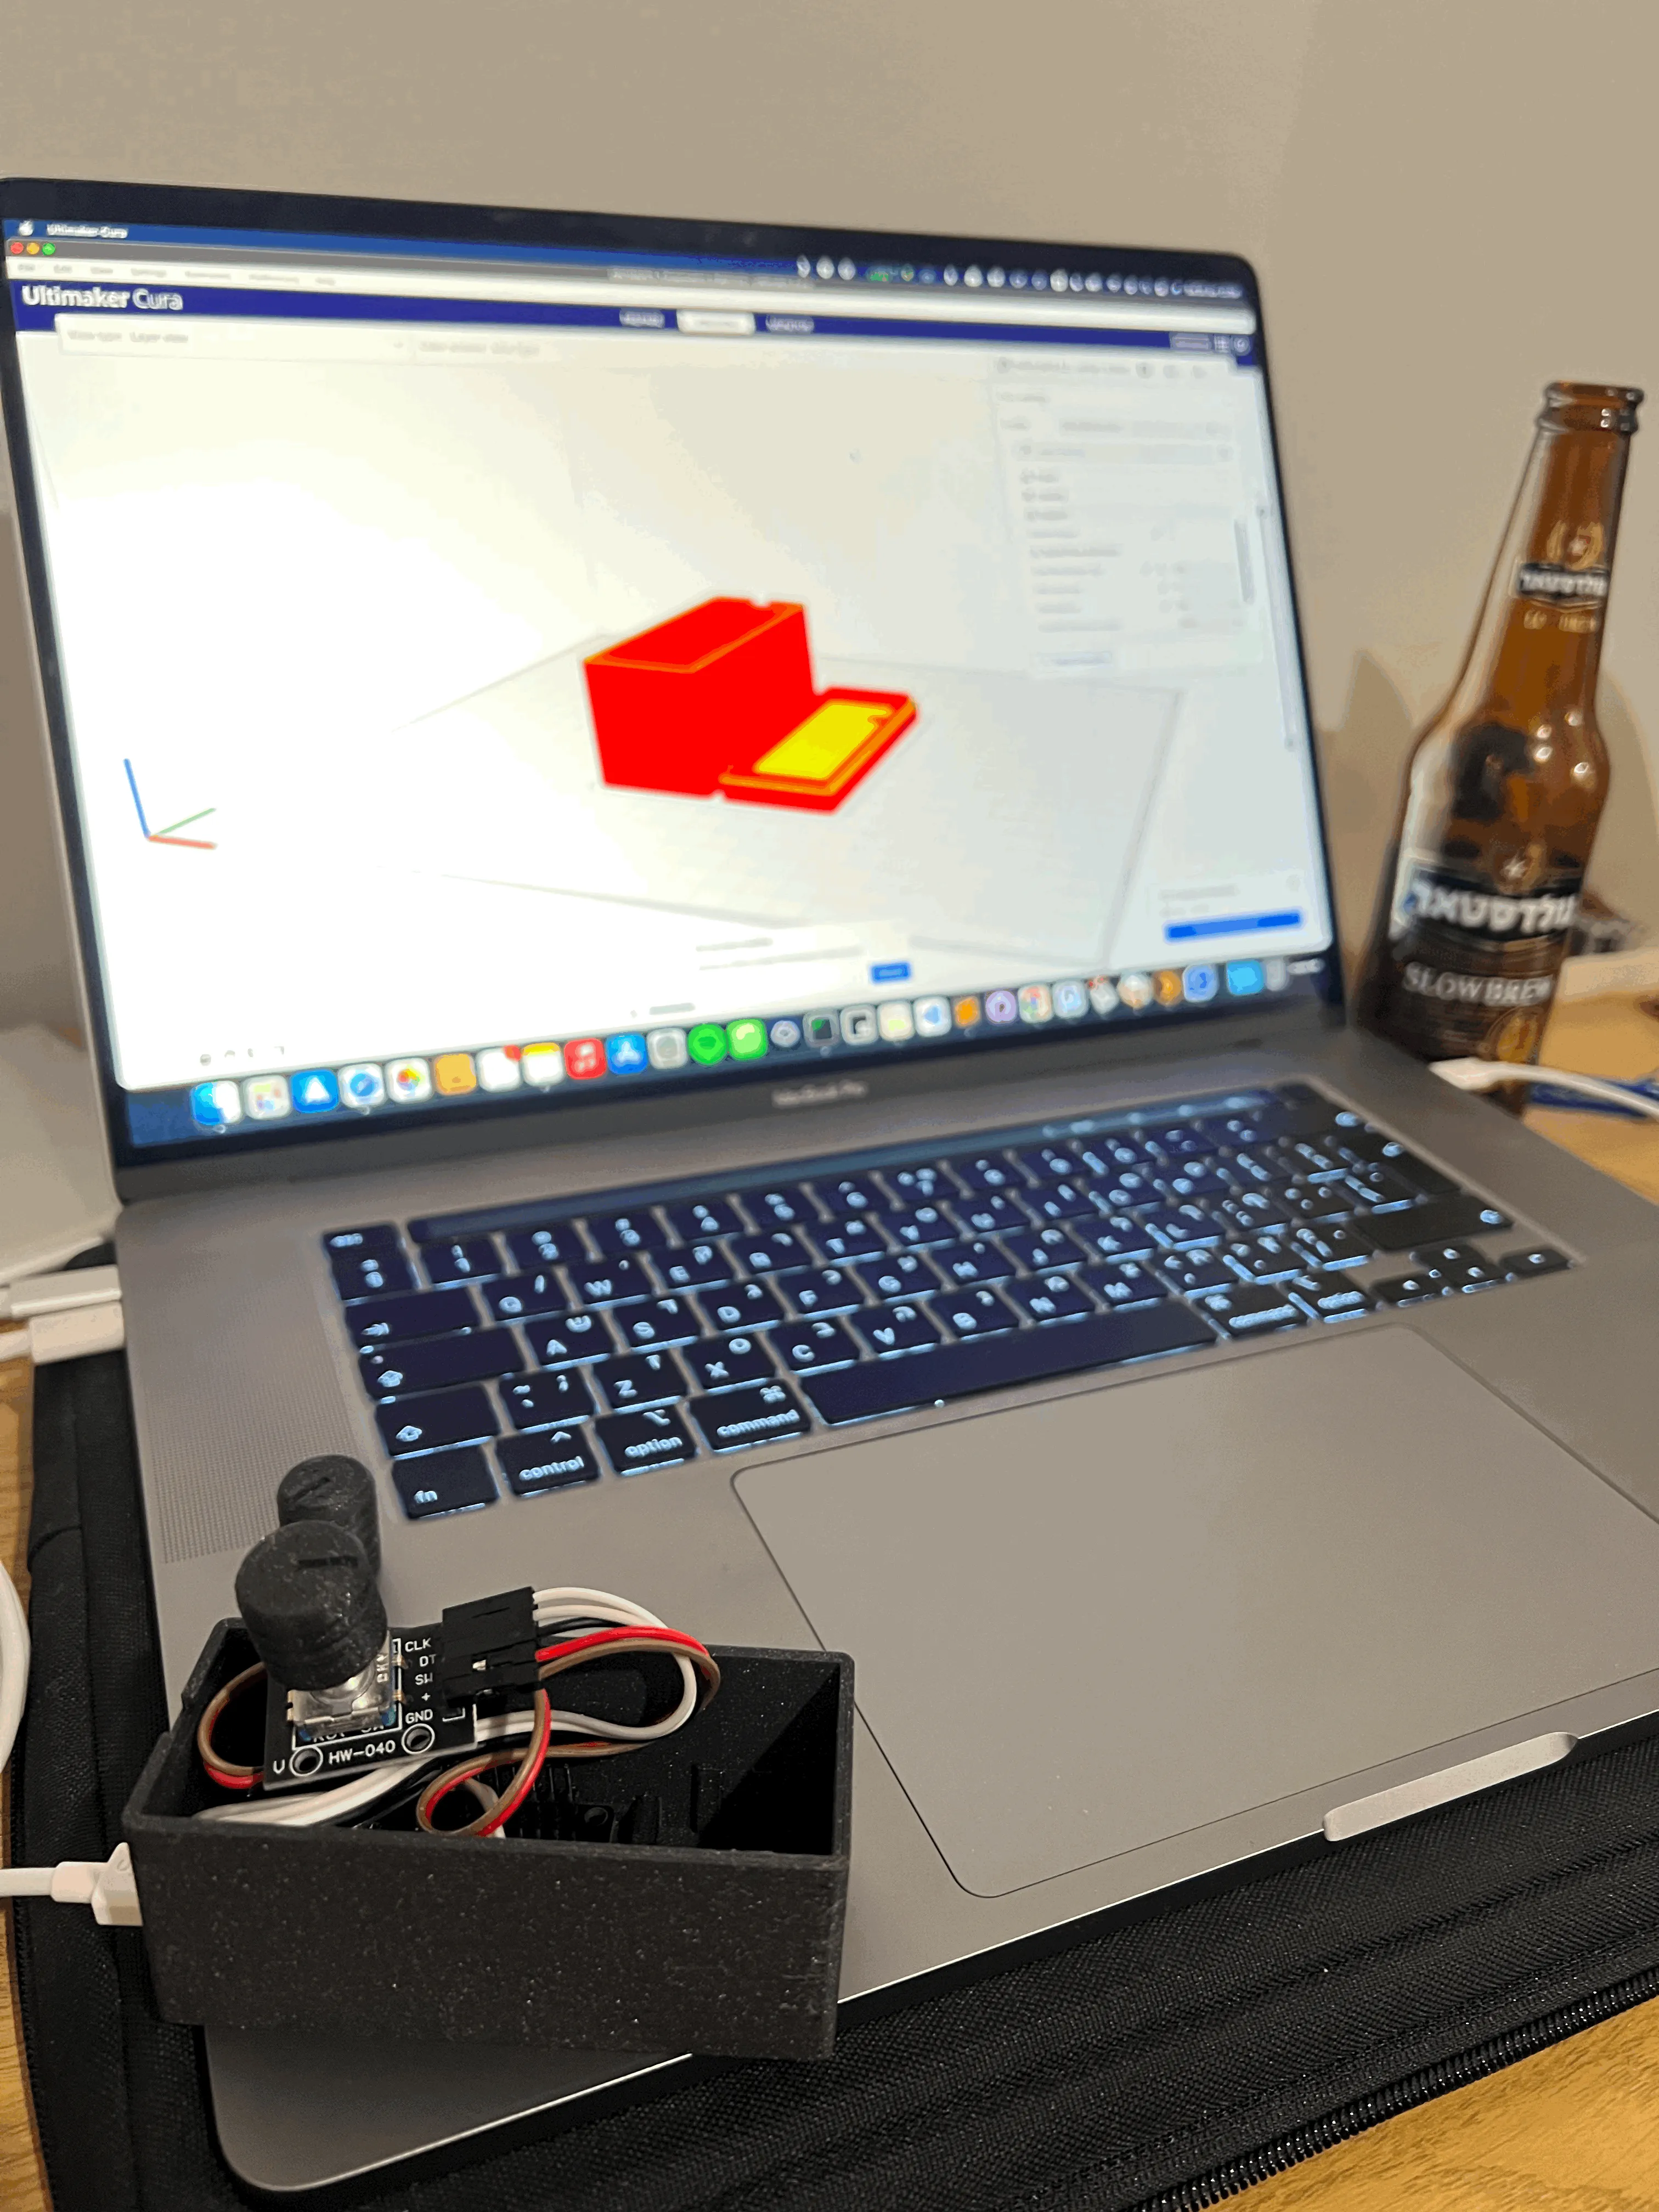
After setting up HA’s integration with ESPHome, the first thing you need to do is the physical part - get an ESP, a sensor, and some wires, and hook the whole thing up:
Next, go to ESPHome online dashboard and follow the instructions needed to connect your ESP to the WiFi and provision it with ESPHome’s firmware:
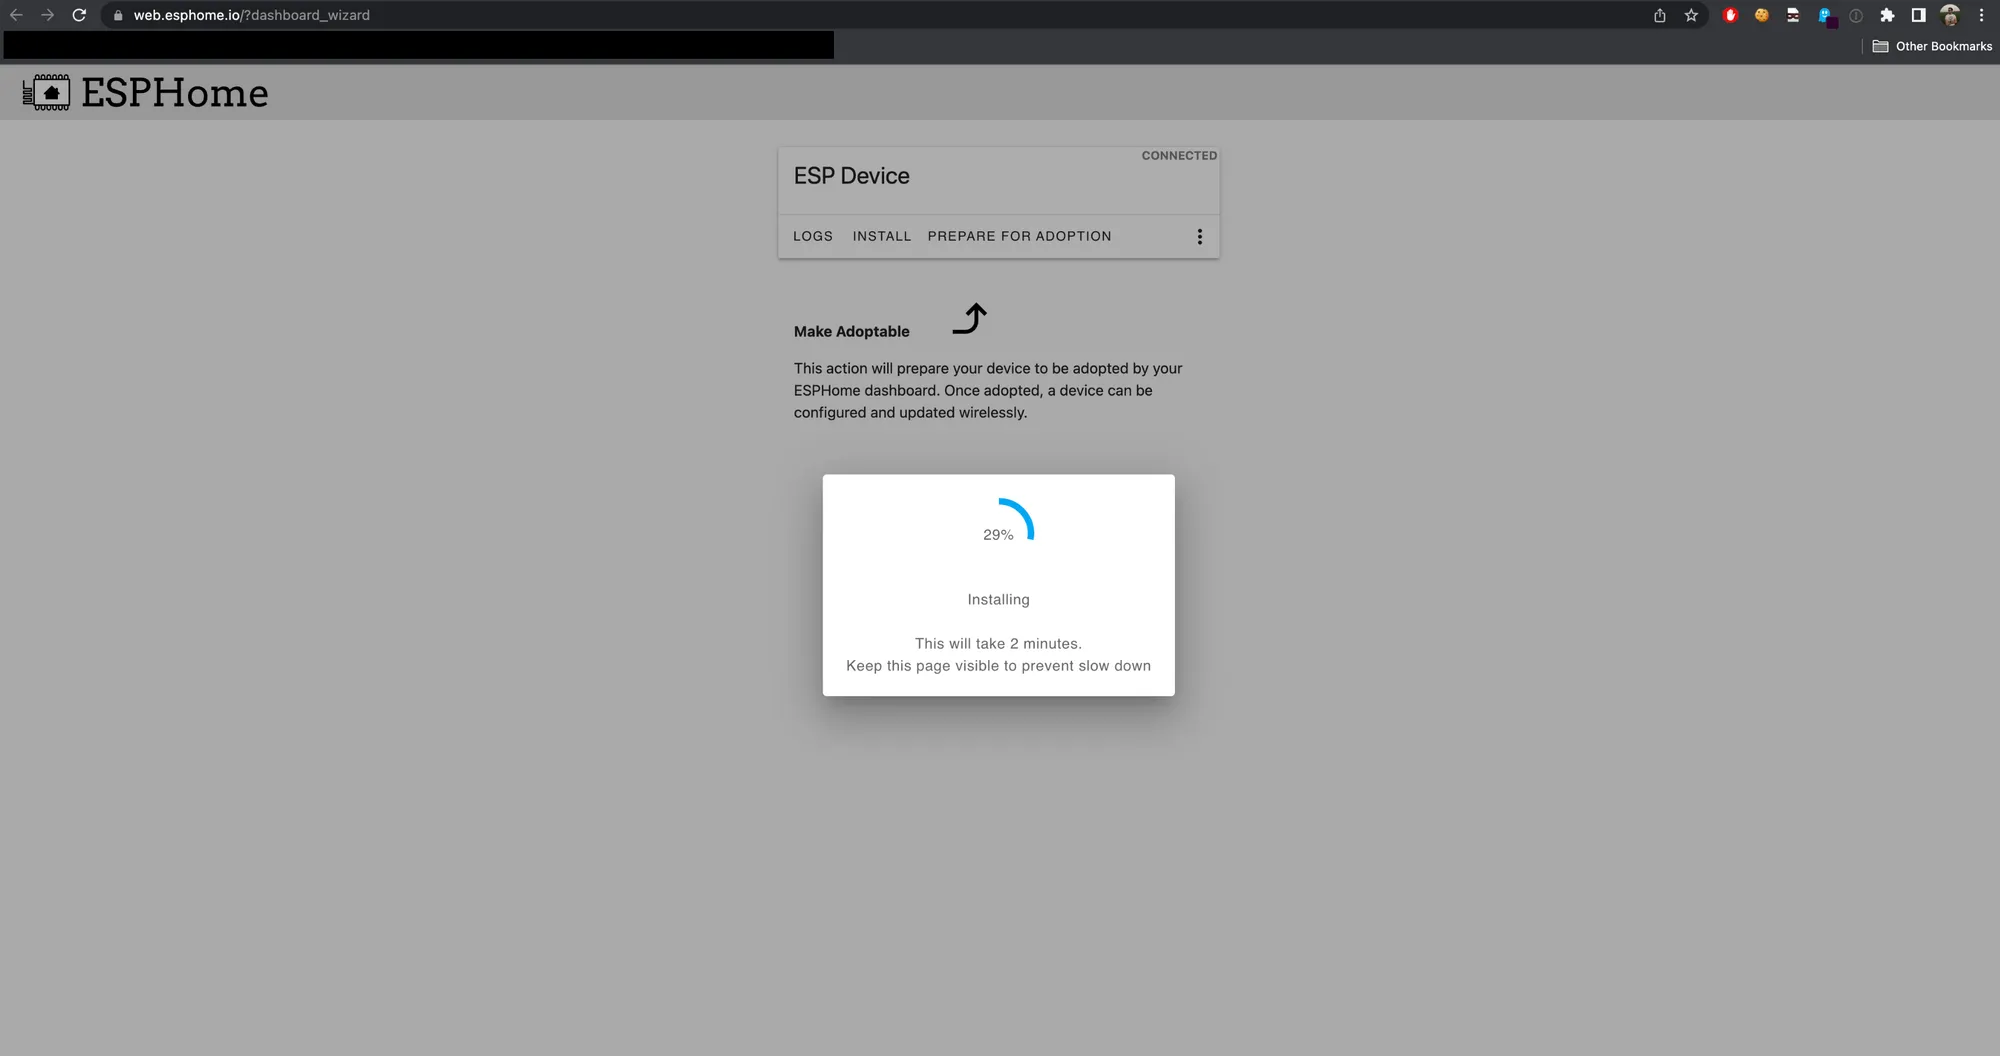
Now, you can go to the ESPHome panel in HA and “adopt” the ESP:
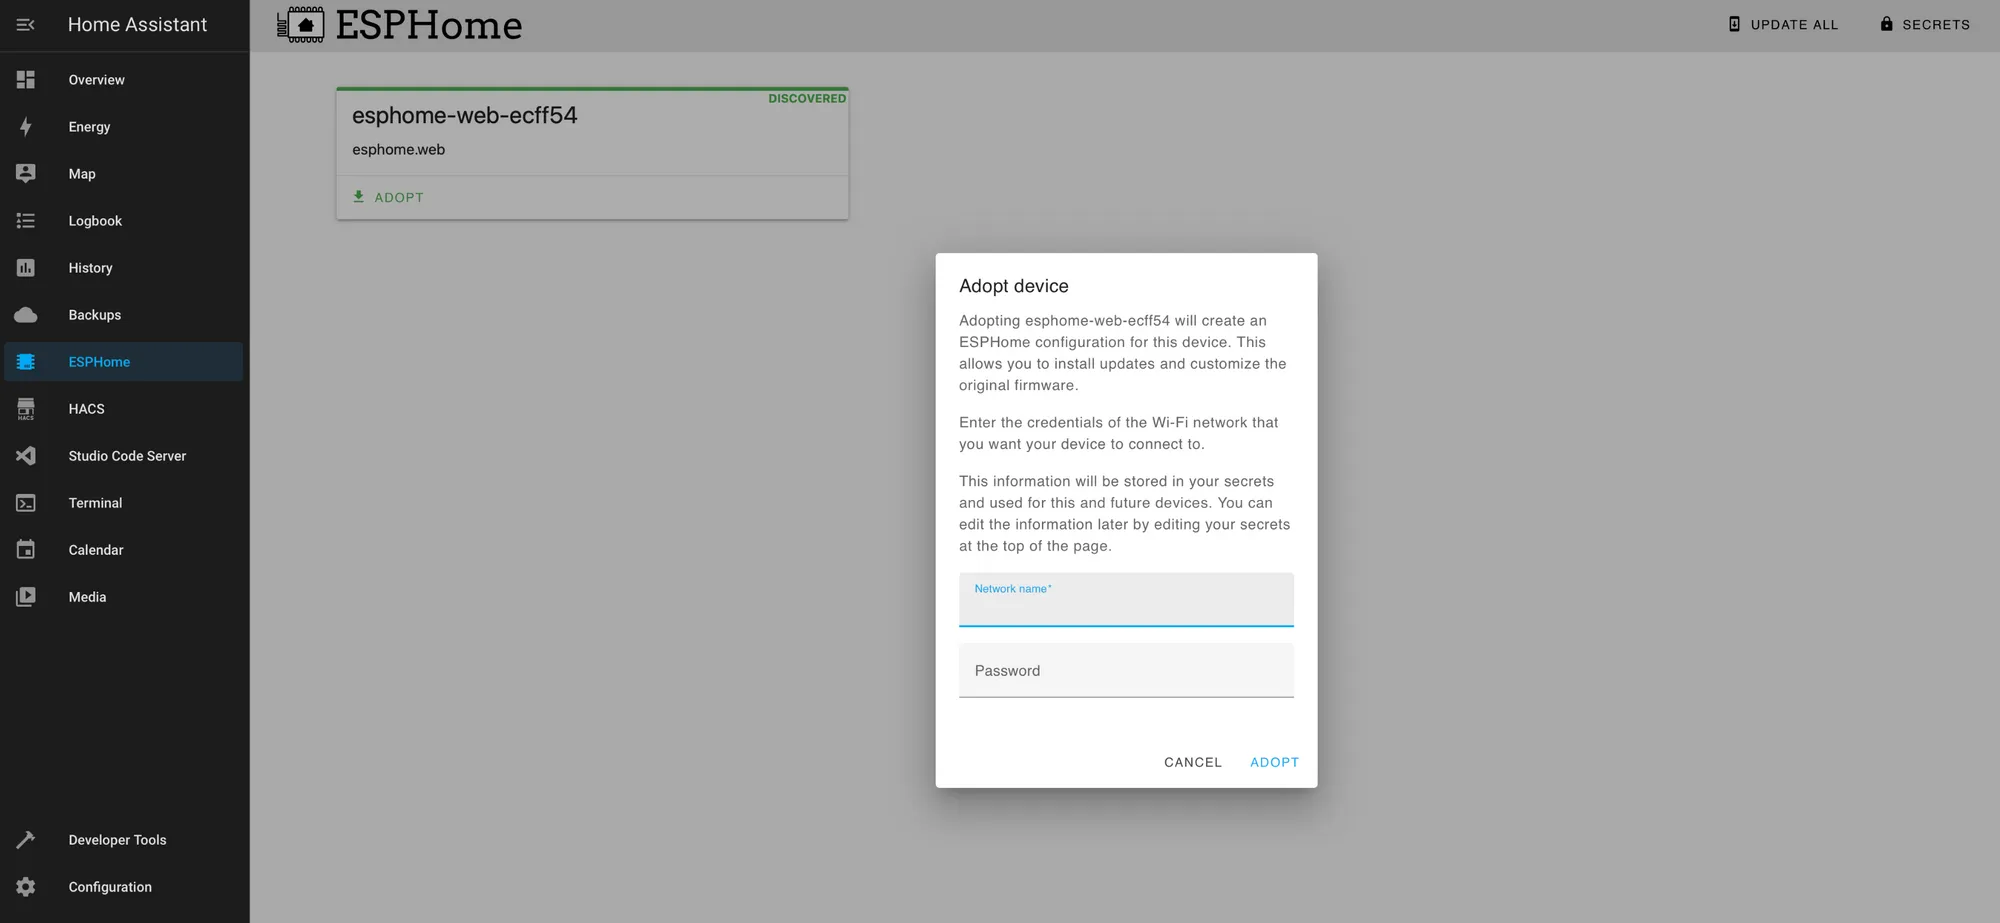
This will trigger a compilation of a firmware with the proper settings needed to associate the device with your HA instance:
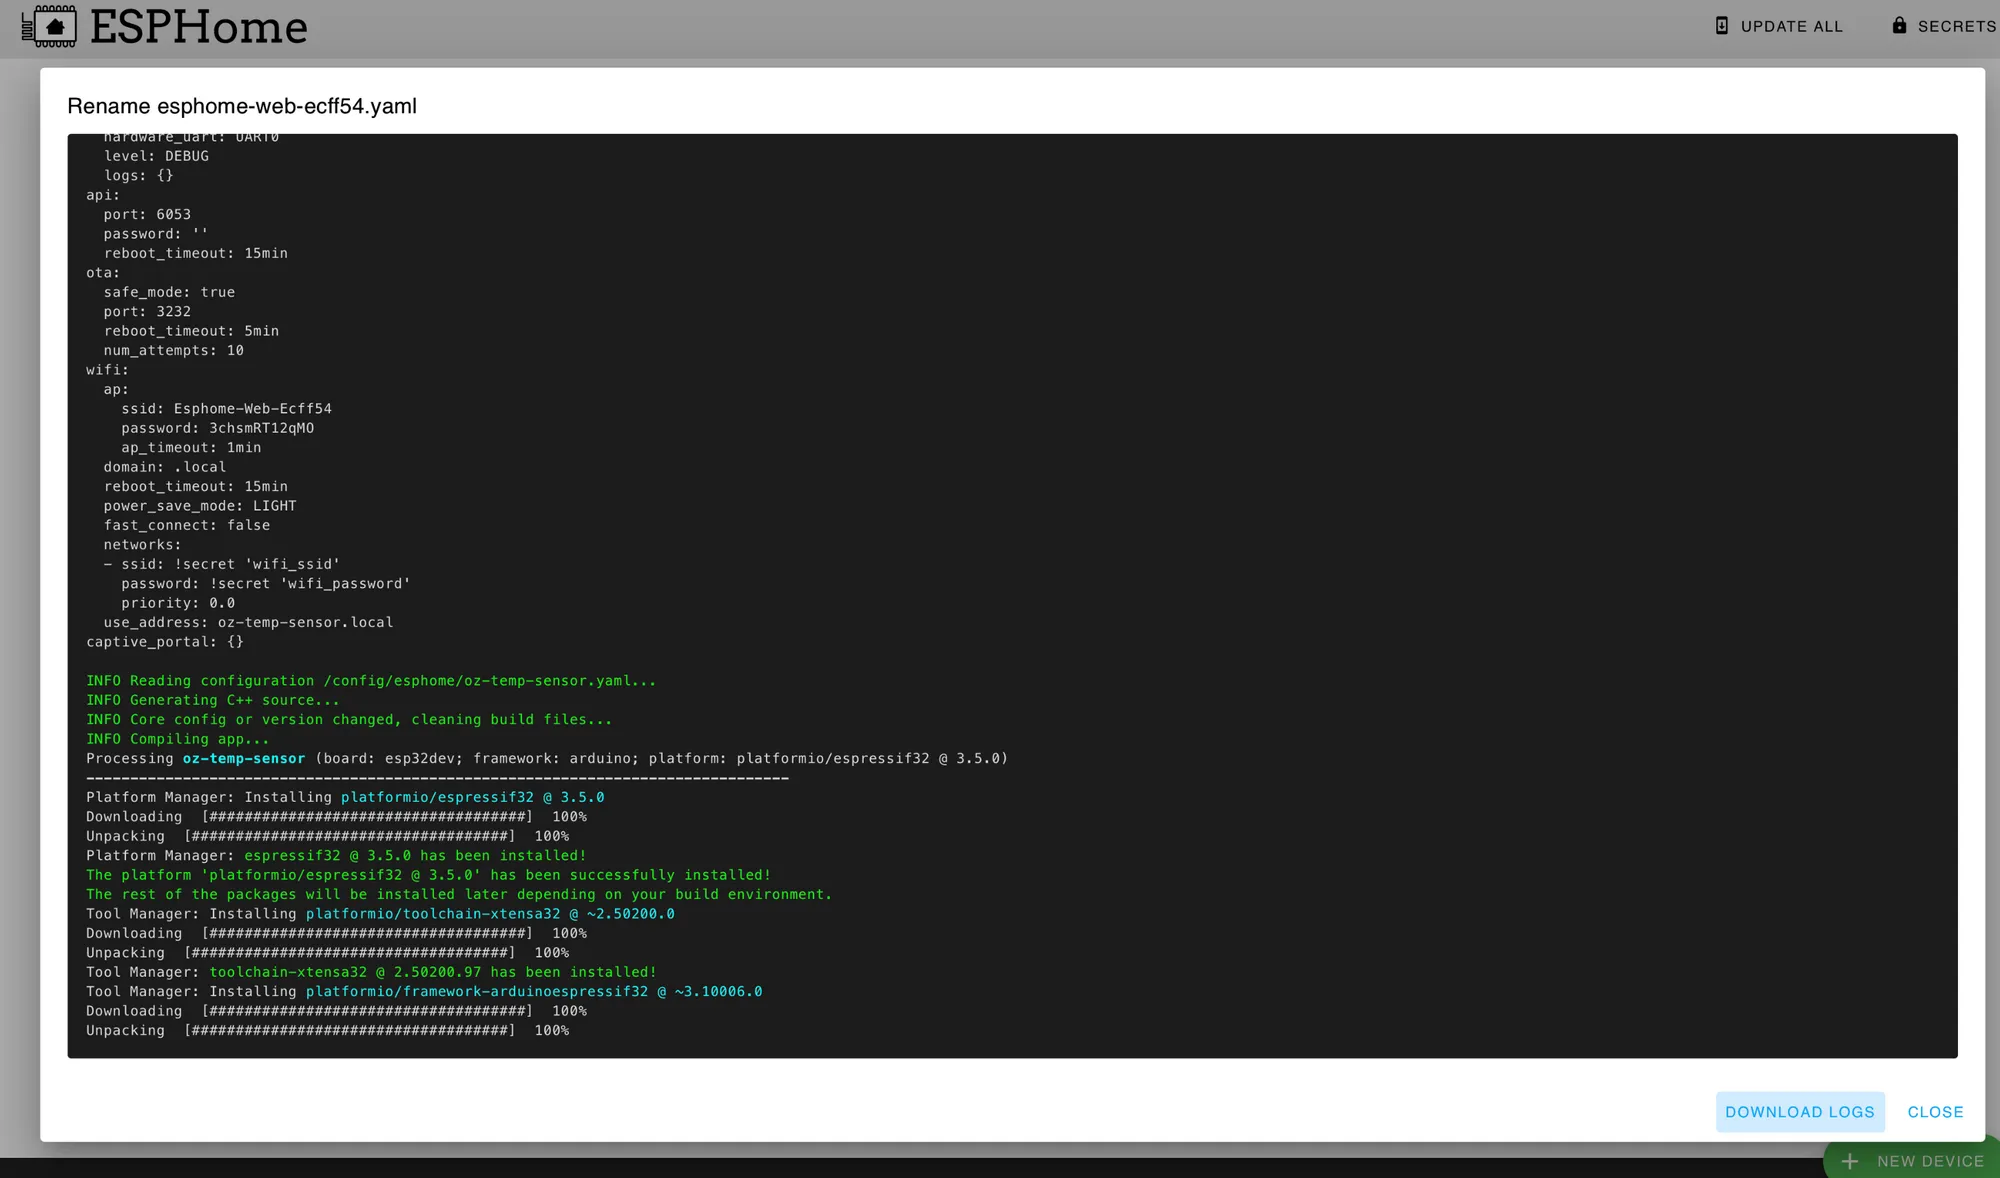
Until finally:
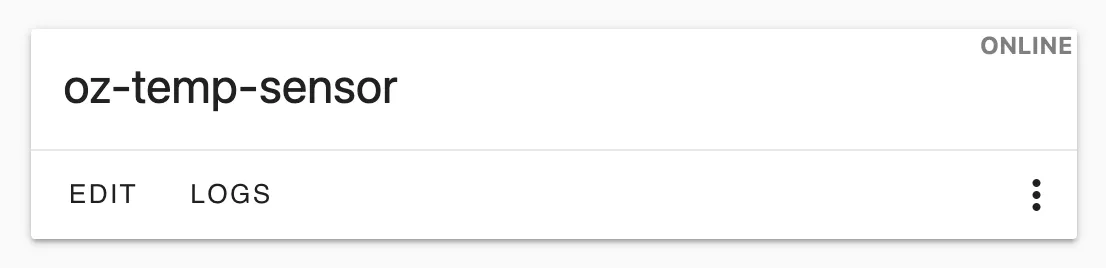
Now that we have our sensor, we need to add a configuration to it! Once again, this configuration can be simple yet powerful.
For this sensor, I’ve only needed the temperature without performing any logic, so the configuration looks like this:
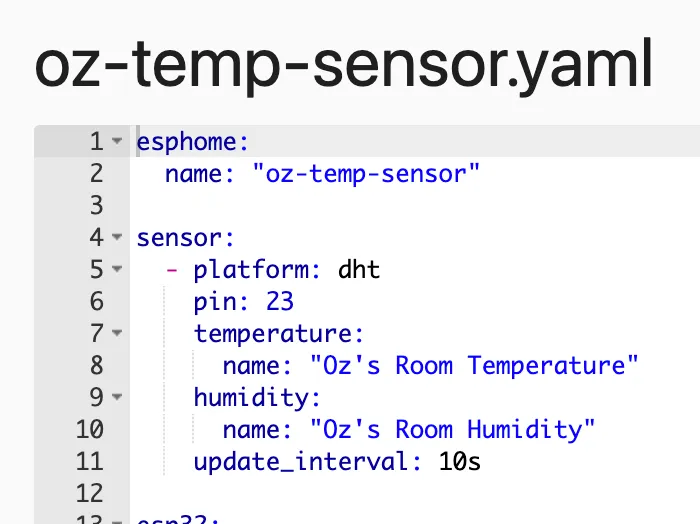
Very simple, yet powerful - as it allowed me to write intelligent automation such as the following, ensuring that if the temperature in my room has been too low for too long, the AC will turn off - but only if I’m home!
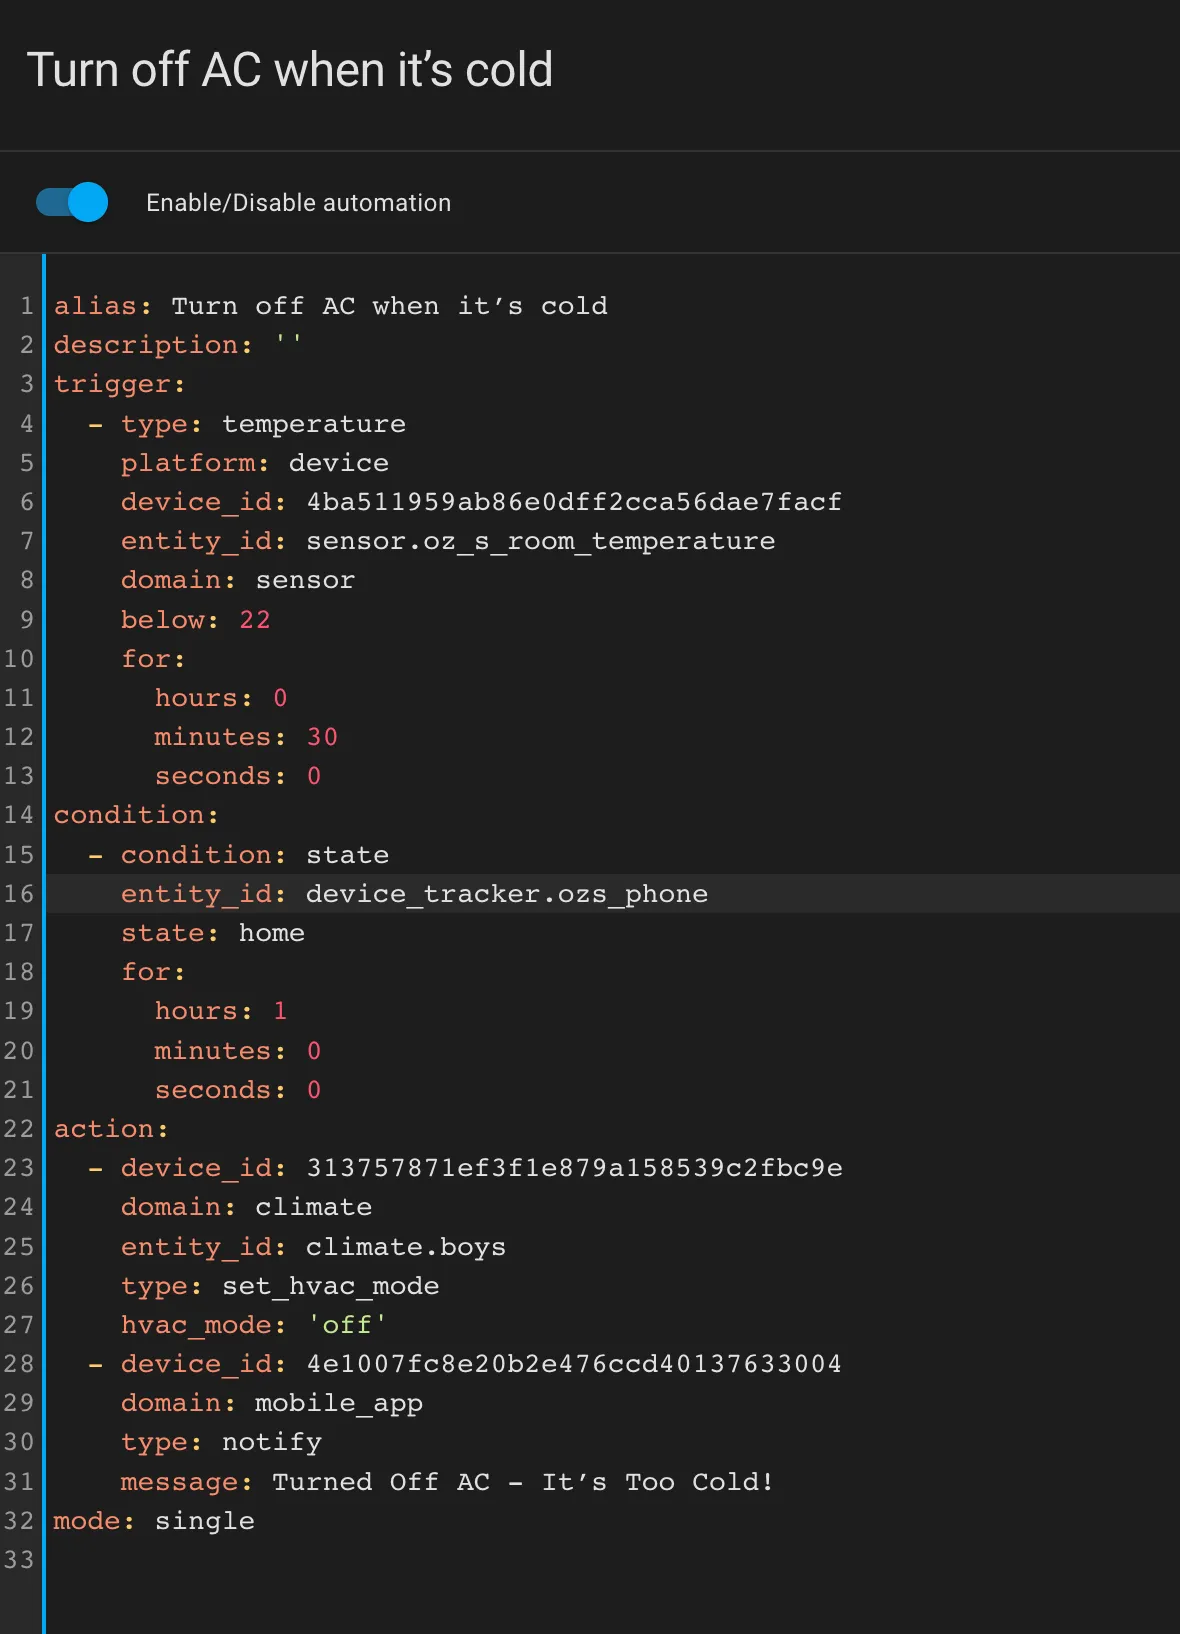
Setting the whole thing up took me about half an hour, and I was stunned by the simplicity and effectiveness of the thing - In such a short amount of time, I’ve created a physical device that can work to make my life better - amazing!
Sensor Selection
I was stocked to start working on the lighting project right away. The thing is, I’ve started on the wrong foot.
See, I thought about the electronic parts that I knew and which would be the best fit for the dimmer project, and I came up with the wrong answer - I purchased a potentiometer. From Wikipedia:
A potentiometer is a three-terminal resistor with a sliding or rotating contact that forms an adjustable voltage divider.
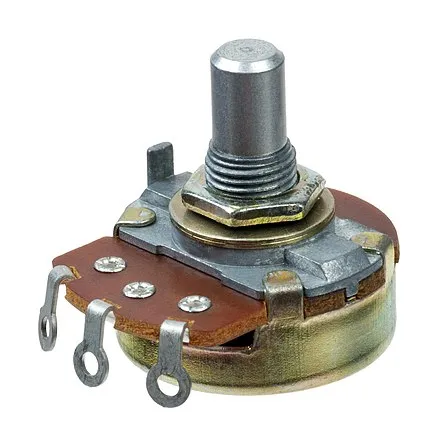
In short, it is a sensor that knows what part of its rotation range it’s at. You turn it to 50% - and it knows it’s at 50%. That seems reasonable, right? That’s what I thought, and I went ahead with it - I’ve hooked up another ESP to a potentiometer and configured it:
esphome:
  name: "oz-light-control"

sensor:
    # reading the potentiometer value
  - platform: adc
    pin: GPIO36
    id: potval
    name: "Room Brightness"
    update_interval: 0.5s
    attenuation: auto
    filters:
        - debounce: 1s
        - calibrate_linear:
            - 0.07500 -> 0
            - 3.13752 -> 255
Once this was up, I’ve defined an automation:
alias: Light From Pot
description: ''
trigger:
  - platform: state
    entity_id:
      - sensor.room_brightness
    for:
      hours: 0
      minutes: 0
      seconds: 3
condition: []
action:
  - service: script.set_bed_light_from_pot
    data: {}
mode: single
And it worked (this is a linear potentiometer, which isn’t round but works the same way):
You might notice the black frame around the slider - I’ve found out that ADC on the ESP32 dev kit is non-linear - which means that in the areas I’ve blocked, the current won’t change even though the slider is moved. But this is just a tidbit, and it isn’t the reason why choosing a potentiometer was the wrong choice.
It was the wrong choice because a potentiometer provides an absolute value - it tells you its state, and it cannot be used as a relative percentage of a current state - which means that by using it as my sensor, I would overwrite the current state every time I used my device - this wouldn’t be a very good light dimmer.
I needed another solution.
So I thought about it some more and figured that my solution would have to be using a different sensor - an encoder.
An encoder looks like a potentiometer but works differently and provides a different metric - rather than its absolute position, it can tell you how many revolutions it made. And unlike a potentiometer, it can turn in one direction indefinitely.
I once again hooked up the electronics and wrote the following configuration:
sensor:
  - platform: rotary_encoder
    name: "Light Dimmer"
    pin_a: GPIO39
    pin_b: GPIO36
    min_value: 1
    max_value: 100
    resolution: 1
    filters:
      debounce: 0.4s
Coupled with the following automation:
alias: Increase Room Brightness By 25
description: ''
trigger:
  - platform: event
    event_type: esphome.dimmer_increase
condition: []
action:
  - service: light.turn_on
    target:
      device_id: light.desk_light
    data_template:
      brightness: |
        {{ min(states.light.desk_light.attributes.brightness + 25, 255) | int }}
mode: single
And I thought this was it. Nope. This solution caused a bunch of synchronization problems - the automation won’t finish its run by the time another run was started, and the lights would flicker and become non-responsive. Not good.
ESPHome triggers
This took me a while to figure out. I’ve tried a lot of different solutions, but the one that finally got to me was by using ESPHome triggers. That means that instead of the logic happening on an HA automation triggered by an event from ESPHome, the ESPHome device would trigger the correct service from HA instead.
Now, there is no automation, and the configuration looks like this:
sensor:
  - platform: rotary_encoder
    name: "Light Dimmer"
    pin_a: GPIO39
    pin_b: GPIO36
    min_value: 1
    max_value: 100
    resolution: 1
    filters:
      debounce: 0.4s
    on_clockwise:
      - logger.log: "Turned Clockwise"
      - homeassistant.service:
          service: light.turn_on
          data:
            entity_id: light.desk_light
          data_template:
            brightness: >
              {{ min(states.light.desk_light.attributes.brightness + 25, 255) }}
      - homeassistant.service:
          service: light.turn_on
          data:
            entity_id: light.bed_light
          data_template:
            brightness: >
              {{ min(states.light.bed_light.attributes.brightness + 25, 255) }}
    on_anticlockwise:
      - logger.log: "Turned Anticlockwise"
      - homeassistant.service:
          service: light.turn_on
          data:
            entity_id: light.desk_light
          data_template:
            brightness: >
              {{ max(states.light.desk_light.attributes.brightness - 25, 0) }}
      - homeassistant.service:
          service: light.turn_on
          data:
            entity_id: light.bed_light
          data_template:
            brightness: >
              {{ max(states.light.bed_light.attributes.brightness - 25, 0) }}
I’ve pushed the configuration to the ESP, and voila! Let there be light:
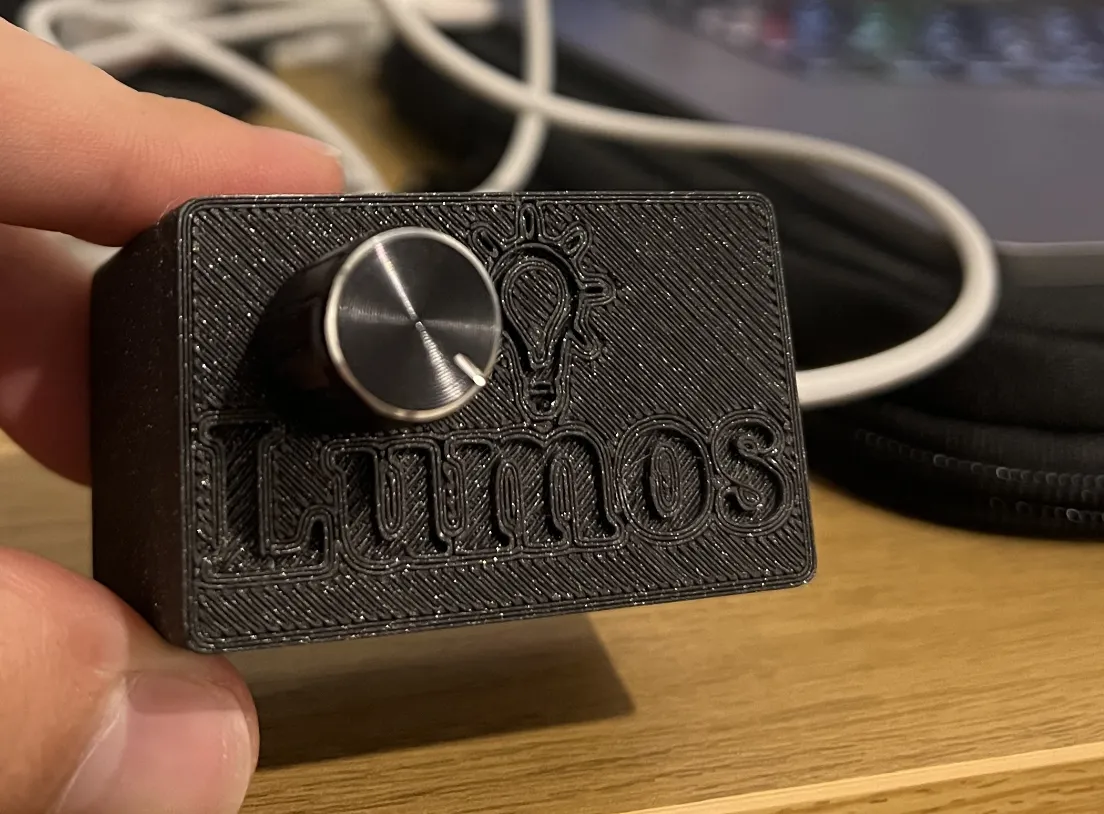
Now that the ESP part was finished, it was time for the final touches. I’ve made a quick model for a case:
Printed it:

And finally, my new light dimmer - which I called “Lumos” - was operational!
Conclusion
My experience with ESPHome was bittersweet - while it can help you create complex solutions in a matter of minutes, the learning curve is quite steep, and many things aren’t trivial to beginners. I hope it’ll be easier as time goes on and I try new things. But overall - I’m happy that this platform exists and look forward to building more and more stuff with it.
In the end, despite the frustrations I’ve had along the way, this was a super fun project. As always, making things that I would use is the best way to learn about new technologies and extend my knowledge and skills - and I can’t wait to come up with what’s next.
FIN