As a DIY enthusiast and a lover of home automation, I’m always on the lookout for new and exciting ways to spruce up my living space. My most recent adventure led me to create a sound-reactive LED strip for my bedroom ceiling using WLED.
This project brought together the elegance of LED lighting with the power of music, culminating in a spectacular display that has transformed my bedroom into a haven of light and sound.
Discovering the Magic of WLED
My journey began when I stumbled upon WLED, an open-source project that allows you to control addressable LED strips using an ESP8266 or ESP32 microcontroller. Intrigued by the possibilities, I delved deeper and was instantly captivated by the endless array of lighting effects and customization options. I knew I had to give it a try!
To get started, I did what any reasonable person would do - and read the Getting started page. Soon, I realized that the LED strip I need is a WS2812B LED strip, known for its vibrant colors and compatibility with WLED. I ordered one from Amazon and waited for it to arrive.
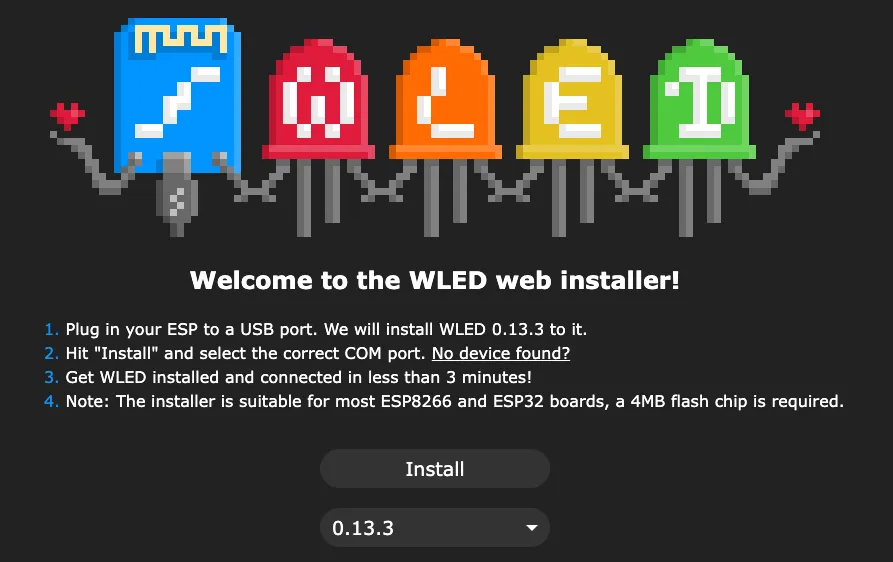
When it did, I went ahead with the instructions and flashed WLED onto an ESP32 I had lying around. This is an easy process - the WLED team has an online installer that does all the work for you. Just connect the ESP to your computer and flash the firmware:
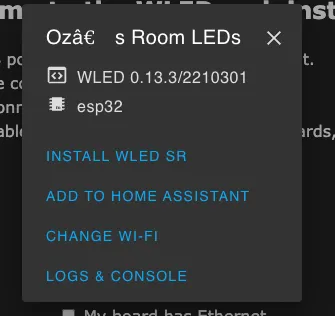
After setting it up and connecting it to WiFi, I could access the WebUI of WLED, which looked very easy to use:
Now came the “scary” part - wiring it up. Despite the fact that I have more than 5 ESP32s running in my room right now, I still consider myself to be pretty bad at electronics - so I was very afraid of this part.
It turned out I had nothing to fear - as hooking the LEDs only required three wires - 5v, GND, and a single GPIO - with no soldering needed:

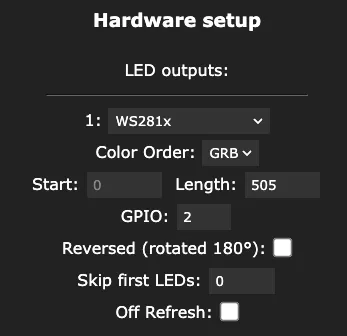
Once I hooked it up, I went into Settings -> LED Settings (in the WLED WebUI), and entered the correct GPIO pin and number of lights:
With the software in place, I turned my attention to the hardware - I realized I needed some light diffusers, as I didn’t want the light to be directly exposed.
After doing some research, I came to the conclusion that I needed PVC tubes - but I couldn’t find any store in my area that sold small amounts of it at a reasonable price. After going around a couple of stores, I found myself at an everything-for-a-dollar store, looking at the following pile:

While this wasn’t exactly what I was thinking about - if the shoe fits, wear it! I bought a couple of these and headed back home. At home, I tested the goods, and they looked great:
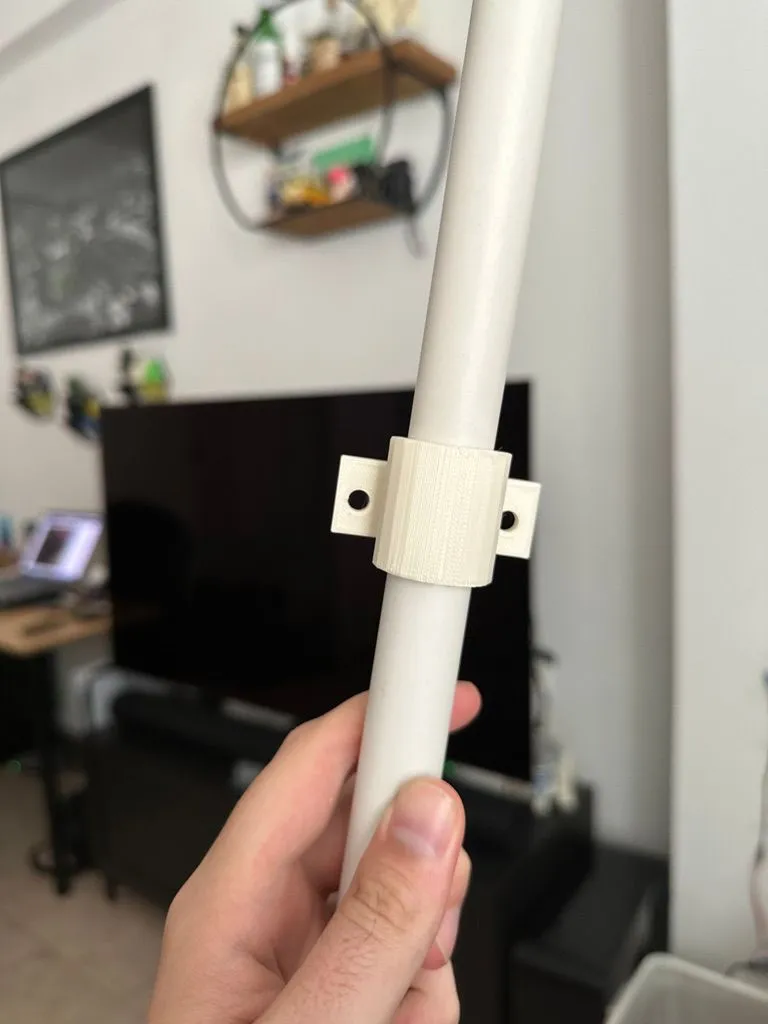
Next, to ensure a seamless connection between the tubes, I designed and 3D printed connectors, fusing the tubes into one continuous piece:


Assembling the Masterpiece
Once all the components were in place, it was time to assemble my creation. I started piecing together the parts, in a process that made my room look very funny and took a bit of time - but ultimately brought it all together into one big piece.
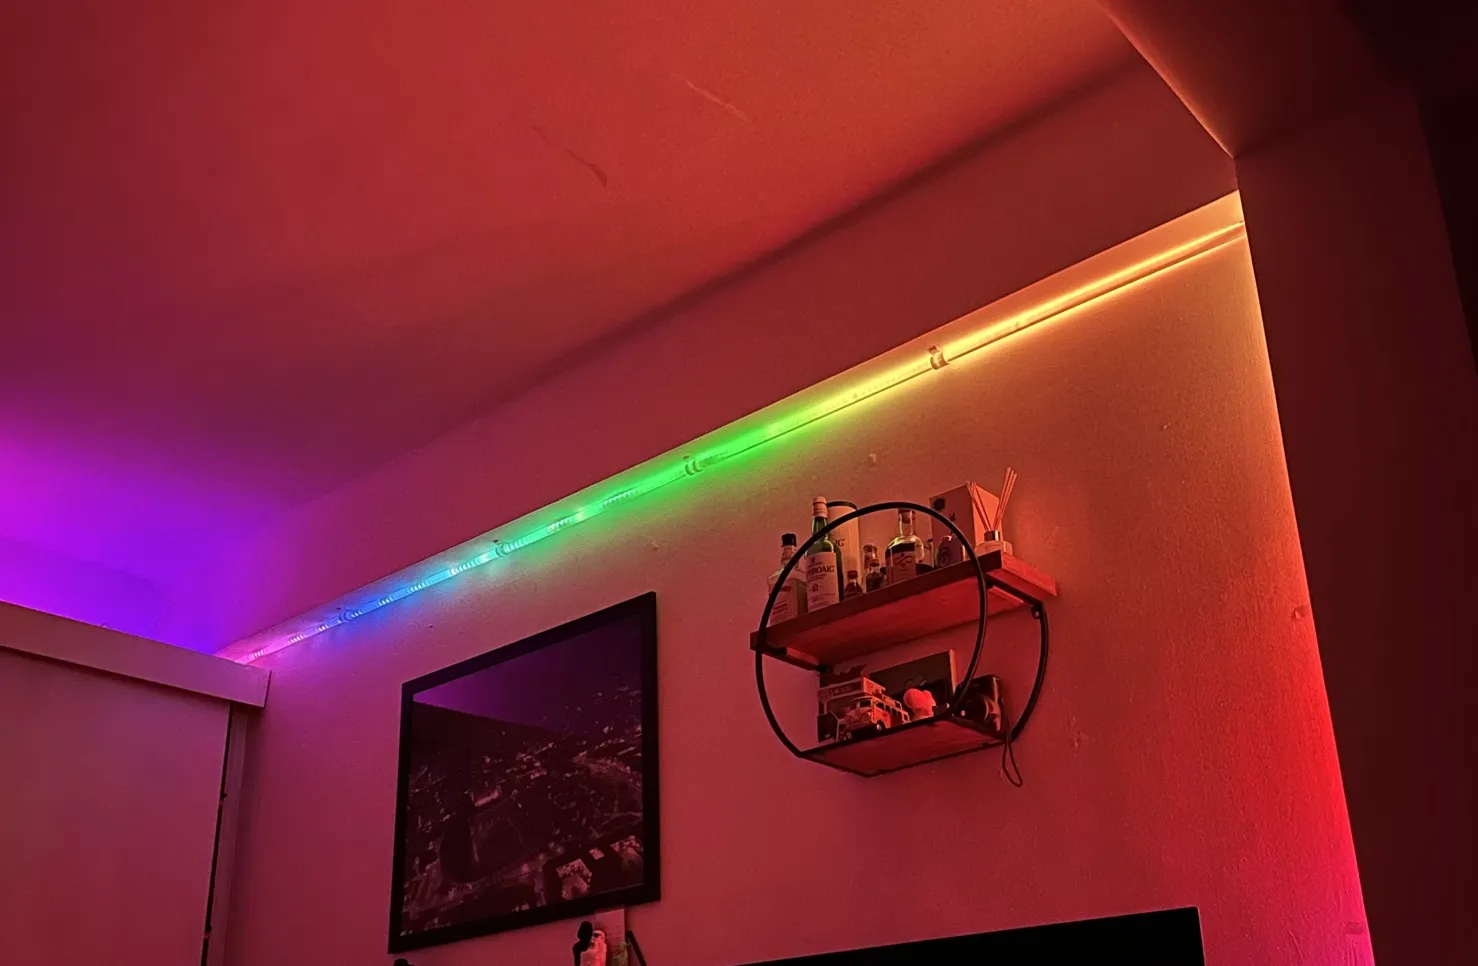
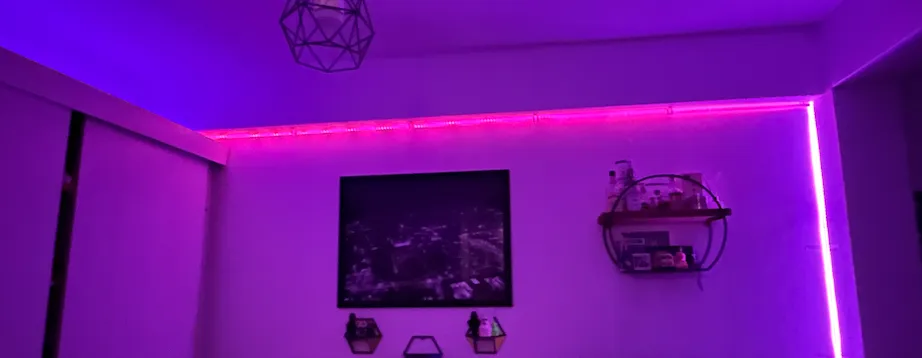
Next, I carefully placed the LED strip inside the plastic tubes, then mounted the entire assembly to my bedroom ceiling using glue. The result was a stunning strip of light that stretched across the room, giving it an otherworldly ambiance. I was very satisfied.
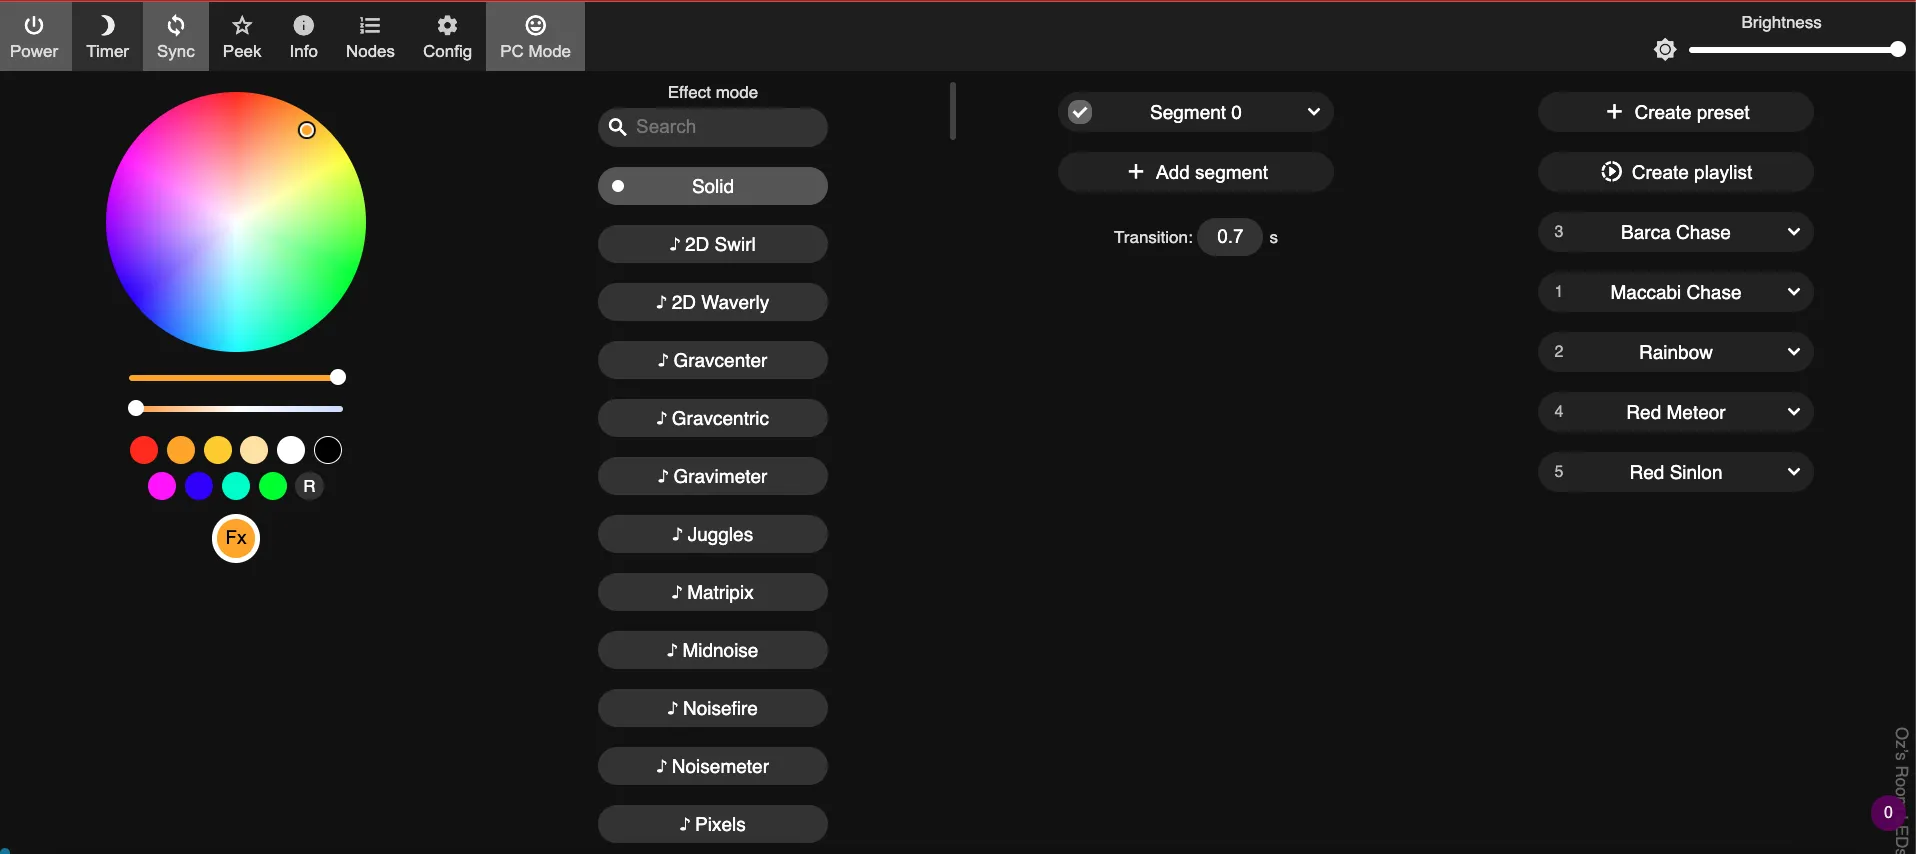
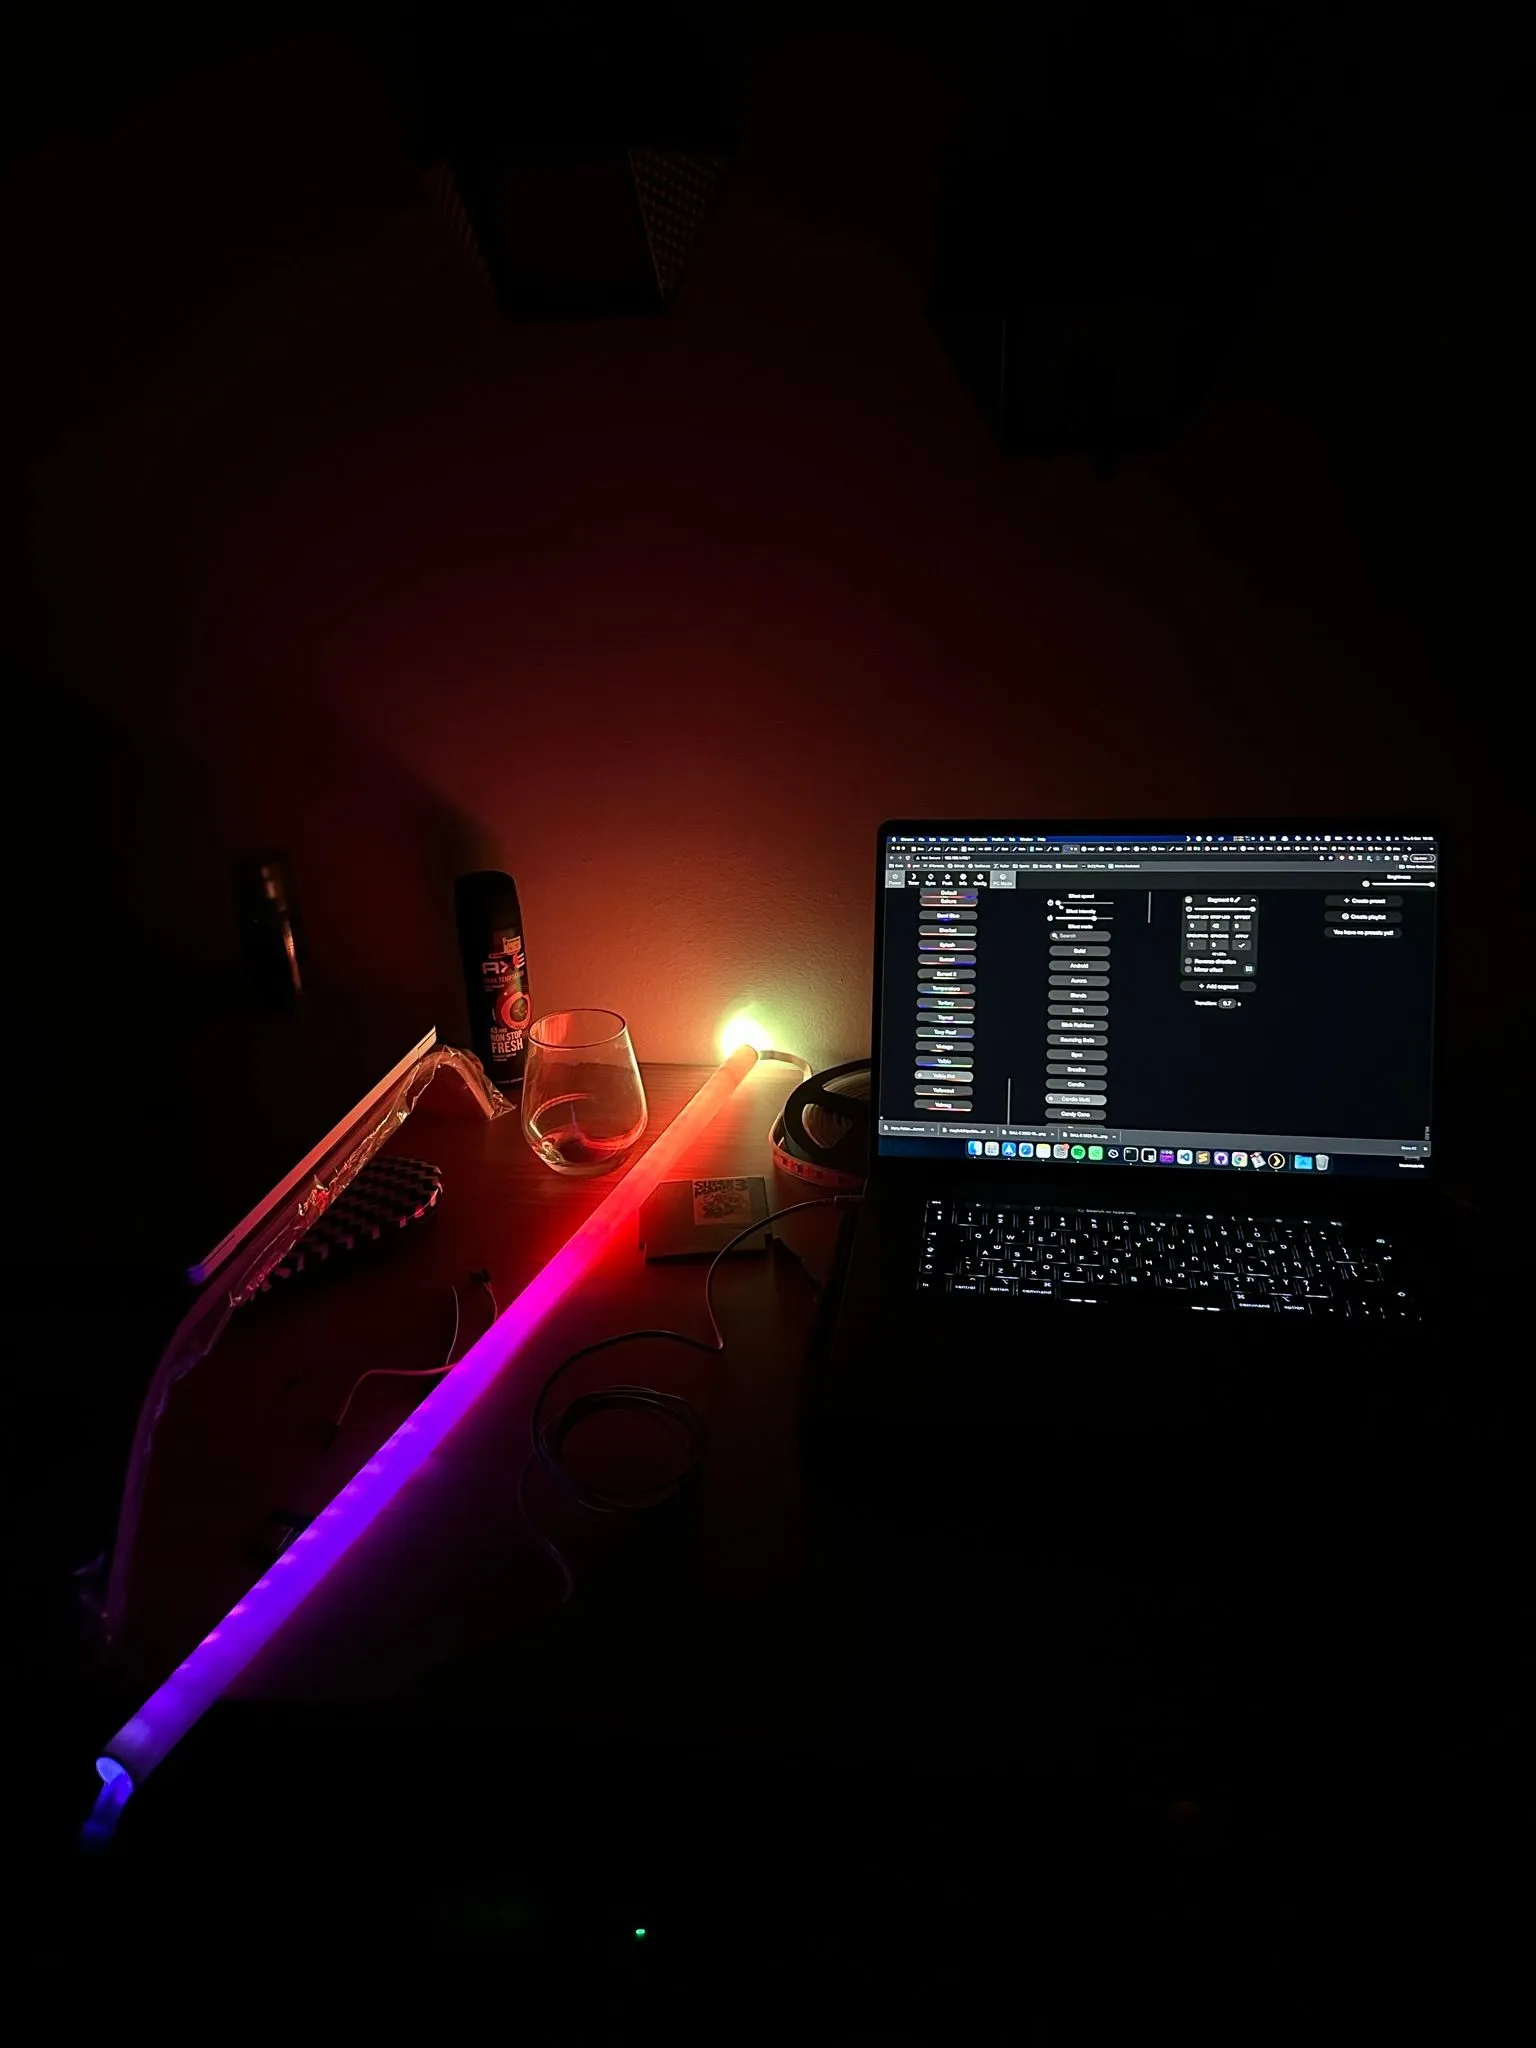
And that was it. I was very happy with the result, and I enjoyed the various effects supported by WLED:
A Symphony of Light and Sound
Or at least, that was it - until one week ago, when my roommate asked me if this setup could support reacting to sound. I ran to Google, and I quickly found a fork that supported audio input - WLED SR (Sound reactive).
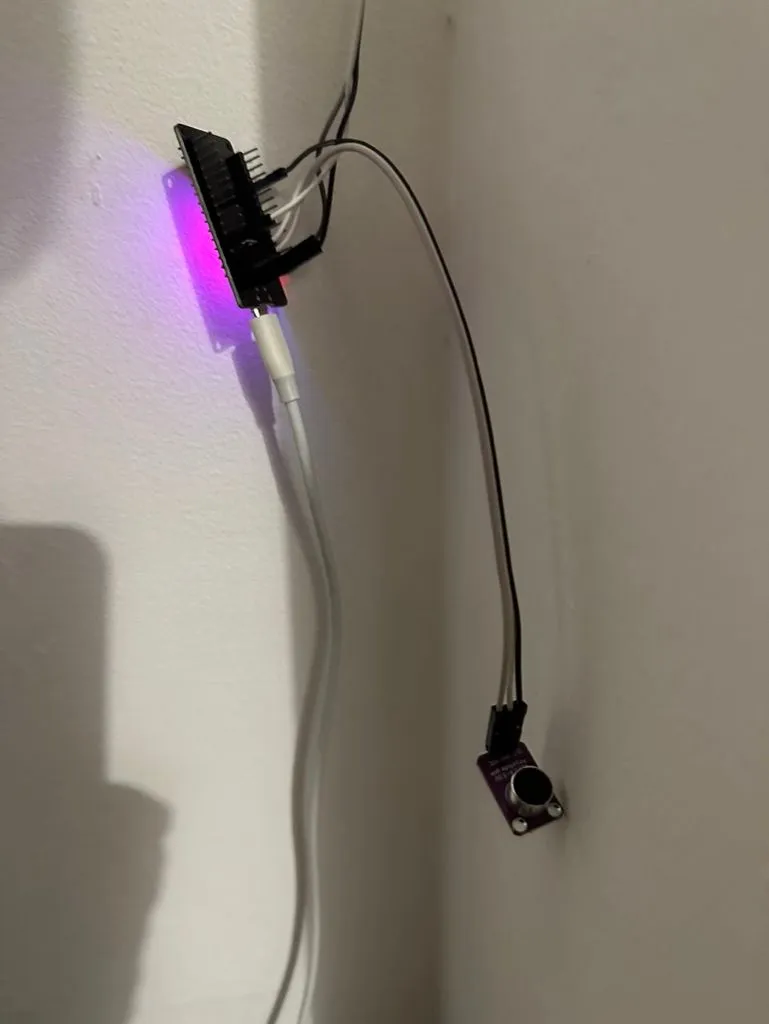
From the moment I saw this I knew I could not rest until I had it properly configured - and I did just that. I bought an analog microphone - MAX4466 - and flashed the new firmware.
Again, the wiring was not an issue - the MAX4466 only had three wires: 3.3v, GND, and GPIO - almost the same as the LED strip. Luckily, the ESP32 has enough pins for both of them together, and it was very easy to hook up:
Again, the next step was to make sure everything looked right on the settings page, under Sound Settings in the WebUI:
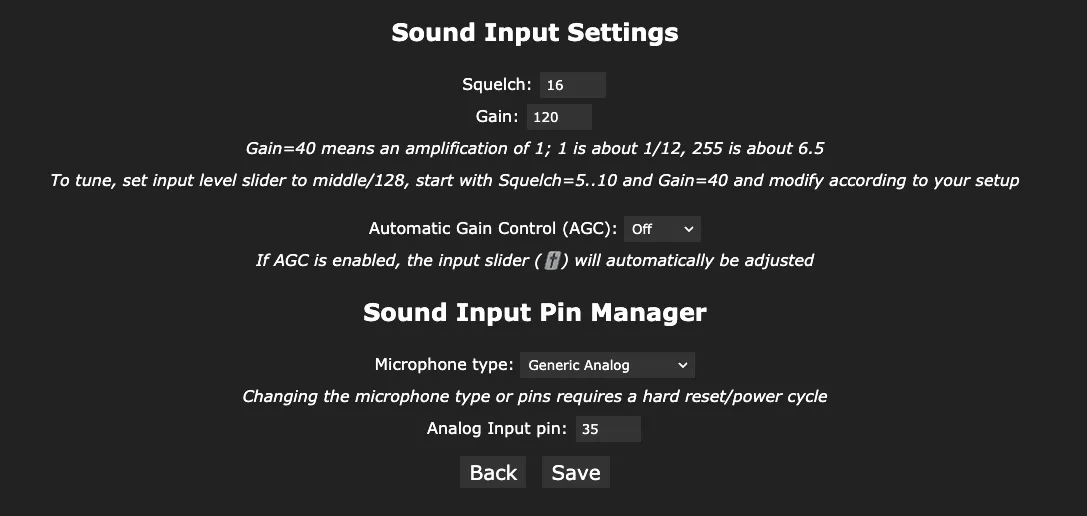
The Gain and Squelch settings need to be tuned in a trial-and-error method, but it wasn’t too hard to find a good fit - if you have troubles, read the wiki page and start by using these settings.
After finishing the setup, it was finally ready to go - and I found myself marveling at how cool this sound-reactive setup is. I am very happy to have found this fork.
Conclusion
The fusion of light and sound has transformed my bedroom into a mesmerizing sanctuary. The sound-reactive LED strip adds a unique touch to my living space, perfectly complementing my love for home automation and DIY projects.
This project was an incredible journey of discovery and creativity, and I can’t wait to see what new adventures lie ahead.
Editorial Note
While writing this post, I’ve used ChatGPT as an experiment. As with most things I do, I wrote about this experiment here.
FIN