A few months ago, I made a dream come true and moved in with my girlfriend, Tali. It was a long process; apartment hunting was the worst, but after a few months of searching, we finally had our dream house.
Once the initial phase of settling into our new routine, I realized that one of the things I enjoyed most about the situation was fidgeting - as previous posts in this blog will show you, I am a big fan of home automation and electronic DIY projects.
While I was living with roommates in my previous apartment, most of these projects were contained to my room and to my lifestyle - but now that I was living with my partner, I had the whole apartment as a playground, and I quickly found joy in tweaking and enhancing our daily routines through small smart home automations - from turning on the AC when one of us is heading home to making sure everything is off when both of us are away.
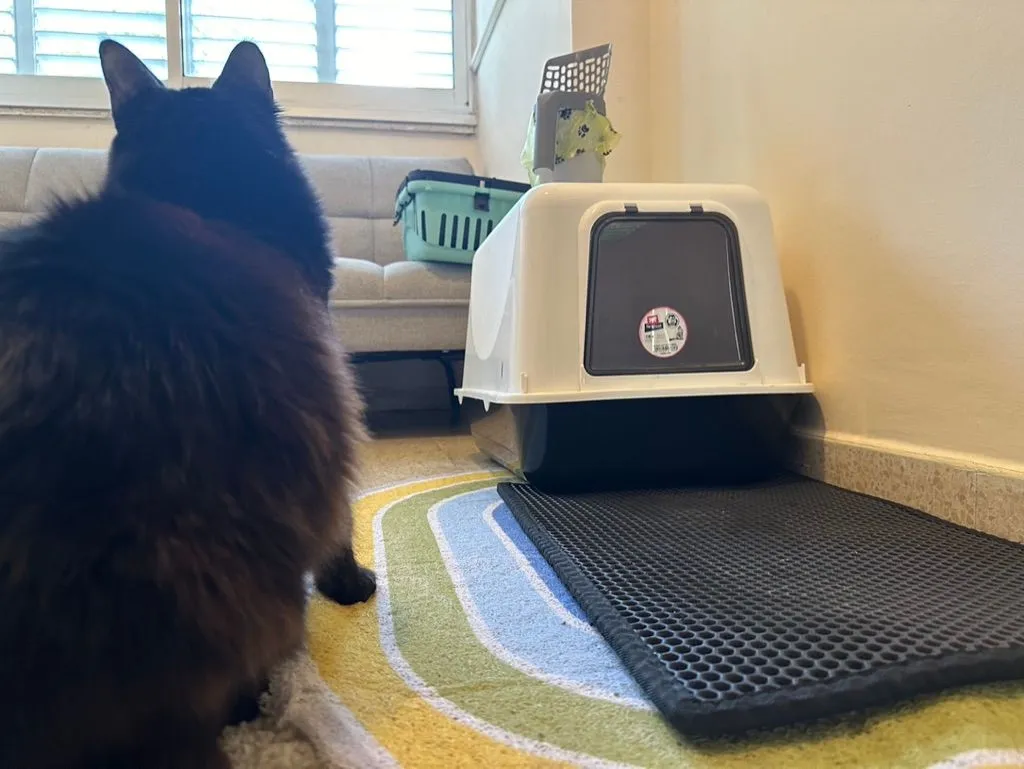
Another change to my life with this move was that I was suddenly living with Lychee - Tali’s (and now mine’s) cat, a fluffy and energetic little thing. Living with a cat brought with it the usual cat owner responsibilities, not least of which was maintaining the litter box.
We quickly agreed that a daily chore schedule would work for us - one day, I would clean the litter box, and the next day, Tali would take over. However, as straightforward as it might sound, there were hiccups - often, one of us would need the other to cover for them (for example, if one of us went out with friends and didn’t want to deal with it when we came back). This led to a couple of cases where we each thought it was the other’s turn, and in the end, no one cleaned it.
After a few of these cases, I realized that this is silly - it’s a clear case where a bit of code and electronics would solve the problem. I cracked my knuckles - And a new project was born.
Step 1: Tracking cleanouts with Zigbee
The first thing I knew I could solve with automation was the mere tracking and alerting of cleanouts - I wanted my home automation solution, Home Assistant, to be aware of the situation and to know when the litter box was being cleaned - as this would allow me to write automation that would alert us if too much time has passed since the last time it was cleaned.
I started by thinking about ways to implement this. The first idea that came to mind was a camera-based solution - but I quickly ruled it out because it felt like overkill (funny that I should say this, knowing what I ended up doing instead…) and raised privacy concerns. I needed something simple, effective, and minimally invasive. Another problem was electricity - the place where the litter box is located has no access to an outlet, so any solution that would not be battery-powered would be a problem.
While trying to come up with solutions, I remembered that I bought a couple of Zigbee-powered Window/Door sensors a while ago - and I immediately realized that those were the perfect solution. For those who don’t know, Zigbee is a communication protocol (like WiFi or Bluetooth) suited for creating low-power, wireless networks designed to efficiently carry small amounts of data over a short distance, making it an ideal solution for IoT solutions.
Among the broad range of Zigbee technology devices, window/door sensors are particularly noteworthy for their simplicity and versatility. These sensors are designed to detect the opening and closing of doors or windows, sending a signal to the central system whenever that happens - essentially functioning as reed-switches, using a magnet to open and close a circuit:
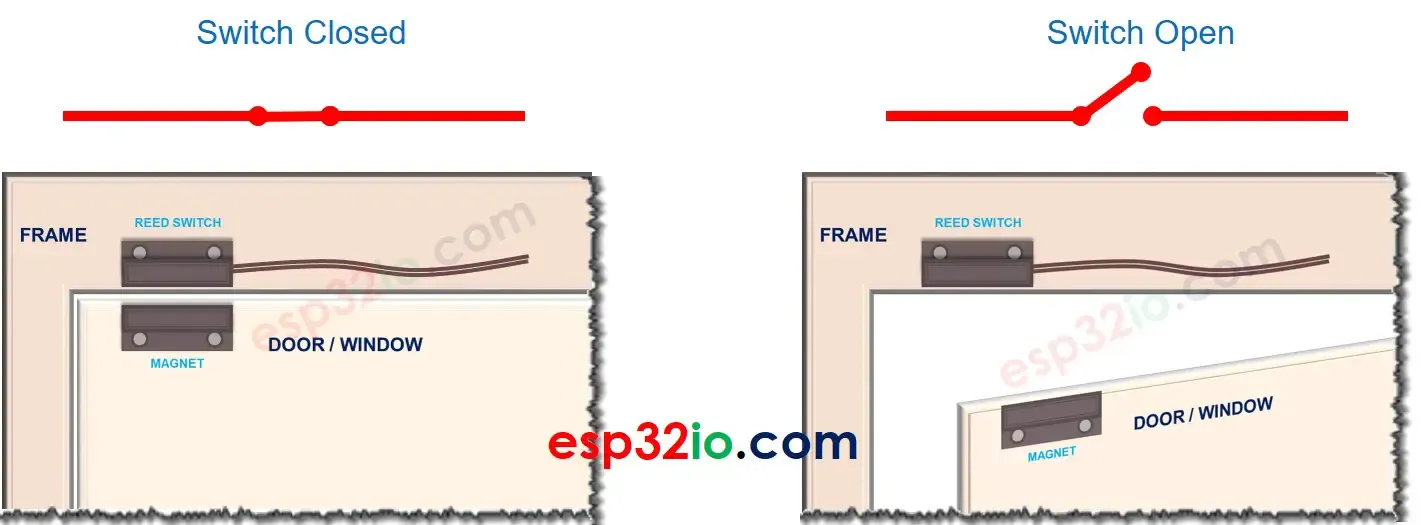
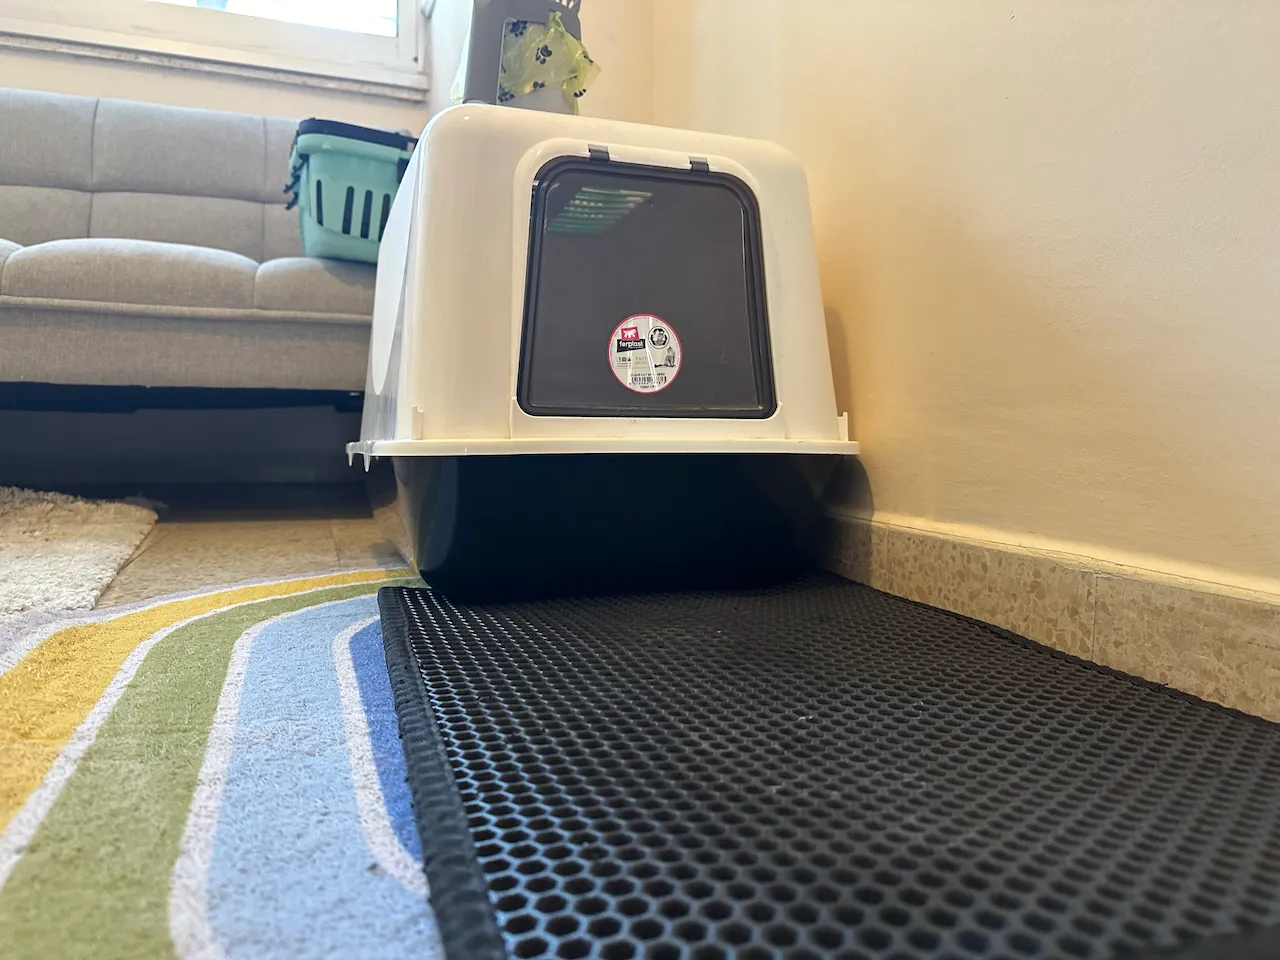
These sensors are typically used to monitor the open/close status of windows or doors in a smart home setup, alerting you if something’s amiss while you’re away or in bed. But who says you can’t teach an old sensor new tricks? I decided to repurpose one of these sensors for something a bit less conventional: monitoring the litter box’s lid to track cleaning activities.
As part of the cleaning process, we need to open and close the litter box lid - which means that using a door sensor would be a great fit! I could locate the magnet on the base of the litter box, and the reed switch on the top (or the other way around), and when I close the litter box it would trigger an event, allowing me to know that the litter box has been cleaned!

In addition, by using a Zigbee sensor, I gained a couple of additional benefits:
- Long Battery Life: Battery powered Zigbee devices like these are optimized for low power consumption, meaning I wouldn’t have to worry about frequent battery replacements. This was crucial for a set-and-forget solution.
- Discreteness: These sensors are small, unobtrusive, and do exactly what I need—detect open/close events. Their simplicity meant I could deploy them without disrupting the aesthetic or functionality of our living space.
How It works
The setup was straightforward but effective. I attached a Zigbee sensor to the litter box lid, ensuring it would trigger whenever it opened or closed. This action was logged as an event in our Home Assistant setup, which I’ve been using to centralize all our smart home activities. The idea was simple: every open-close cycle would indicate a cleaning session.
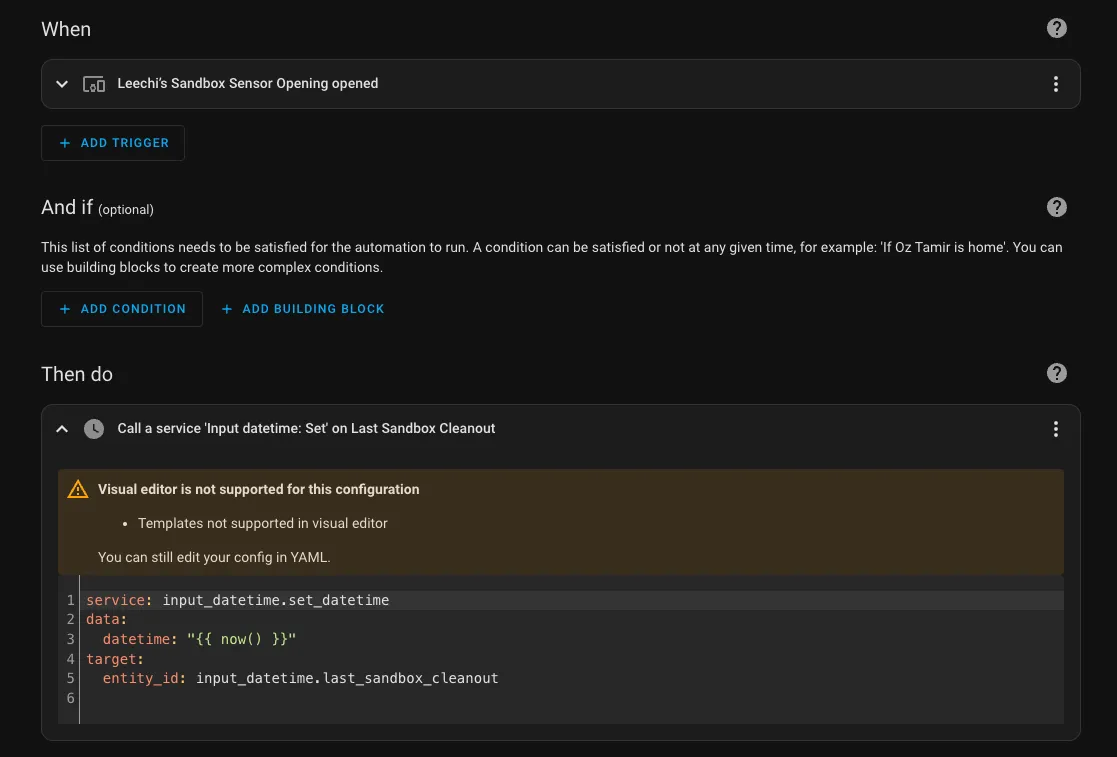
Writing the automation was also very easy:
description: Set the time when the sandbox was last cleaned
mode: single
trigger:
  - type: opened
    platform: device
    device_id: XXXXXXXXXXXXXXXXXXXXXXXXXXXXXXXX
    entity_id: XXXXXXXXXXXXXXXXXXXXXXXXXXXXXXXX
    domain: binary_sensor
condition: []
action:
  - service: input_datetime.set_datetime
    data:
      datetime: "{{ now() }}"
    target:
      entity_id: input_datetime.last_sandbox_cleanout
As was adding a card to the dashboard:
type: custom:mushroom-template-card
primary: '{{ relative_time(states.input_datetime.last_sandbox_cleanout.last_changed) }}'
secondary: Since the Sandbox was cleaned
icon: mdi:cat
multiline_secondary: false
fill_container: false
And that’s it! I was now tracking cleanouts, and I could set an alert to inform us if too much time has passed since it was last cleaned. I was done!
…Or was I?
Step 2: Tracking the cleaner
After successfully implementing the monitoring of cleanouts, it was time to address the next challenge in our quest for seamless cohabitation: accurately tracking whose turn it was to clean the litter box.
Up until this point, Tali and I had been using a simple but somewhat archaic system—a 3D-printed wheel that we would manually turn to indicate who was responsible for the next cleanout.
While this method had its charm, it was prone to human error and forgetfulness. I realized that we could leverage technology to track when the litter box was cleaned and by whom.
This is where ESPresense, a smart solution for tracking presence within a home, came into play. ESPresense is an open-source project that utilizes Bluetooth signals from smartphones, smartwatches, or any Bluetooth-enabled device to determine who is present in a specific room.
By deploying ESP32 devices around the house, one can create a network that accurately monitors the location of individuals based on the strength of their device’s Bluetooth signal. For me, the killer feature of this solution was that it didn’t require anyone to change their habits or carry an additional device - the only thing needed was the phones that are with us all the time anyway.
I wanted to implement this system for a while but didn’t find a use case - until now. By placing an ESP32 device in the room with Lychee’s litter box, I could use ESPresense to detect which one of us was nearby when the litter box was cleaned. This data, combined with the open/close signal from the Zigbee sensor, would allow us to automatically update who had completed the chore - helping us to keep track of whose turn it was the next day.
Putting it all together
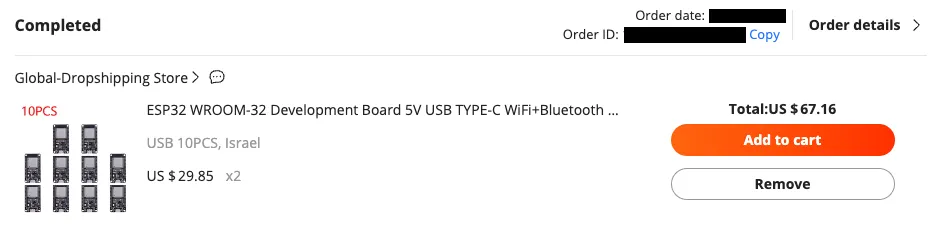
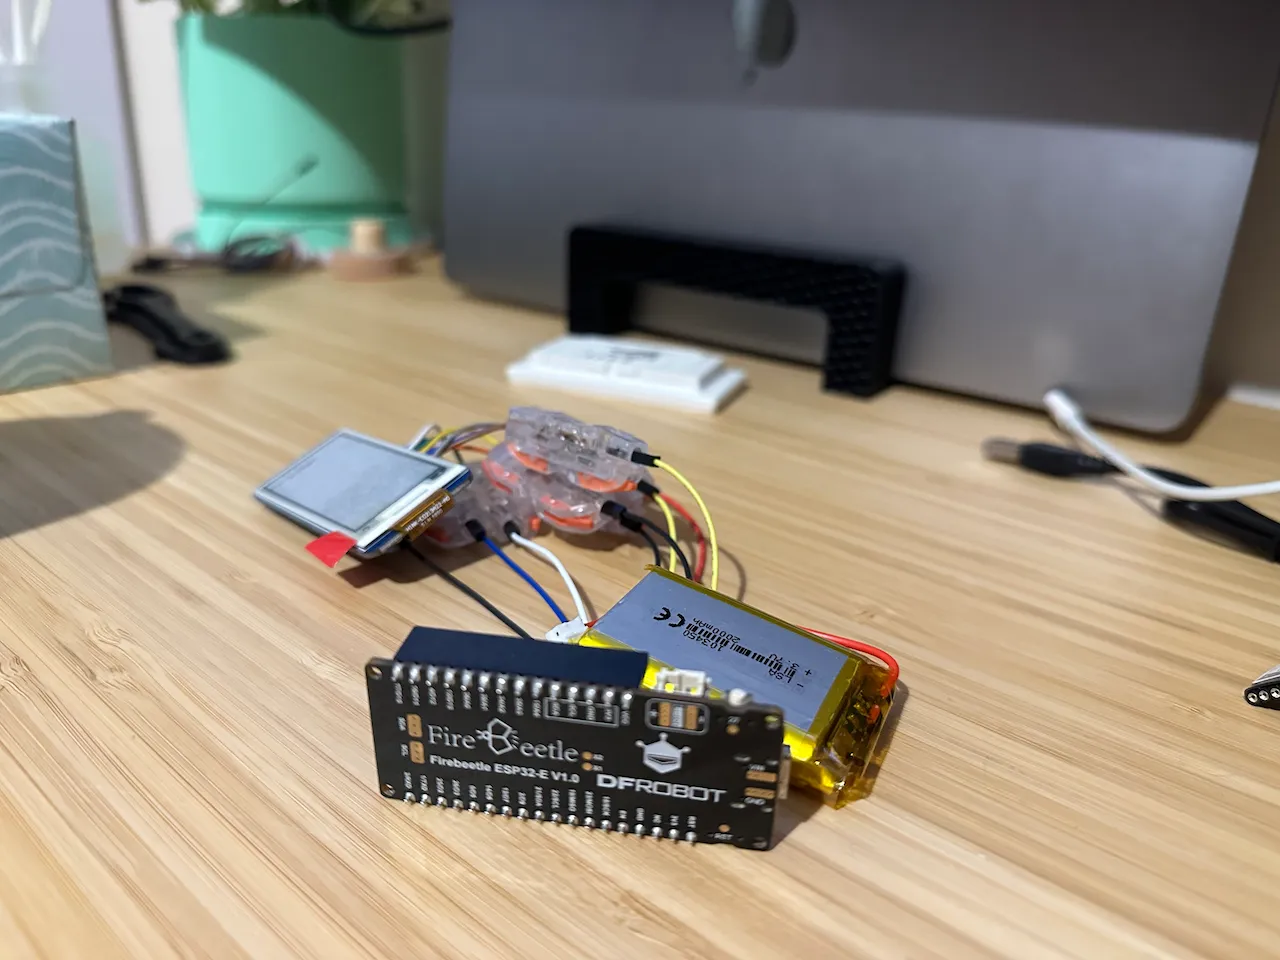
The first order of business was acquiring the necessary hardware - since I wanted to track presence around multiple rooms, I needed multiple base stations. I turned to AliExpress and ordered a bunch of ESP32 boards.
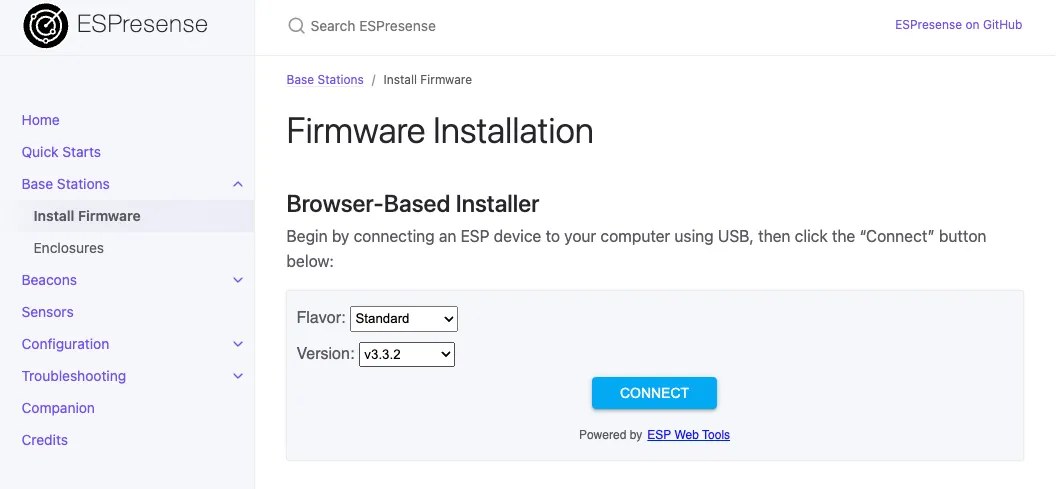
Once they arrived, I set about flashing them with the ESPresense firmware. This process is done via the browser using ESP Web Tools, and is as easy as connecting the board via USB and following the UI wizard:
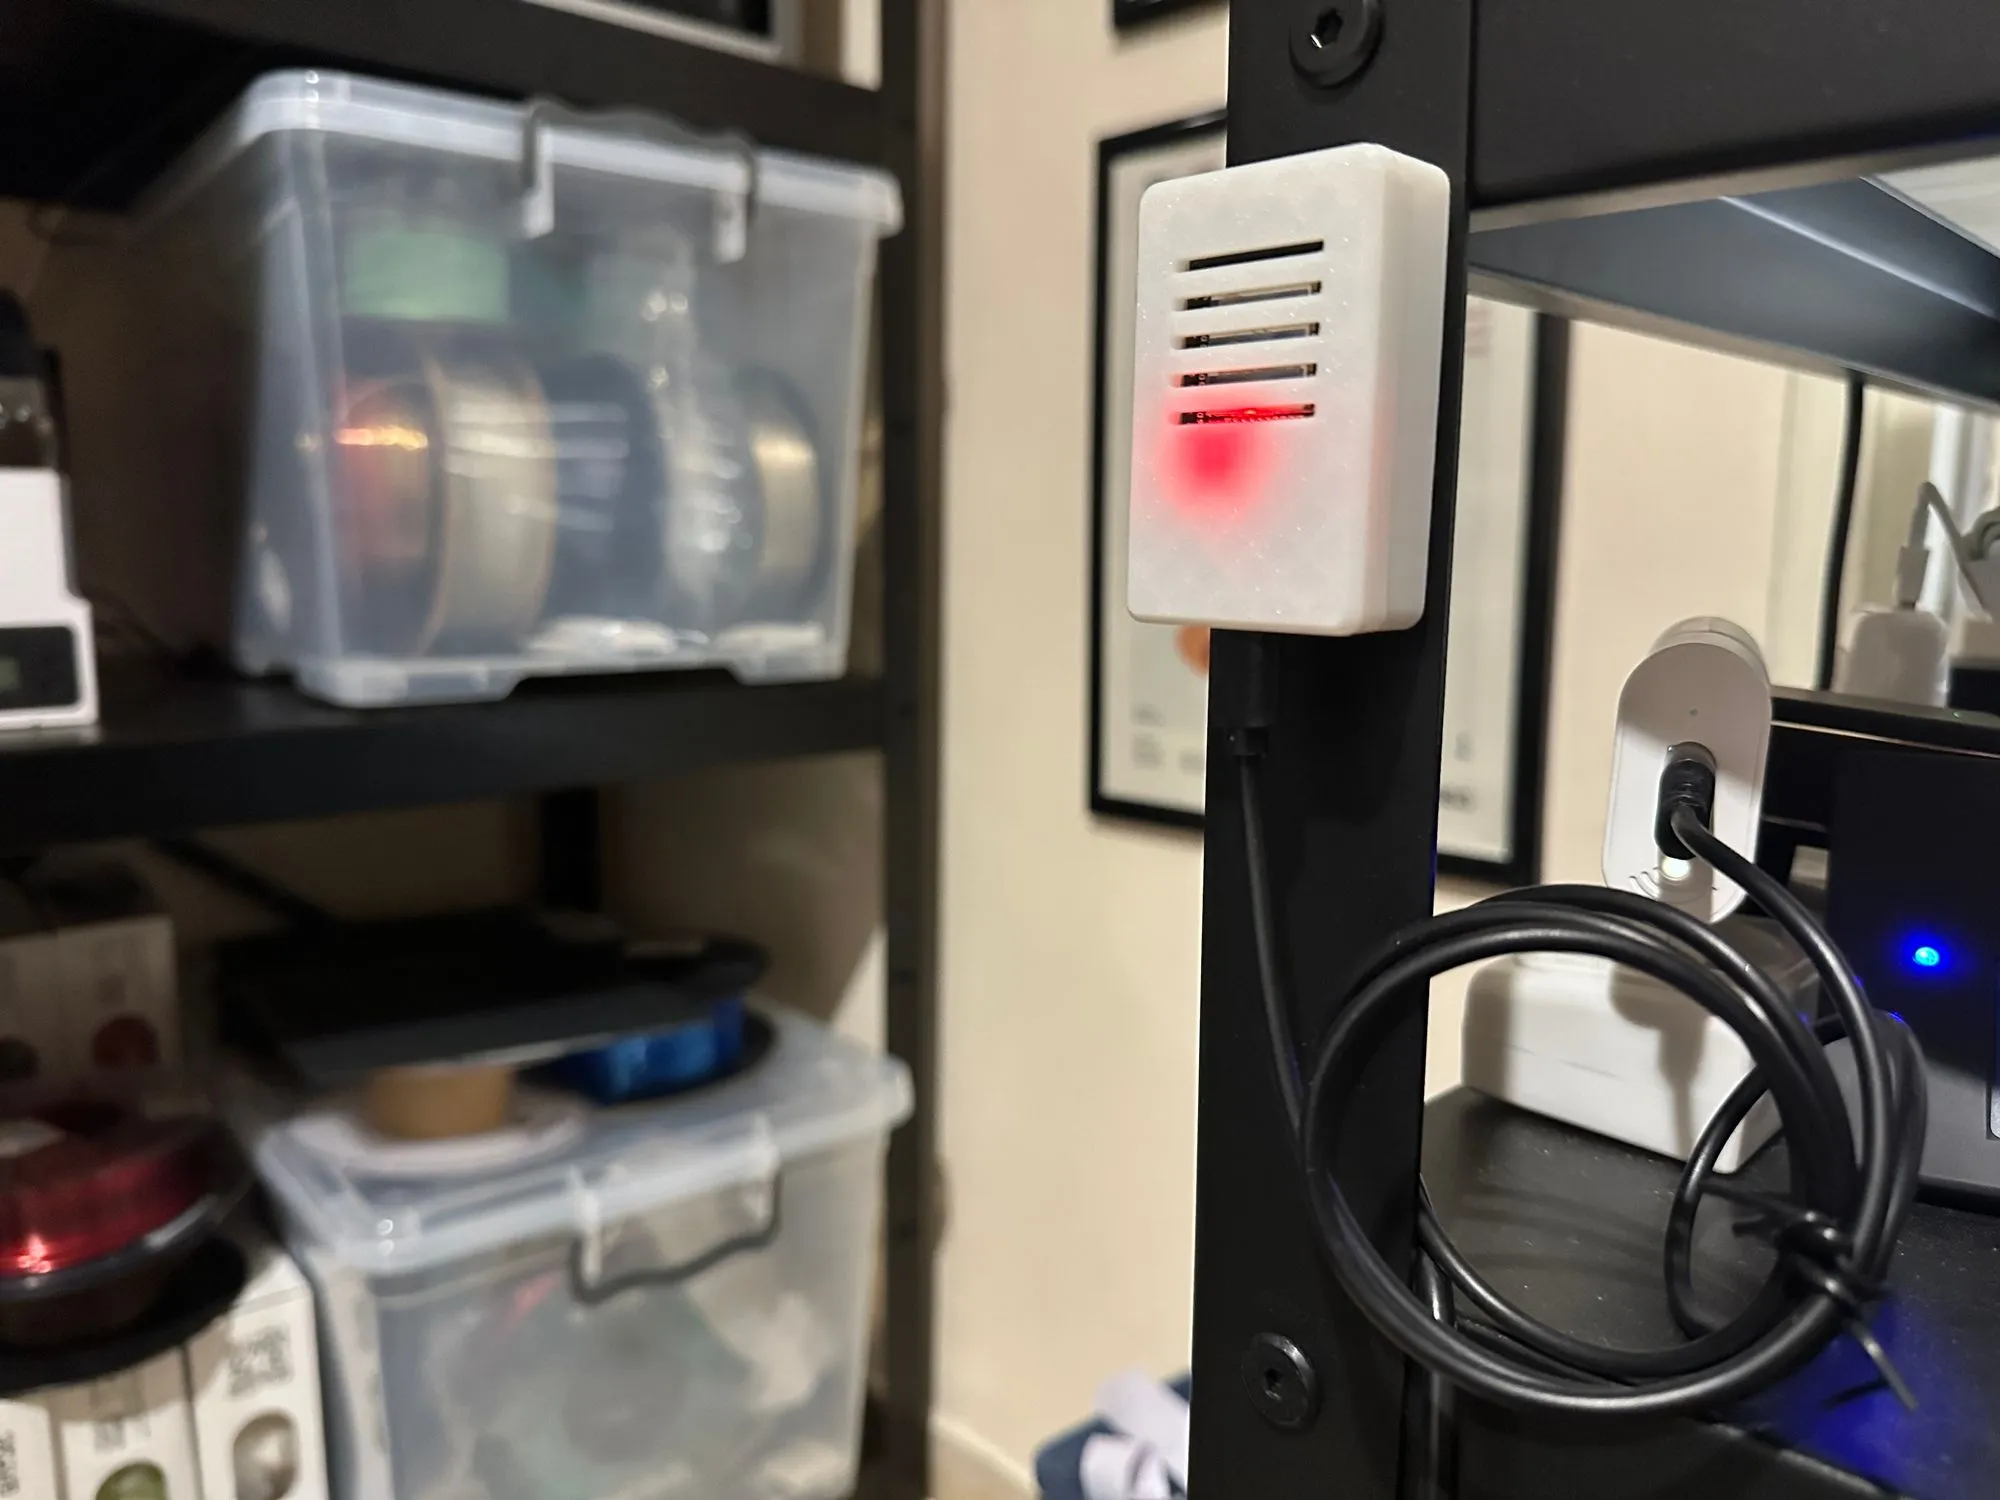
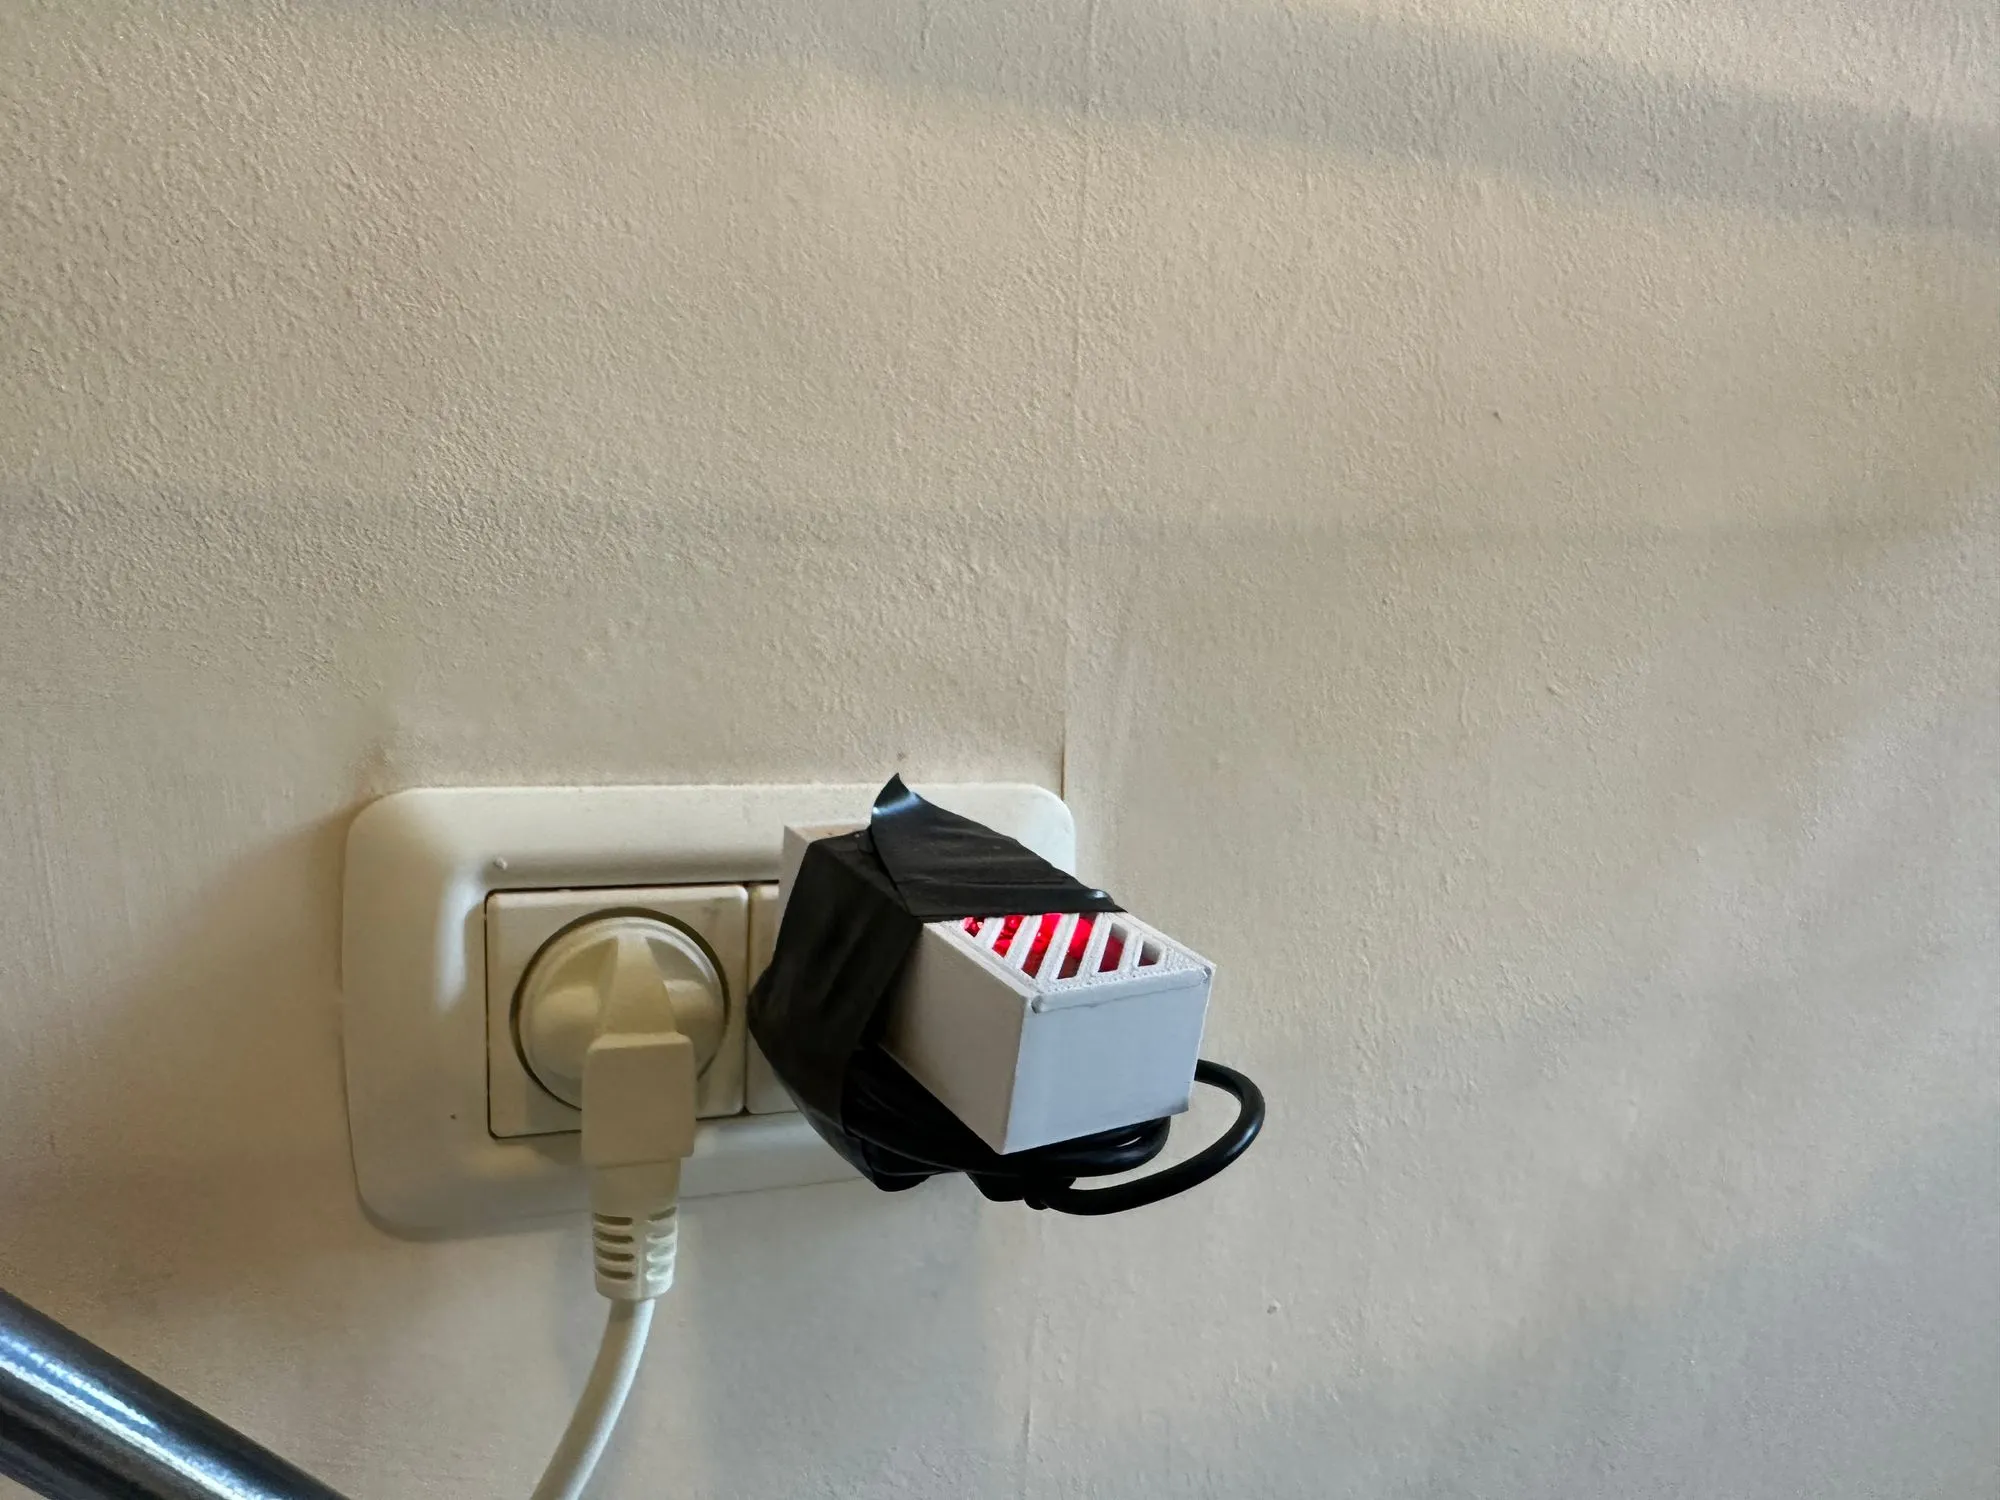
After installing the firmware, I strategically placed a few of these boards around the house, including one in the room where Lychee’s litter box resided. This placement was key to ensuring that we could accurately detect the presence of either Tali or me in the vicinity of the litter box at the time of cleaning.
Integrating Home Assistant and ESPresense via MQTT
Integrating ESPresense with Home Assistant to achieve our automated litter box cleaning tracker required one more critical component: an MQTT broker. MQTT, which stands for Message Queuing Telemetry Transport, is a lightweight messaging protocol designed for small sensors and mobile devices. It’s perfect for home automation projects because it allows for efficient data transmission between devices and the central home automation system, in this case, Home Assistant.
To bridge the gap between the ESPresense system and Home Assistant, I needed to set up an MQTT broker on Home Assistant. This broker acts as a central hub where messages are received from various devices (in this scenario, the ESP32 boards running ESPresense) and then distributed to the appropriate services within Home Assistant. By running an MQTT broker, Home Assistant can receive the presence logs from the ESPresense base stations, which are crucial for determining who is near the litter box during cleanout times.
Setting Up the MQTT Broker
The process of setting up an MQTT broker in Home Assistant is straightforward, thanks to the Mosquitto broker add-on available in the Home Assistant Add-on Store. Here’s an overview of the steps involved:
- Install the Mosquitto broker Add-on: This can be done directly from the Home Assistant Add-on Store. The Mosquitto broker is a popular choice due to its reliability and ease of integration with Home Assistant.
- Configure the Broker: Basic configuration is required, such as setting up a username and password for secure device communication after installation.
- Connect ESPresence to the Broker: The ESP32 boards running ESPresence must be configured to send their presence data to the MQTT broker. This involves setting the MQTT server address (the IP address of your Home Assistant instance), port (usually 1883), and the credentials you established during the broker setup.
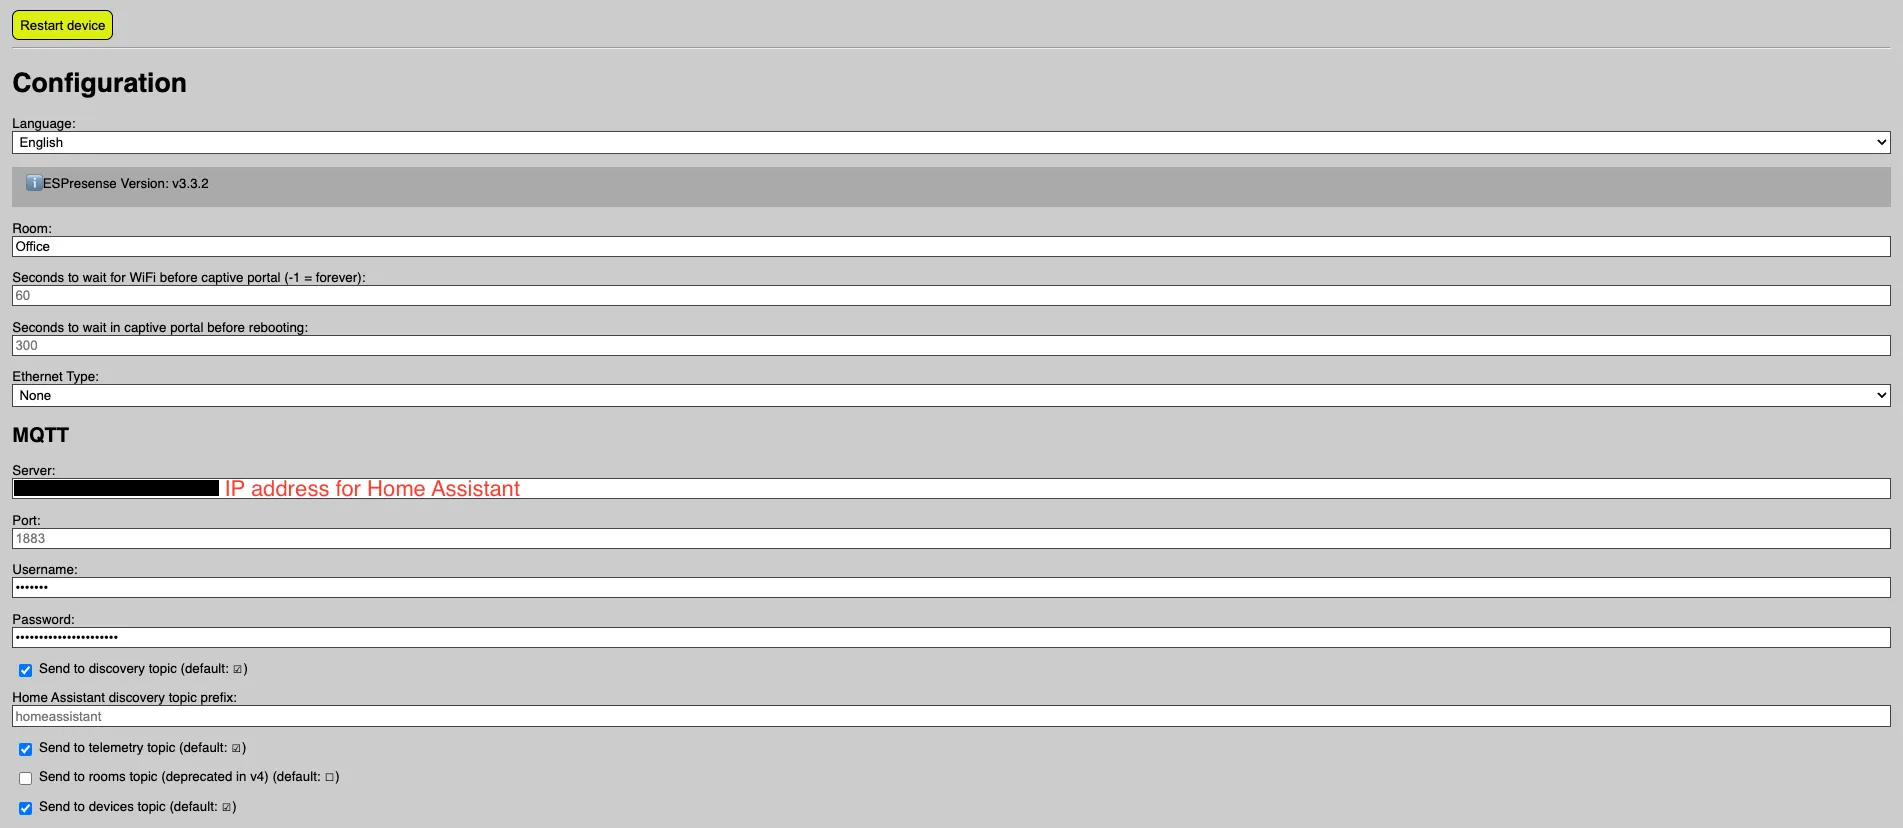
The final step is to ensure that Home Assistant listens to the right topics on the MQTT broker to receive the presence data. This step is a bit tricky because the interface is not that well-defined - I had to fidget with it quite a lot to get it right. To make this process easier, I recommend using tools that allow you to connect to the MQTT server and inspect the messages it receives (I was quite happy with MQTT Explorer, but any similar software will do the trick).

After some back and forth, I was able to define the presence status of my phone in configuration.yaml like this:
  - platform: mqtt_room
    device_id: "oz_iphone_XXXXXX"
    name: "Oz's iPhone XXXXXX"
    state_topic: "espresense/devices/oz_iphone_XXXXXX"
    timeout: 10
    away_timeout: 120
Which exposed this entity:

And with this implemented, I could finally re-write the tracking automation - whenever the litter box was being cleaned, the automation checked if I was in the room, and based on that would assign the state of a helper state named last_person_to_clean_box:
alias: "Set Who Cleaned the litter box "
description: ""
trigger:
  - type: opened
    platform: device
    device_id: XXXXXXXXXXXXXXXXXXXXXXXXXXXXXXXX
    entity_id: XXXXXXXXXXXXXXXXXXXXXXXXXXXXXXXX
    domain: binary_sensor
condition: []
action:
  - if:
      - condition: state
        entity_id: sensor.oz_s_iphone_XXXXXX
        state: guests
    then:
      - service: input_text.set_value
        target:
          entity_id: input_text.last_person_to_clean_box
        data:
          value: Oz
    else:
      - service: input_text.set_value
        target:
          entity_id: input_text.last_person_to_clean_box
        data:
          value: Tali
mode: single
And with it, I could now also add this information to the dashboard:
type: custom:mushroom-template-card
primary: >-
  {{
  relative_time(states.binary_sensor.leechi_s_sandbox_sensor_opening.last_changed)
  }}
secondary: >-
  Since Leechi's Sandbox was cleaned by {{
  states.input_text.last_person_to_clean_box.state}}
icon: mdi:cat
multiline_secondary: false
fill_container: false
Now there was only one problem left - this dashboard is not always visible, and as you probably understand, one of the goals in this project was to make this solution as low friction as possible - which meant another final piece was needed.
Step 3: Displaying Responsibility
With the tracking and integration challenges successfully navigated, the final piece of the puzzle was to communicate clearly and effectively who was responsible for the next cleaning. My goal was to put a screen on the room door, which would mean that just by going near the room, we could immediately tell if it was our turn.
At first, I tried to create this solution on my own - I knew that an ePaper screen was the way to go here, as it is low-powered. I started working on a solution using ESPHome and ESPNow, but after a bit of trial and error, I came to the conclusion that it would require replacing batteries too often, even if I optimize it for low energy usage.
I needed something else. I went online and looked for a solution, and this is where I came across this Hack-a-Day article about ePaper price tag hacking. It turns out that in some parts of the world, using ePaper screens to display price tags in stores for a while was popular.
Apparently, as I discovered upon further reading, there are entire hardware hacking communities devoted to hacking these tags for use in personal projects. This is where I first heard about OpenEPaperLink. From the wiki:
This is an alternative firmware and protocol for the ZBS243-based Electronic Shelf Labels - ESL / price tags by Solum / Samsung. It can be used to setup E-Paper tags and supply them with content.
The software in this project consists of two parts: Accesspoint-firmware and Tag firmware. Additionally, there are various hardware designs for accesspoints and flasher-interfaces to program the tags, preferably using programming jigs
I immediately knew that this was the solution to my needs. The first step was to acquire a compatible ePaper display and the hardware required to run an OpenEPaperLink base station, which connects the display to our home network.
After reading through the docs, I realized that I have neither the electronics hardware nor the knowledge required to build this myself - not to mention how hard it is to get these displays, especially in Israel - and I decided to opt for a kit that included everything needed for a straightforward setup. This decision saved me from the intricacies of flashing firmware and dealing with the nitty-gritty of wireless communication protocols. About a month of shipping later, it arrived and I was ready to go.

Integration with Home Assistant
To integrate with Home Assistant, I’ve used the wonderful integration by Jonas Niesner, available via HACS. This integration works by creating a local image and then having the ePaper screen pull it from Home Assistant and display it.
After reading the docs, I’ve used ChatGPT to help me write the drawcustom logic required to draw an image with the details I needed - a text stating who’s turn it is to clean next, along with the time since it was last cleaned. The automation would run every hour, updating the screen with the time that has passed, and will also run when the box is cleaned - which would replace the text saying who’s next. Here’s the hourly automation:
alias: Set Sandbox Screen Every Hour
description: ""
trigger:
  - platform: time_pattern
    minutes: "00"
condition: []
action:
  - service: open_epaper_link.drawcustom
    target:
      entity_id: open_epaper_link.000002193e6c3b14
    data:
      backgroundcolor: white
      payload:
        - type: text
          value: Next person to clean is
          font: ppb.ttf
          x: 148
          "y": 10
          size: 20
          color: black
          anchor: mm
        - type: text
          value: |
            {% if states('input_text.last_person_to_clean_box') == 'Tali' %}
              Oz
            {% elif states('input_text.last_person_to_clean_box') == 'Oz' %}
              Tali
            {% endif %}
          font: rbm.ttf
          x: 148
          y_padding: 35
          size: 70
          color: black
          anchor: mm
        - type: text
          value: >
            Last clean: {{
            relative_time(states.binary_sensor.leechi_s_sandbox_sensor_opening.last_changed)
            }} ago
          font: ppb.ttf
          x: 148
          y_padding: 20
          size: 20
          color: >
            {% set last_clean =
            states.binary_sensor.leechi_s_sandbox_sensor_opening.last_changed %}
            {% set duration = (now() - last_clean).total_seconds() %} {% if
            duration > 64800 %}
              red
            {% else %}
              black
            {% endif %}
          anchor: mm
      dry-run: false
mode: single
Which created this image:

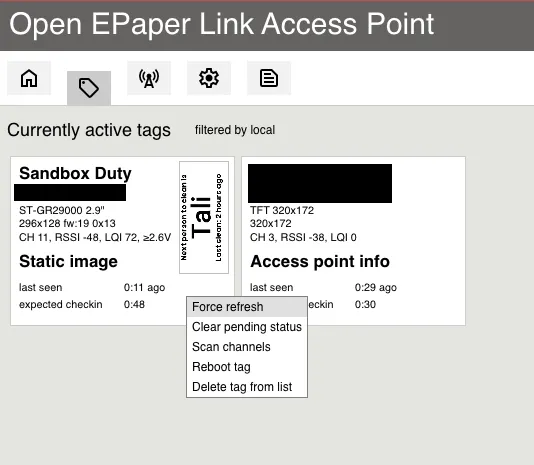
To test it, I forced an update via the OpenEPaperLink interface:
And, like magic - everything came together and I got this result:
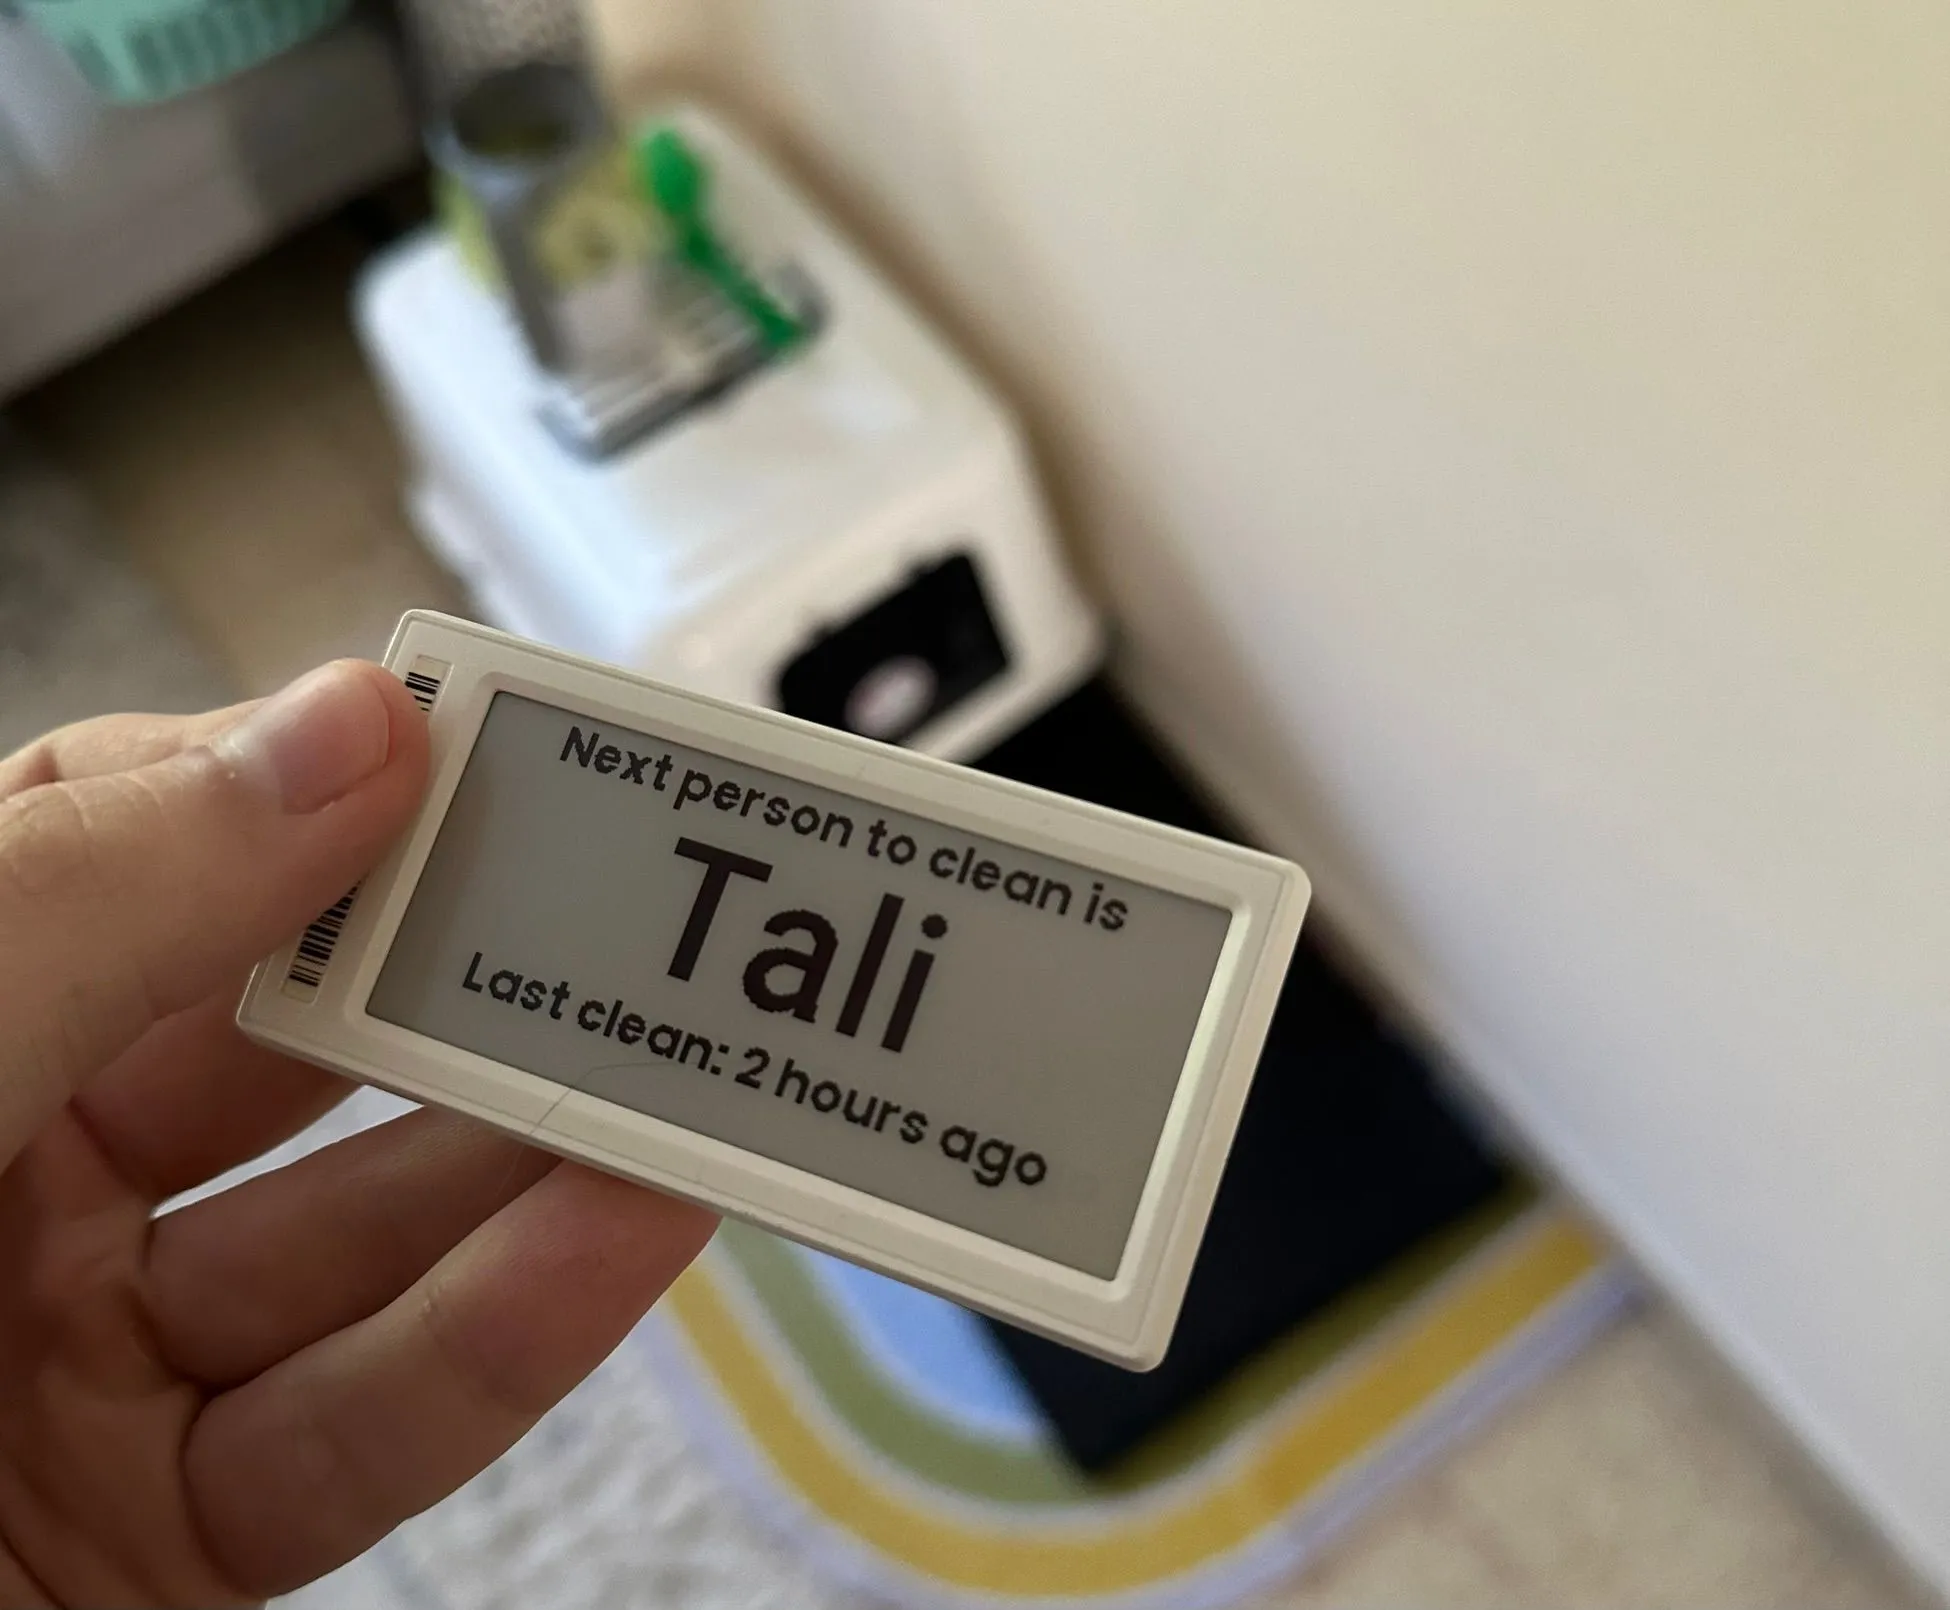
Now, I was done. No longer do Tali and I need to wonder or debate whose turn it is to clean Lychee’s litter box; the answer is always just a glance away as we leave or enter our home.
Conclusion
This project, for me, was another example of how much fun smart home projects are. Even though the problem I was solving wasn’t real, I had a ton of fun solving it and learned a lot along the way - It required me to find new solutions and integrate new technologies into my smart home stack, and I can’t wait to see how these solutions will allow me to improve more aspects of our home.
This time it was the litter box, but I feel like this solution is ready to be adopted for many other tasks, and I hope that by sharing it here it will inspire other people to come up with ideas for what those tasks could be.
Beyond automating a chore, this project deepened my appreciation for DIY electronics and the possibilities of home automation. In essence, this project captures the spirit of what it means to be a hobbyist programmer. For me, these small, seemingly inconsequential improvements celebrate the essence of programming—finding joy in crafting elegant solutions to everyday challenges and, perhaps, in the gentle art of streamlining our path to laziness.
And really, isn’t this pursuit of cleverly engineered convenience what being a programmer is all about?
FIN