Designing T-Shirts With DALL-E
I love T-Shirts. I really do.
As I see it, a shirt is the most striking prop we as humans in society have at our disposal as we are tasked with creating first impressions.
Shirts can make you look serious; they can make you look attractive; they can make you look like a fun person to hang with, and they can deter people from wanting to spend time with you.
In particular, T-Shirts are also a great way to introduce yourself to people. They present a great opportunity for self-expression, which is why I was always fascinated with the idea of designing my own T-Shirts. There was only one problem - I’m not that good of a designer.
I thought this is yet another thing that I won’t be able to do (or at least not at a level where I would be proud of the outcome) - when I saw this Instagram post:
View this post on Instagram
While I’ve seen a lot of creative uses for DALL-E, using it for making T-Shirts wasn’t one that came to my mind. I was intrigued! And as always, when I’m intrigued, I’ve decided to dig deeper and have a go at it myself.
The following are a few techniques I’ve come up with that have helped me design some custom shirts (I am using RedBubble as a print-on-demand service).
I am very happy with the results, and I hope they inspire readers to do additional experiments in this field. Let’s go!
Method #1 - Fitting into shapes
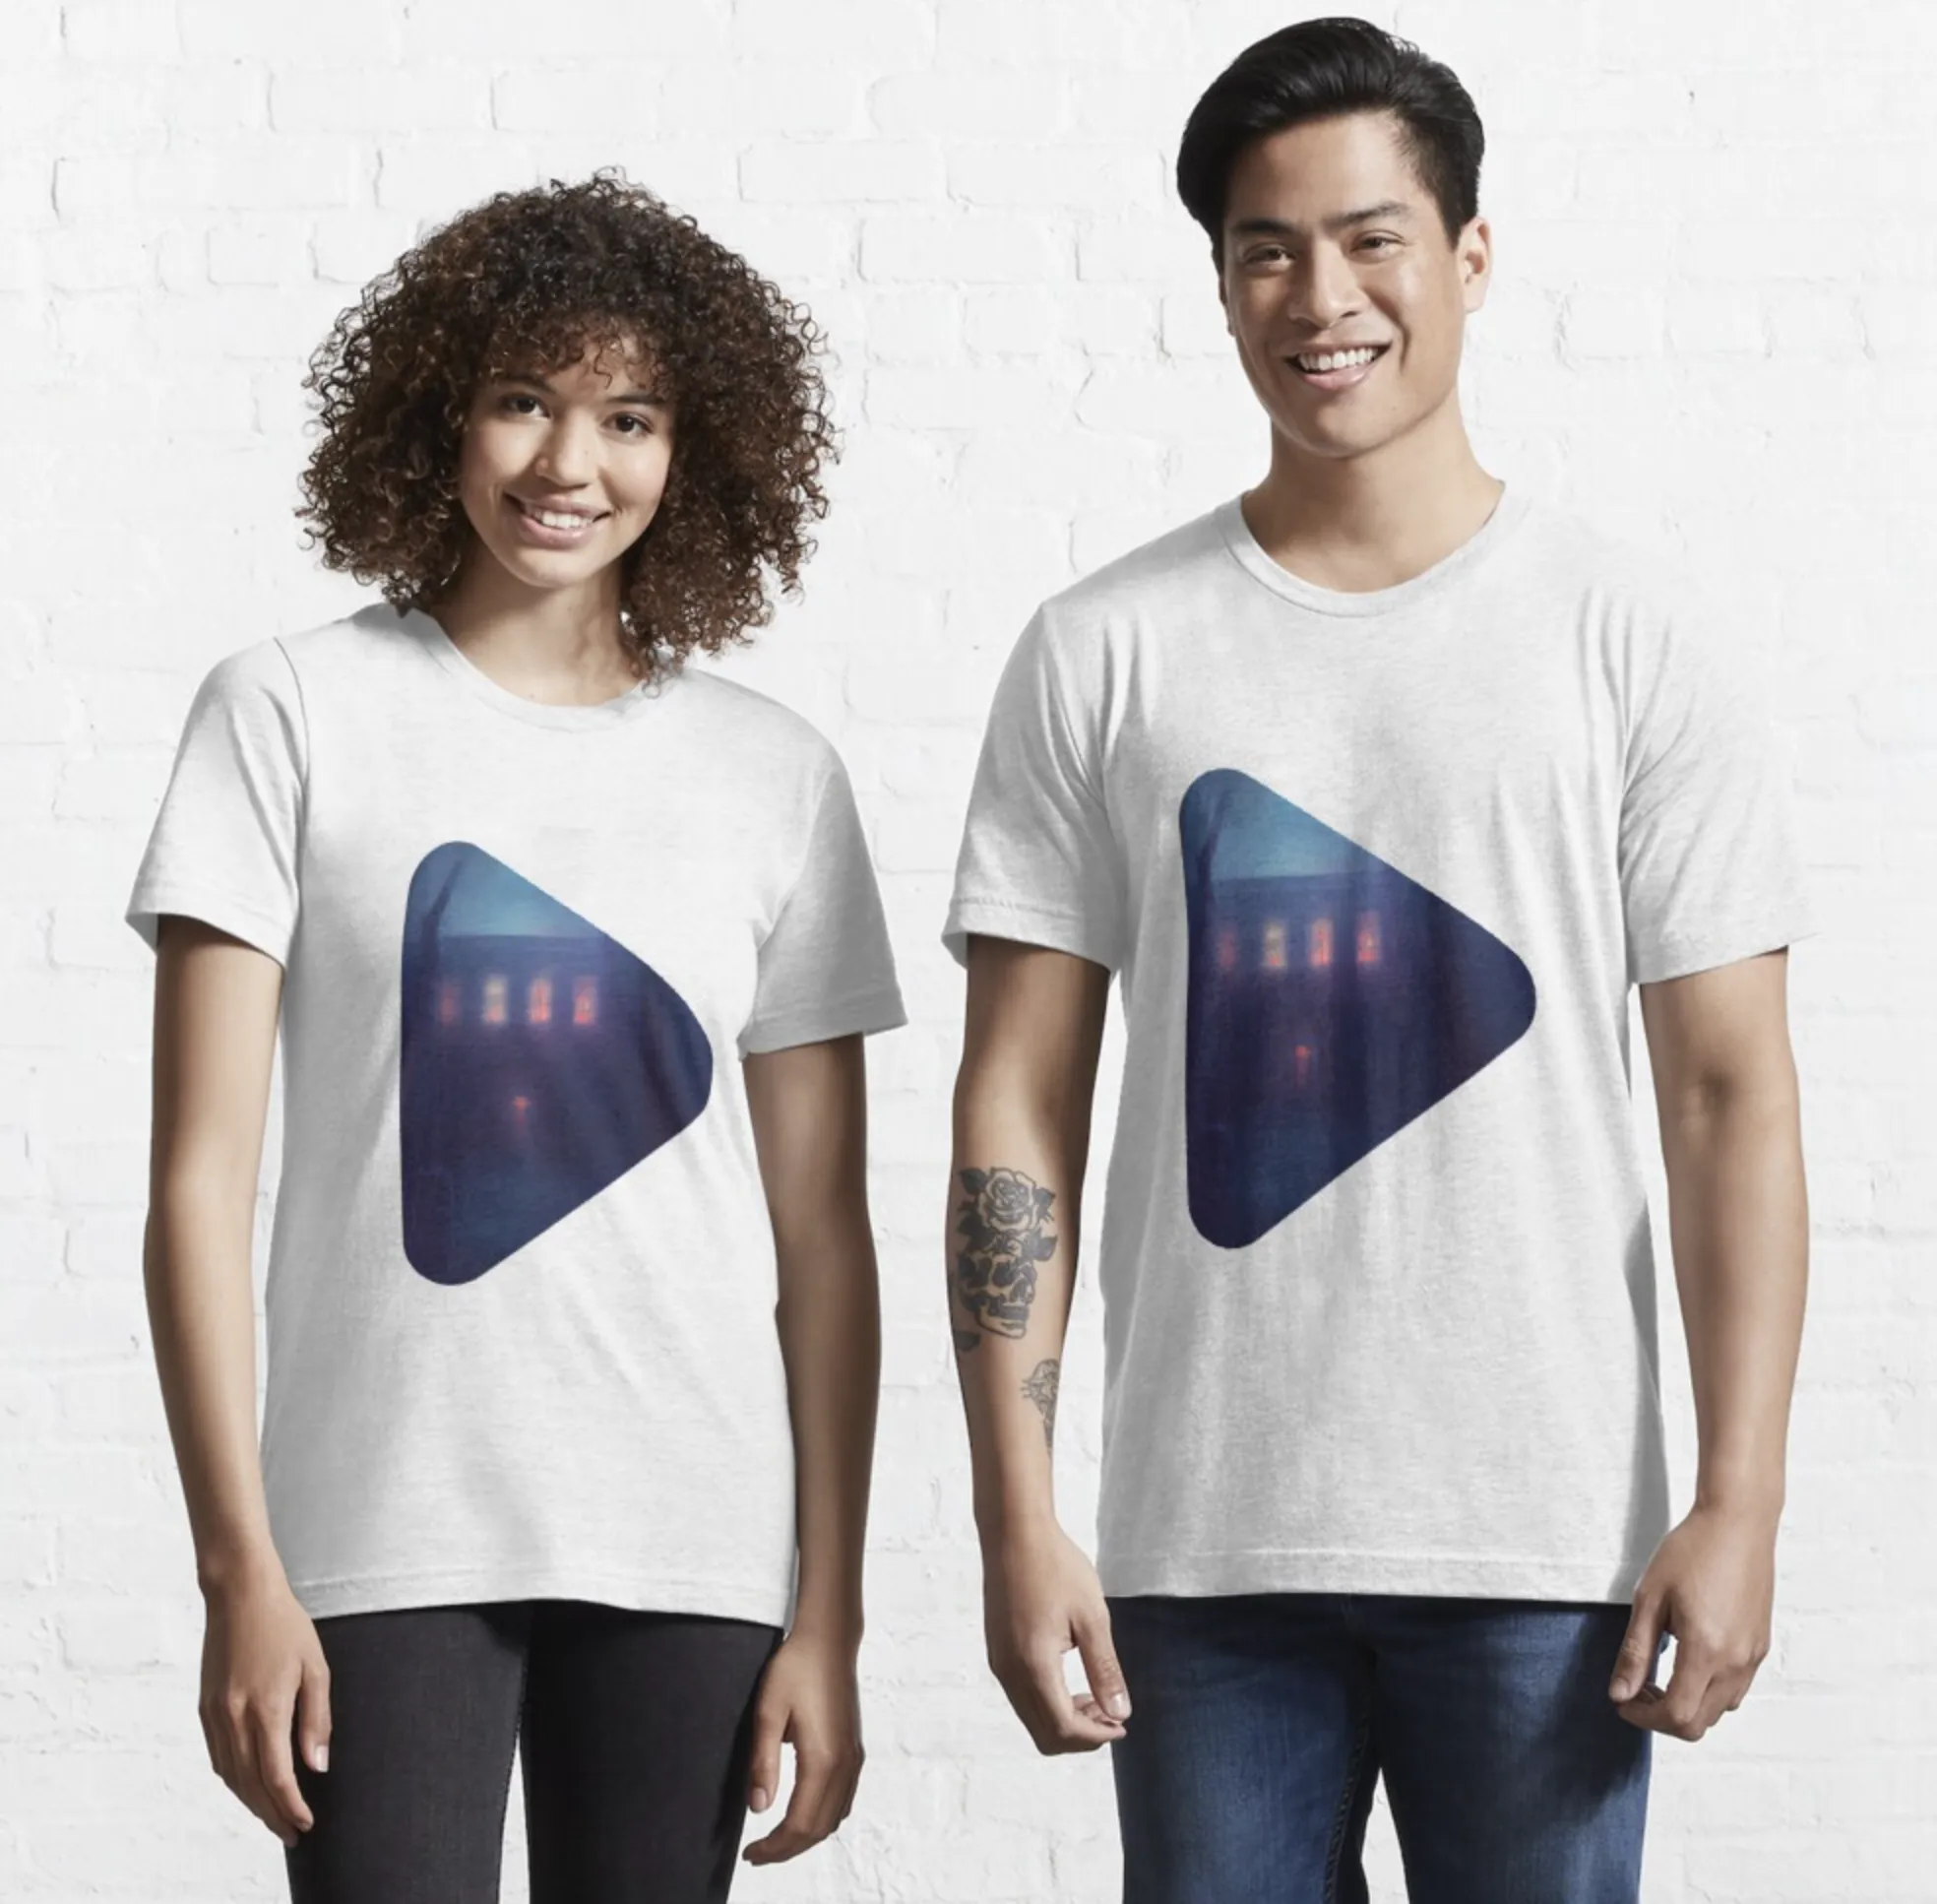
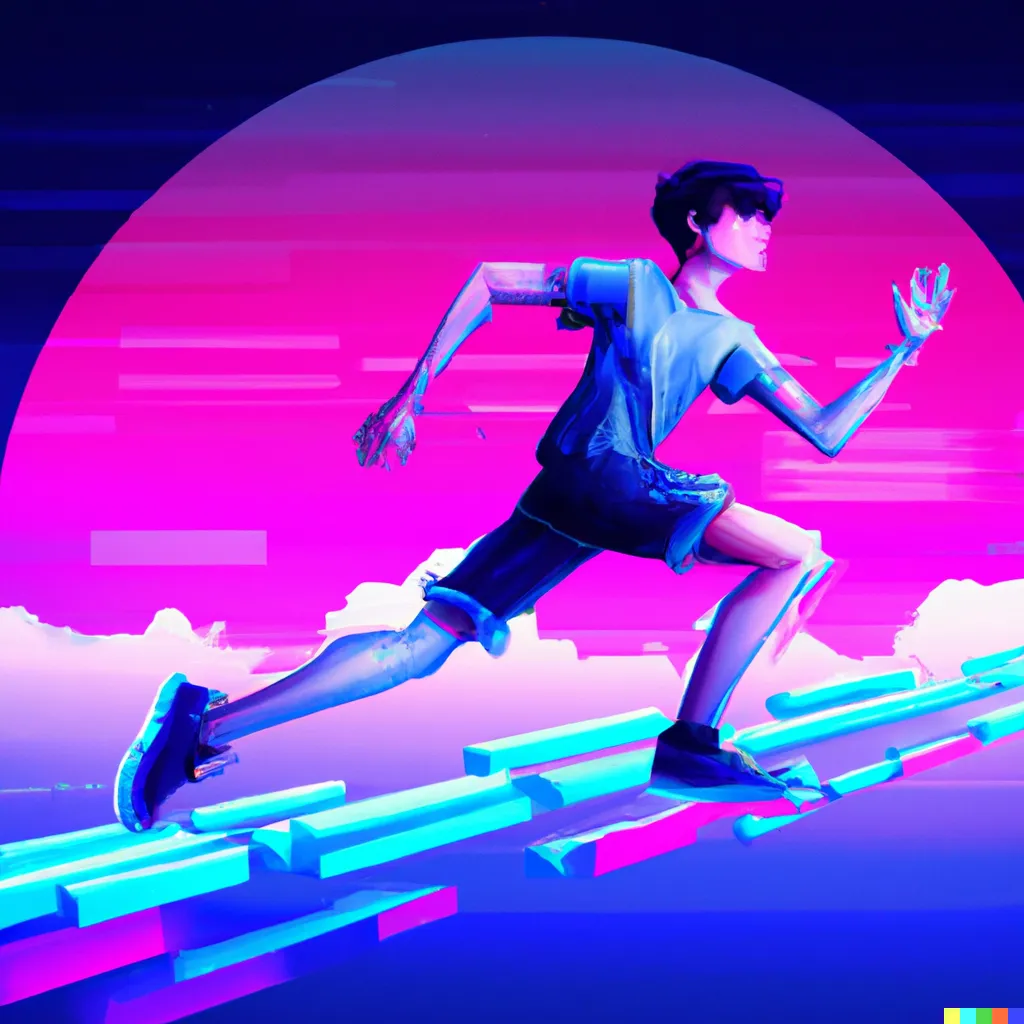
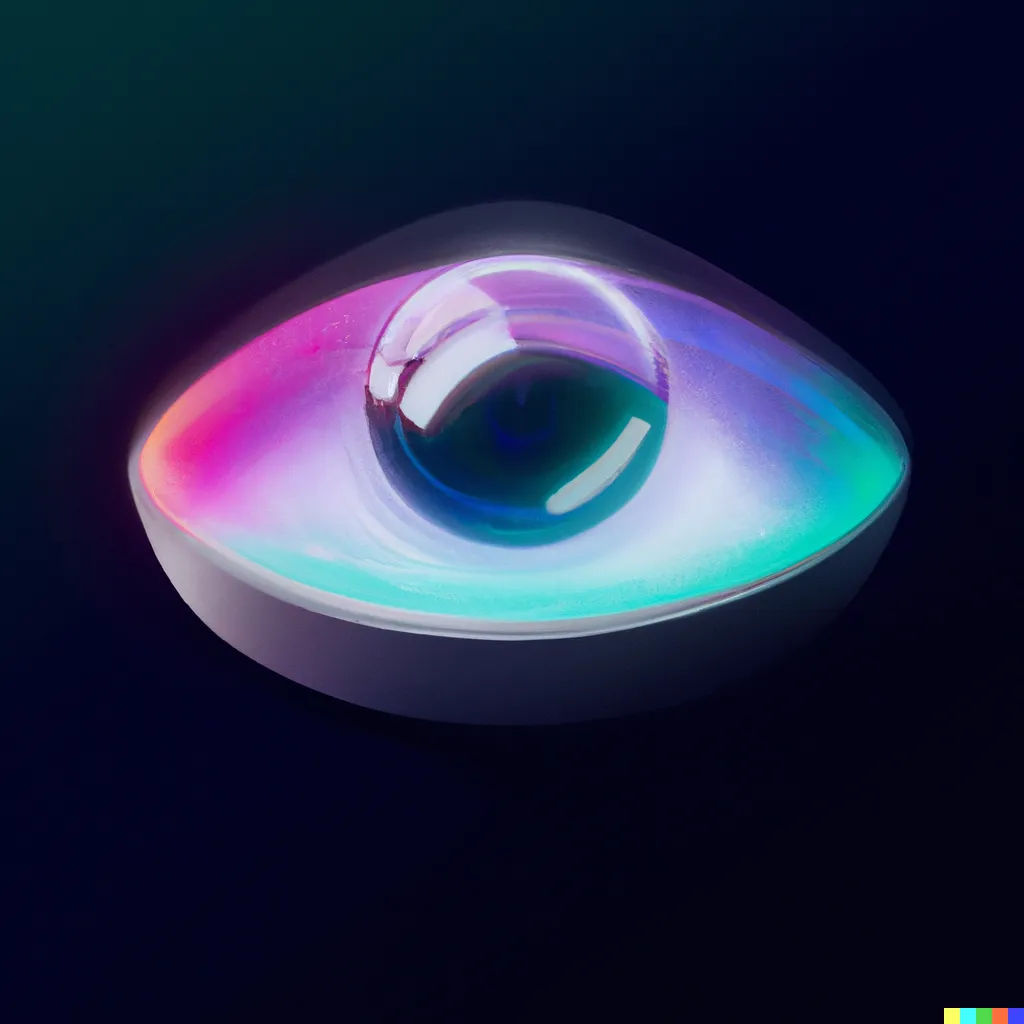
This is the first method, also shown in the video I’ve embedded from Instagram, and it is the most trivial one - take a random DALL-E drawn imagery, put it in a shape, and ship it. For example, I’ve taken this image:
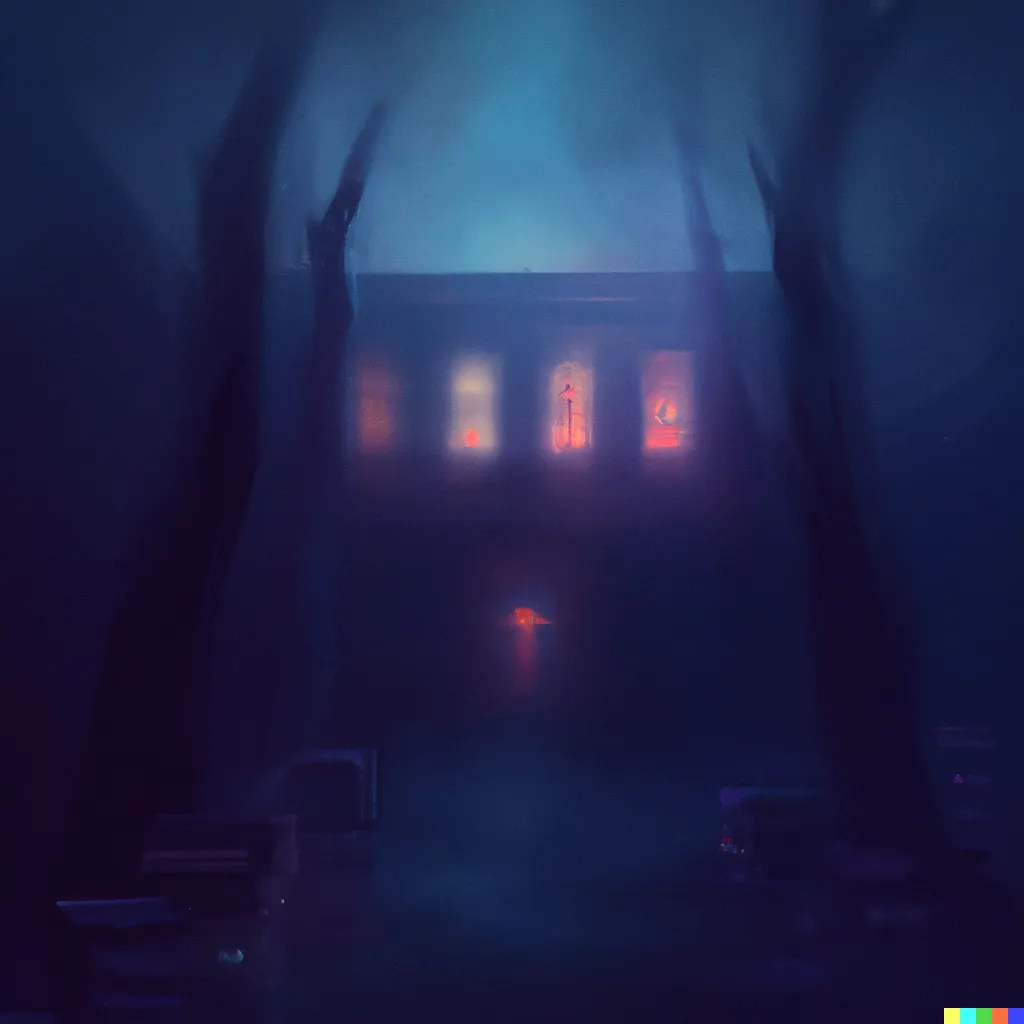
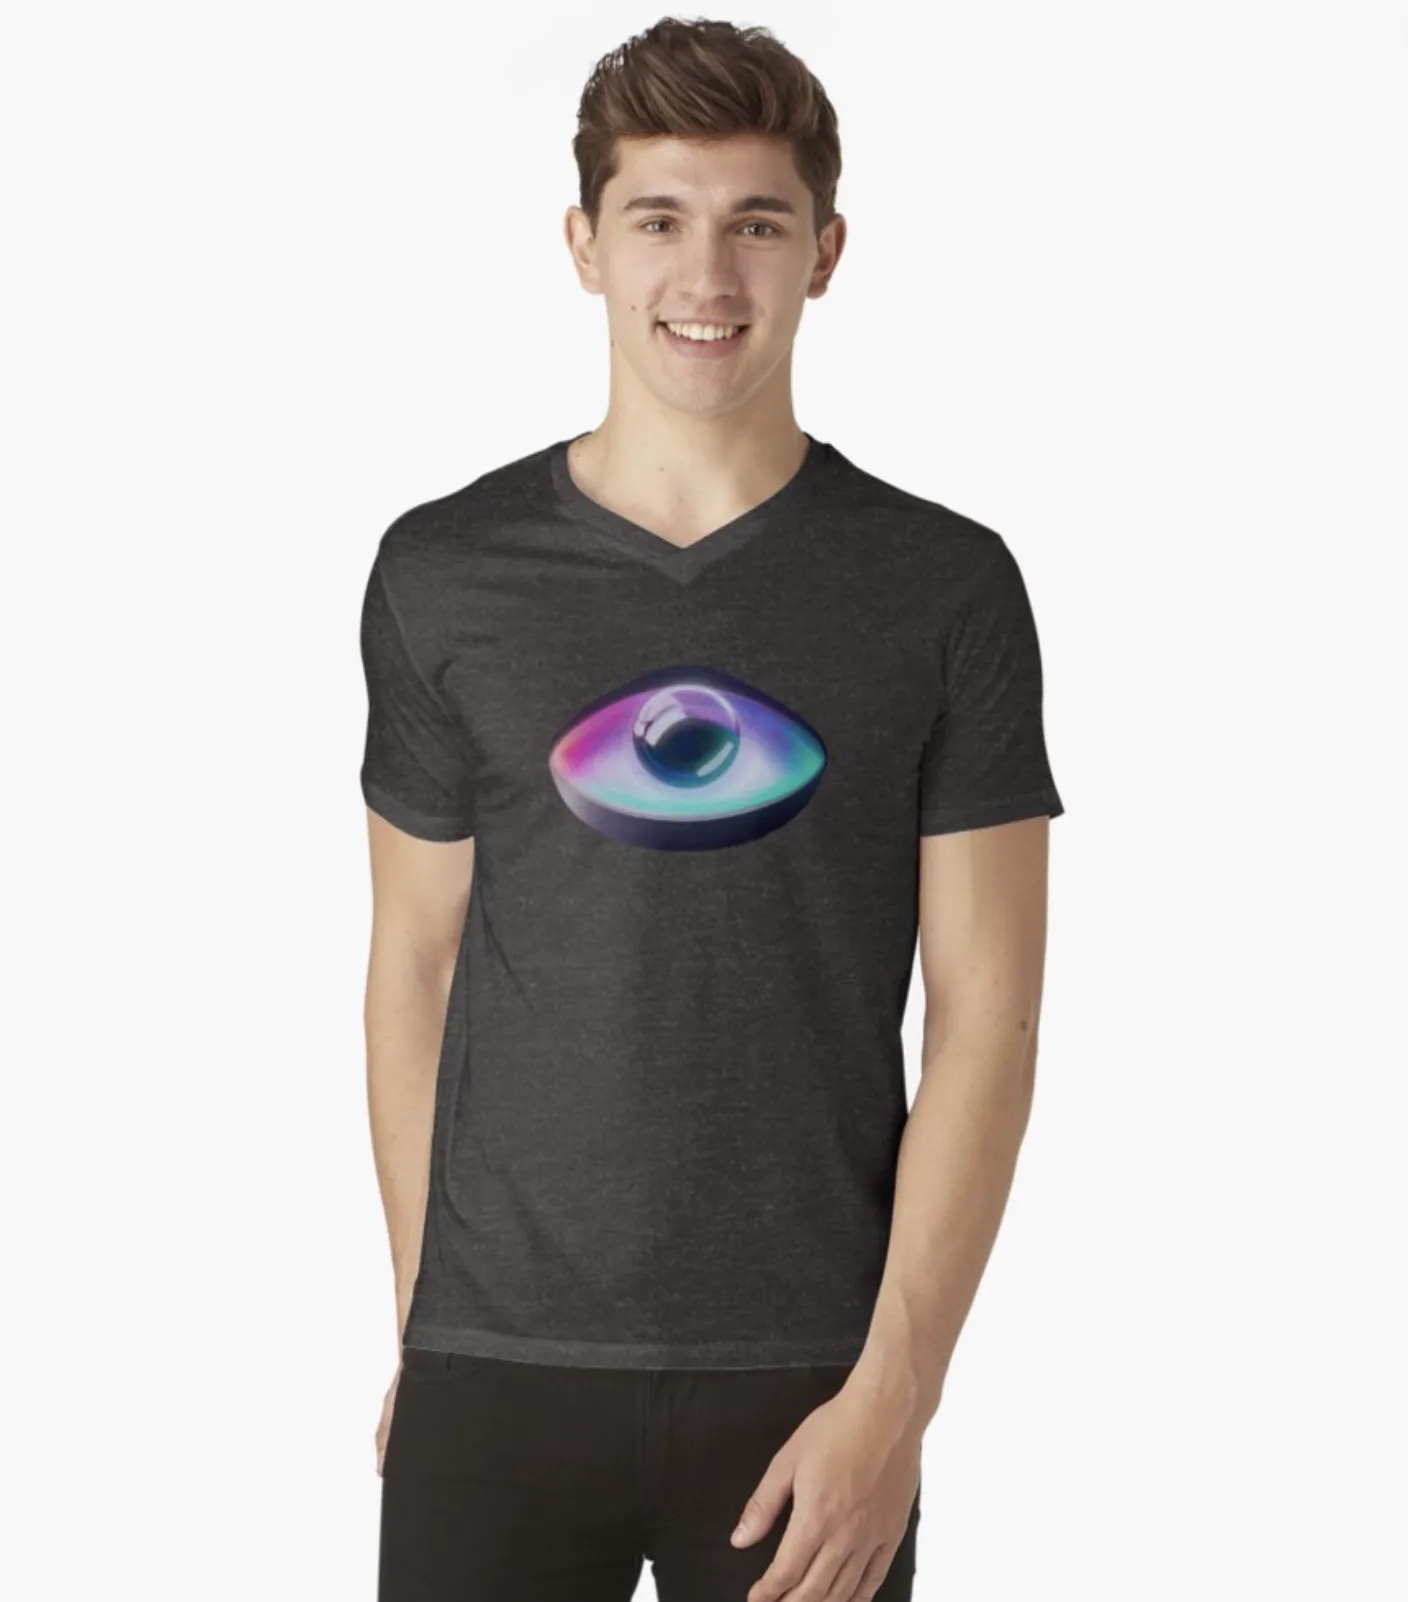
And used a triangular shape to create this shirt:
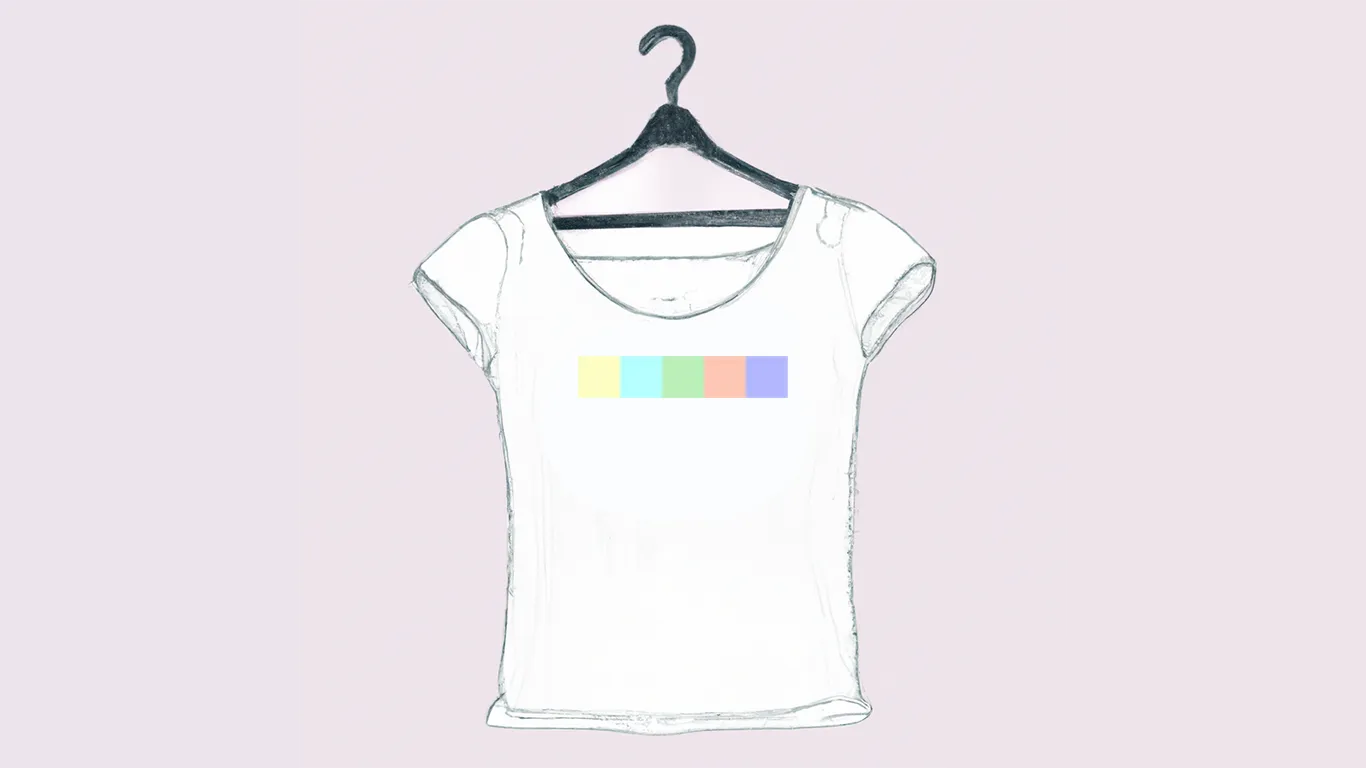
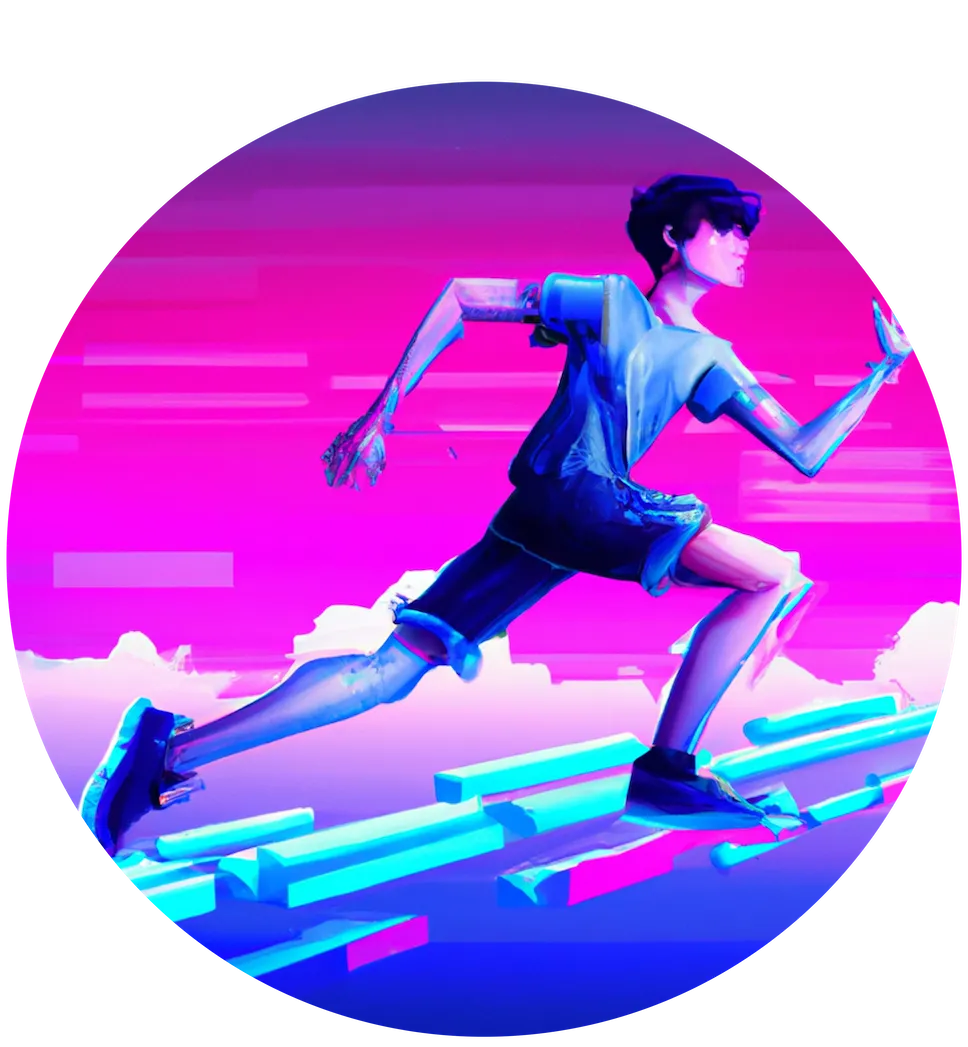
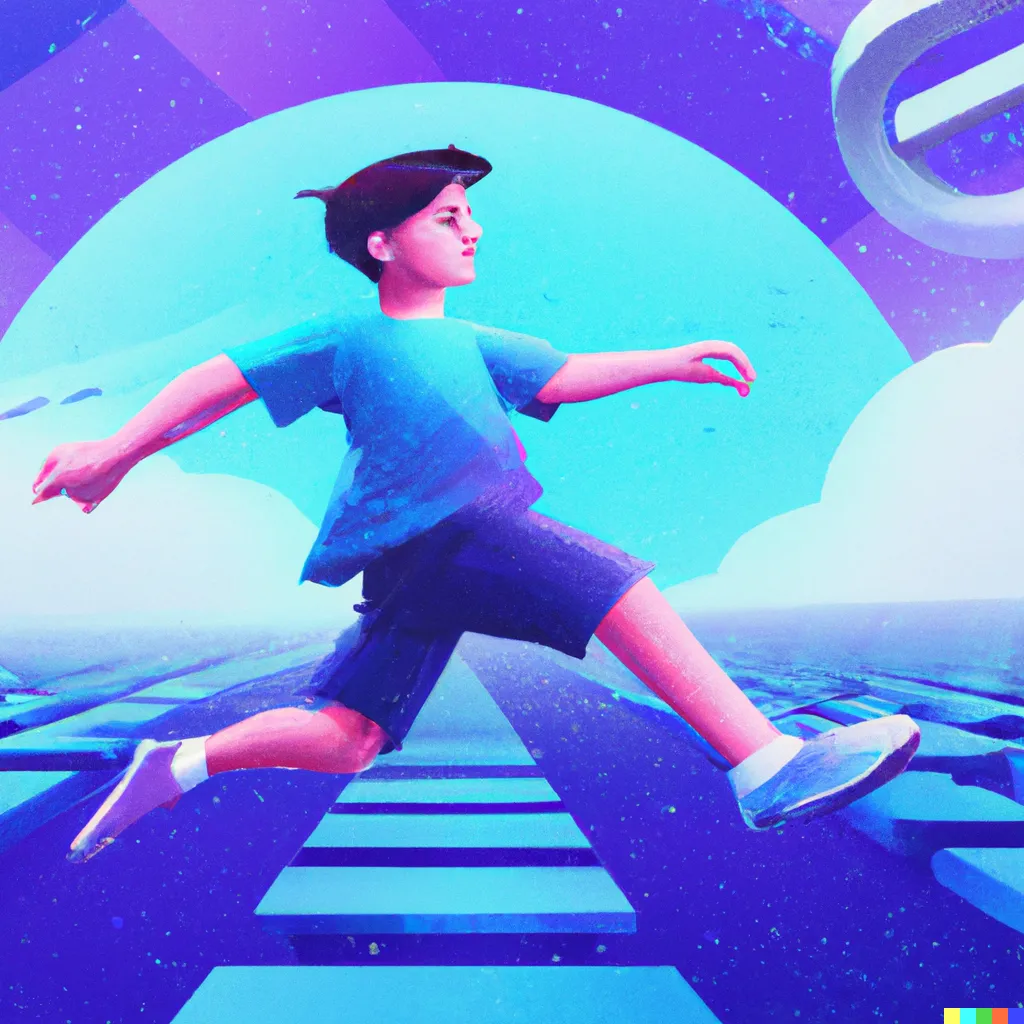
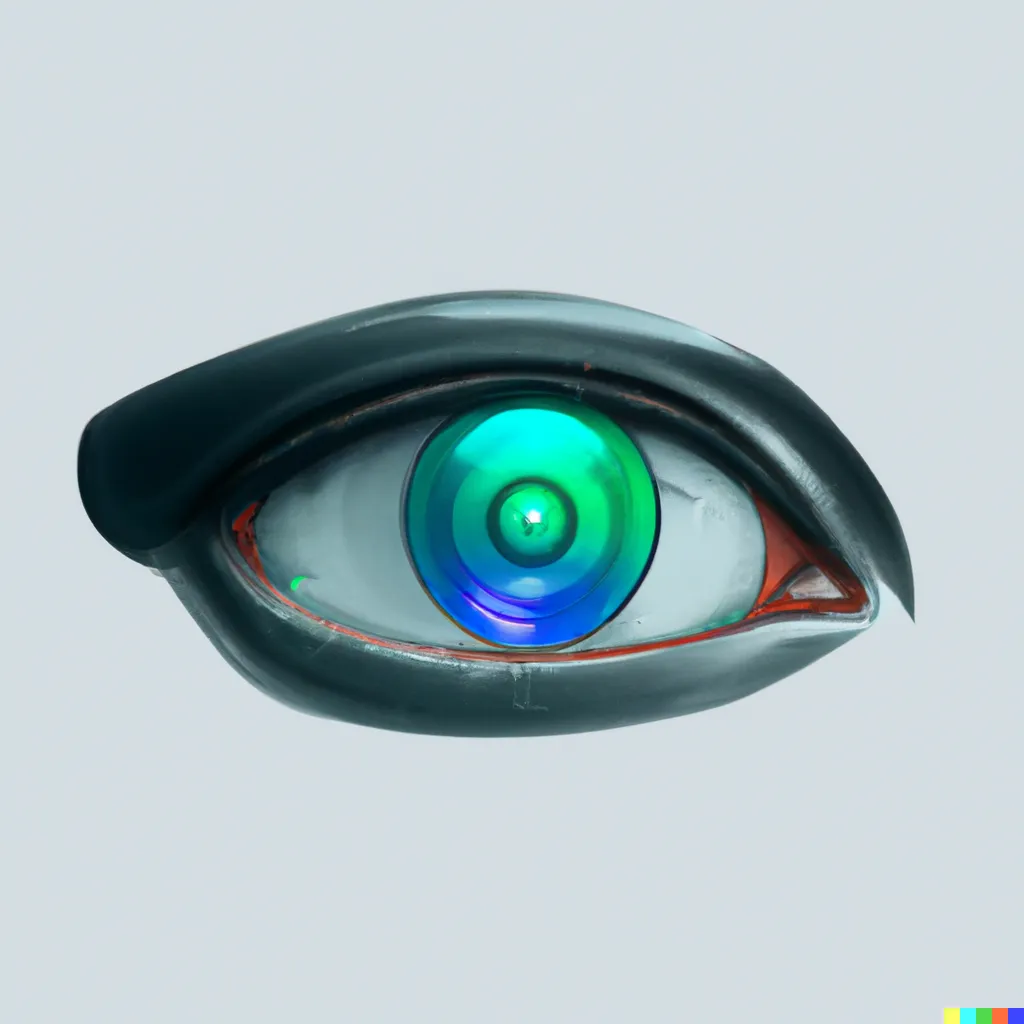
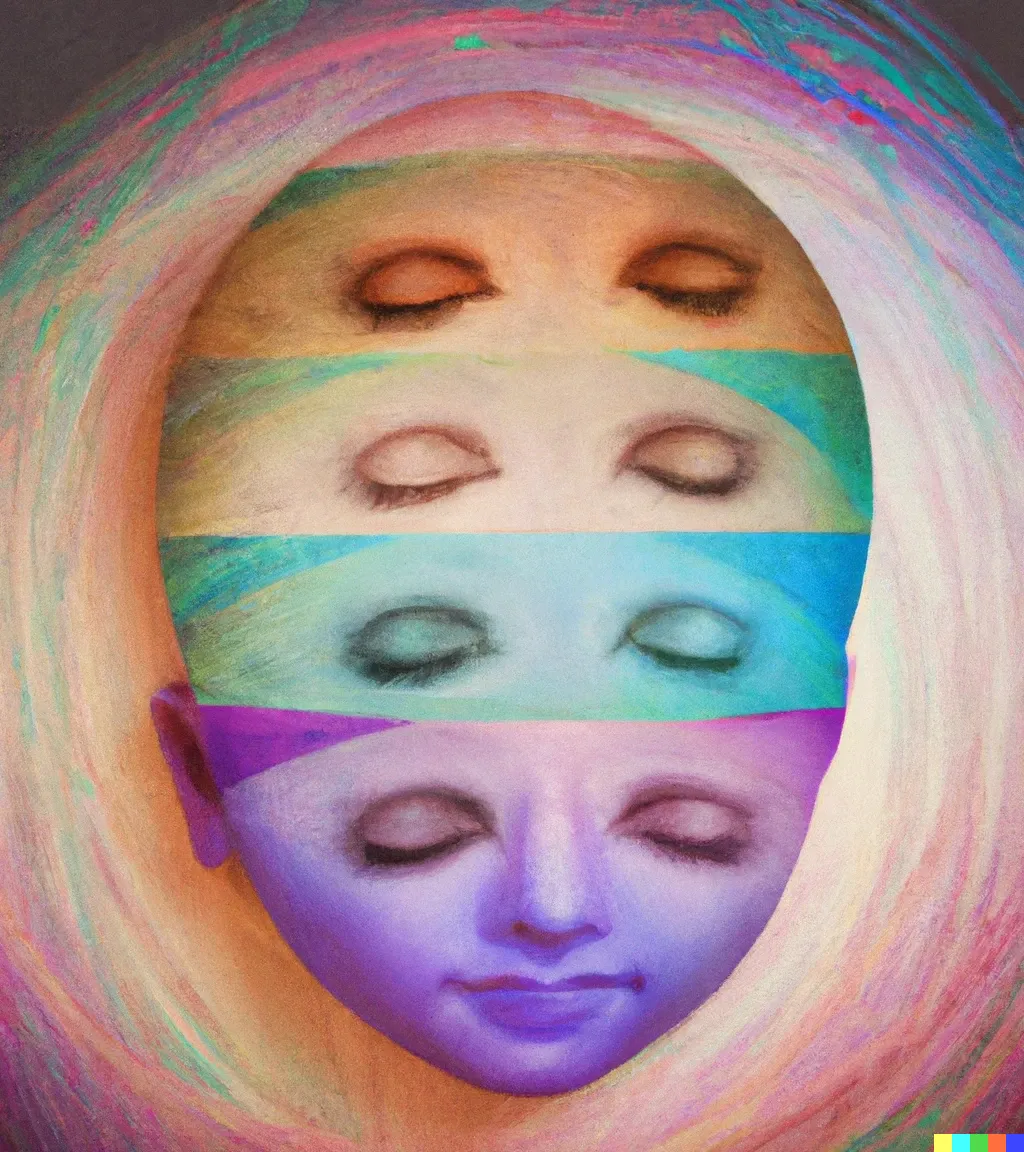
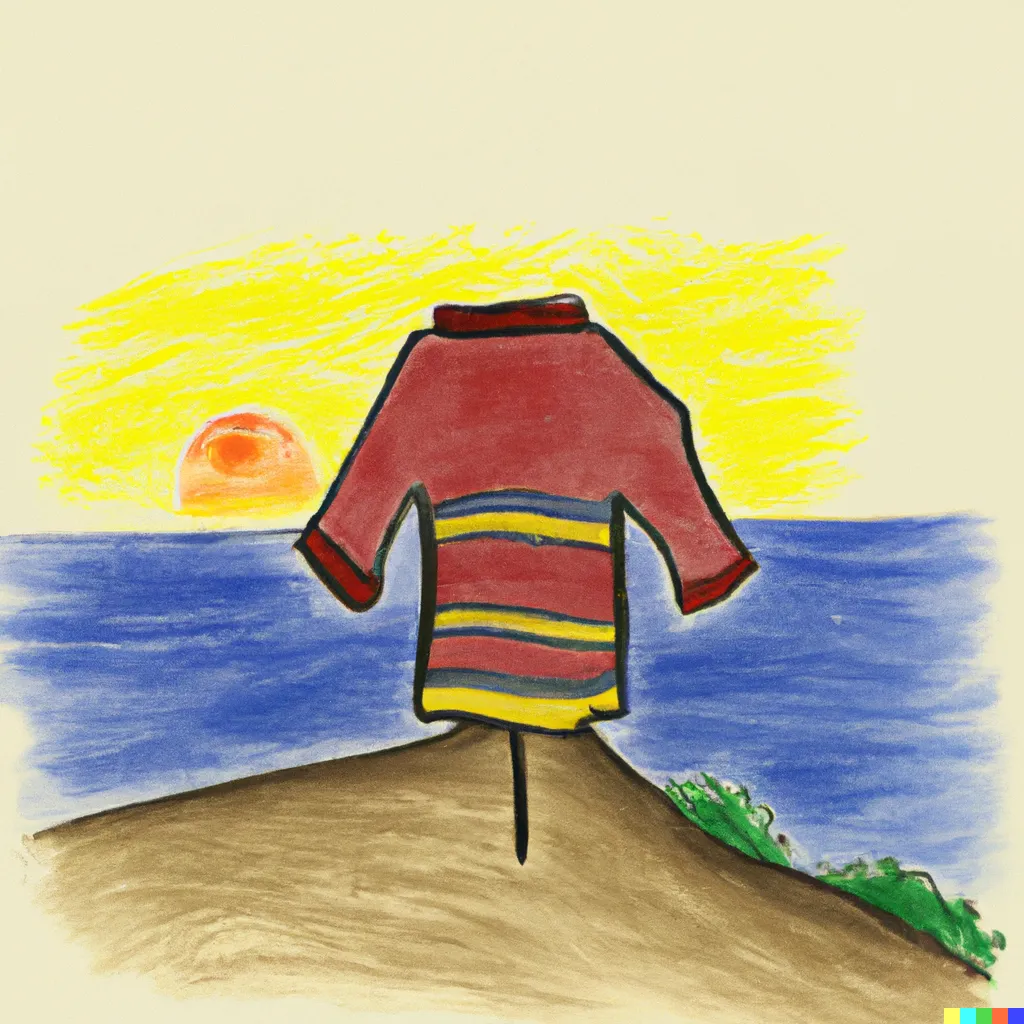
Another example is to use “naturally occurring” shapes from the images themselves. For example, I could take the oval that DALL-E created - unprompted - in this image:
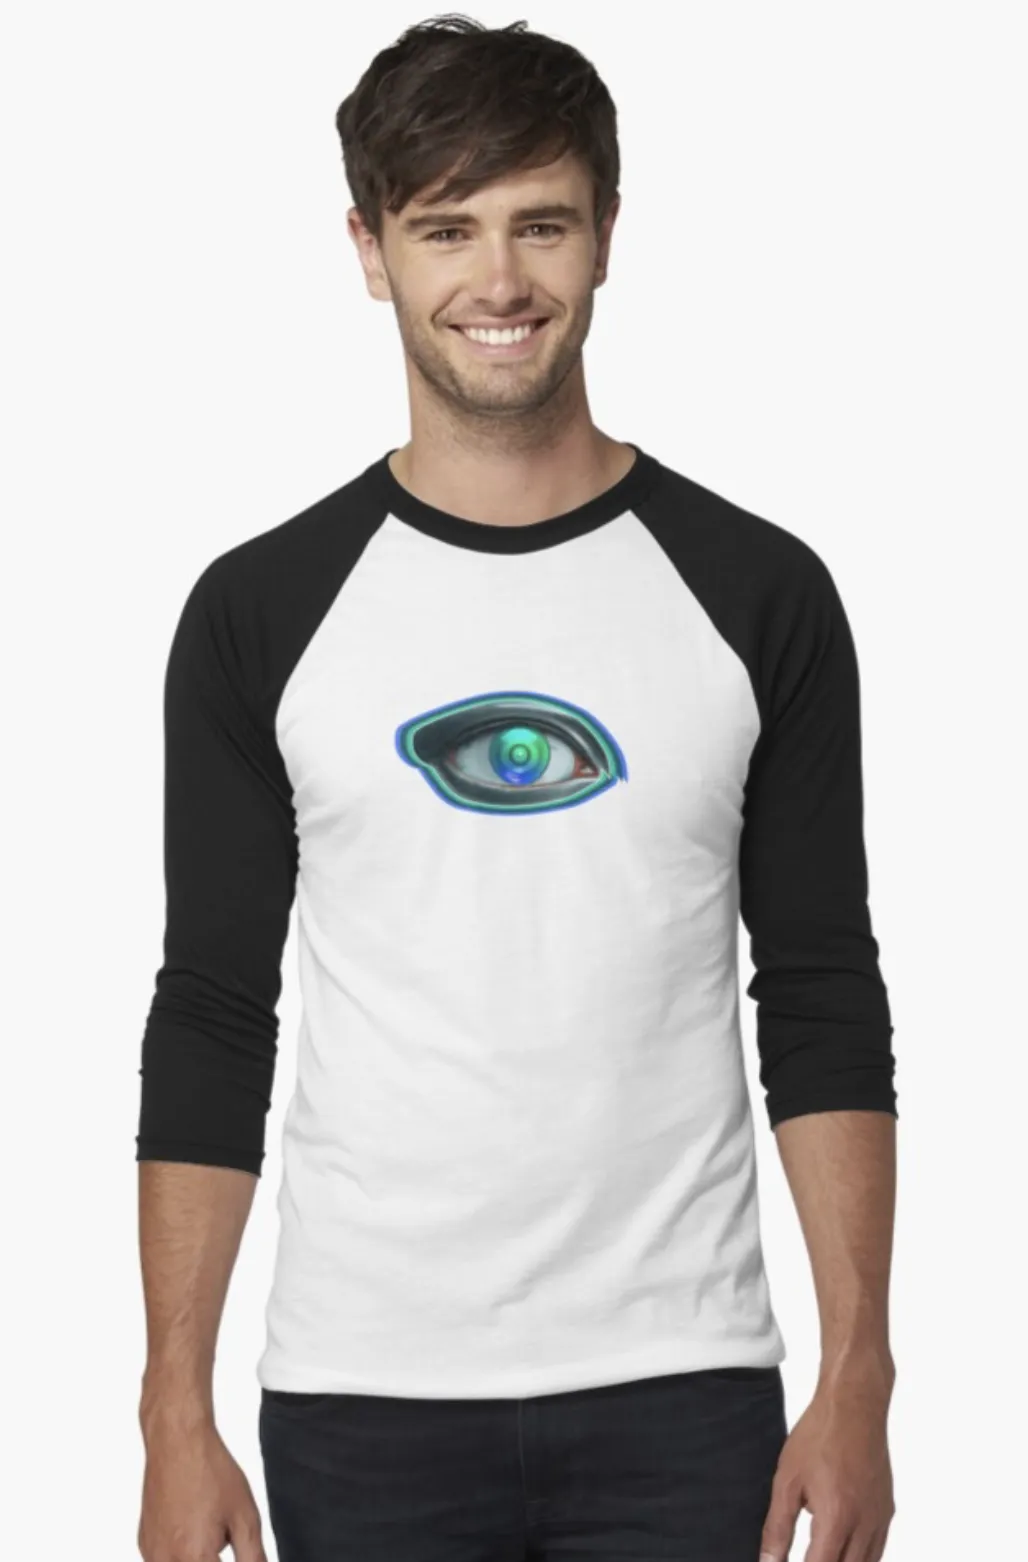
And use it to create an oval that can later be placed on a shirt:
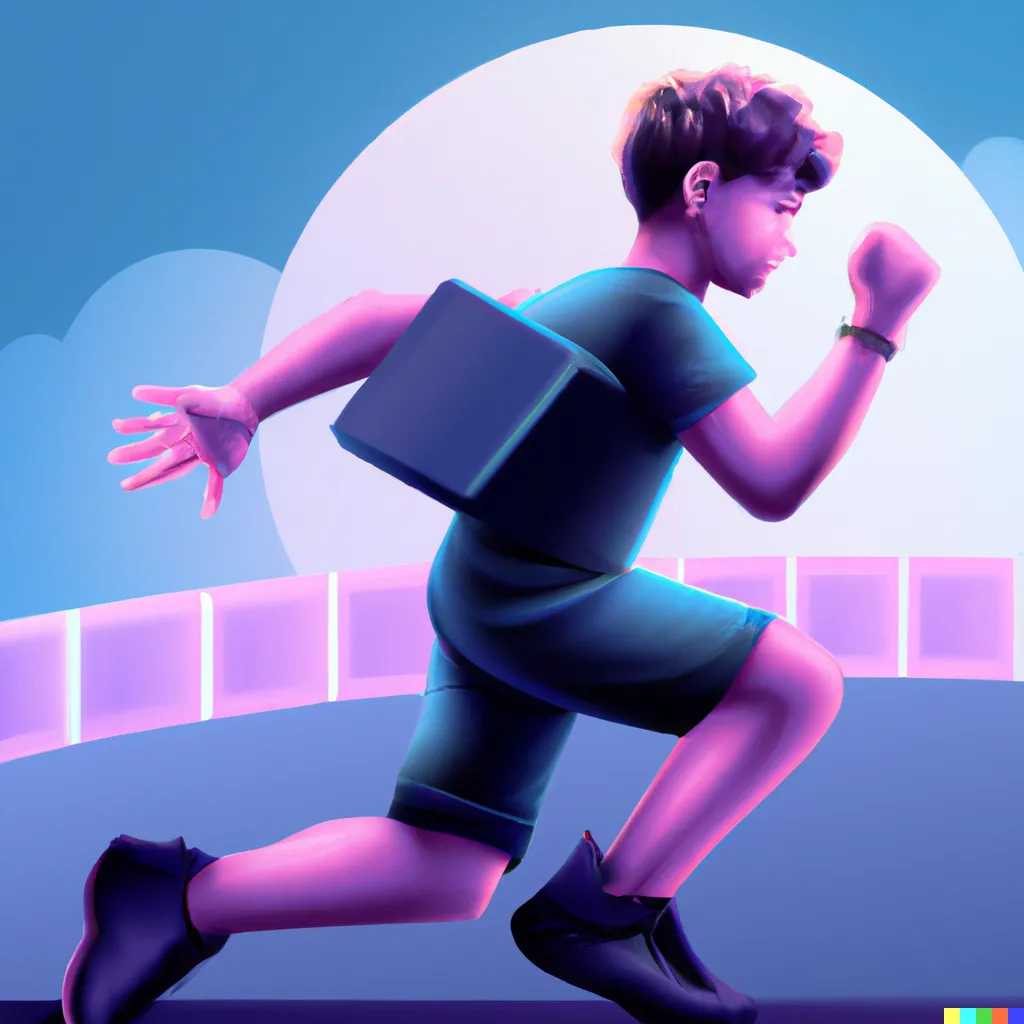
Of course, I could also try and synthetically create such shapes in the images by prompting DALL-E to do so. By adding “with an oval in the background” I’ve got similar images but with an explicit shape where I wanted it to be:
Method #2 - Sticker-izing
I call this method Sticker-izing because it reminds me of art forms I have seen being made with stickers. The idea is to take an image created by DALL-E, crop it to only hold the most prominent subject in it, and then play with it.
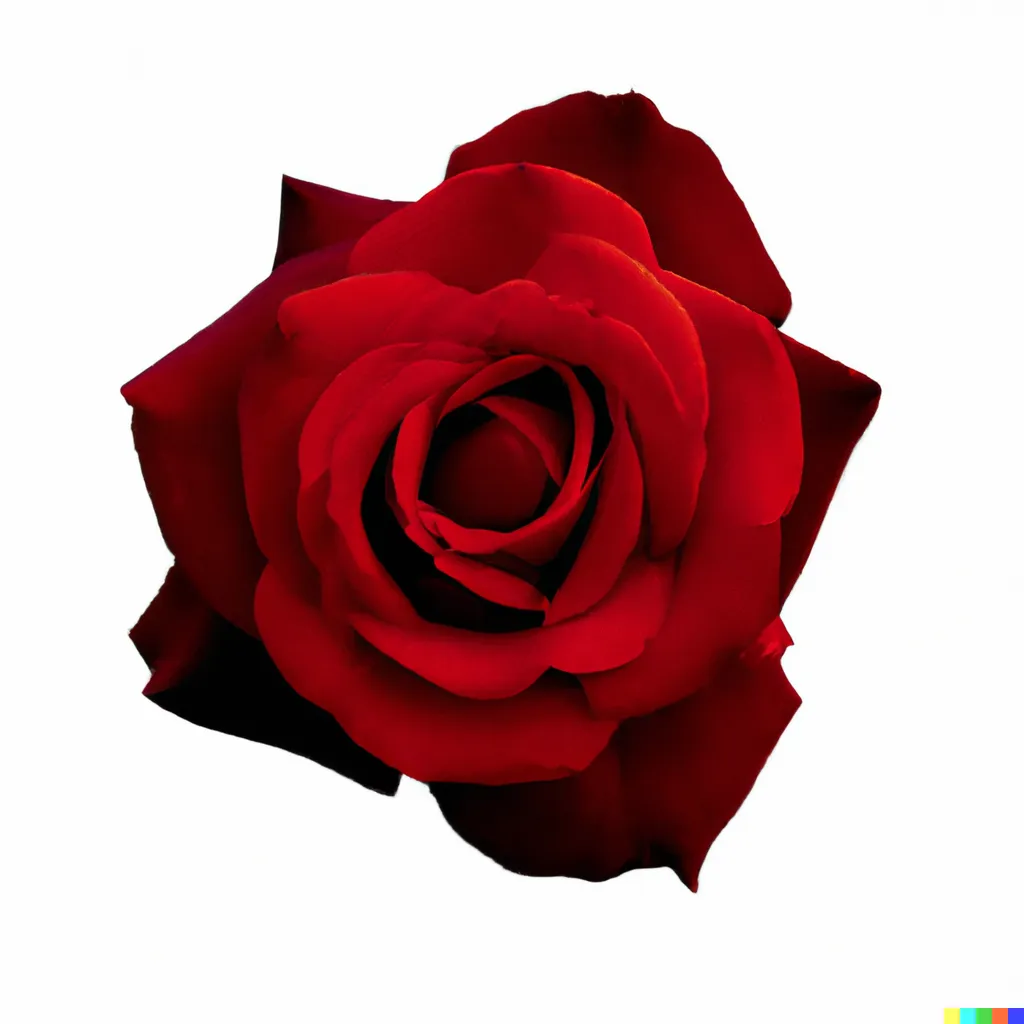
The simplest form of this would be to do nothing else but remove DALL-E’s background from the image.
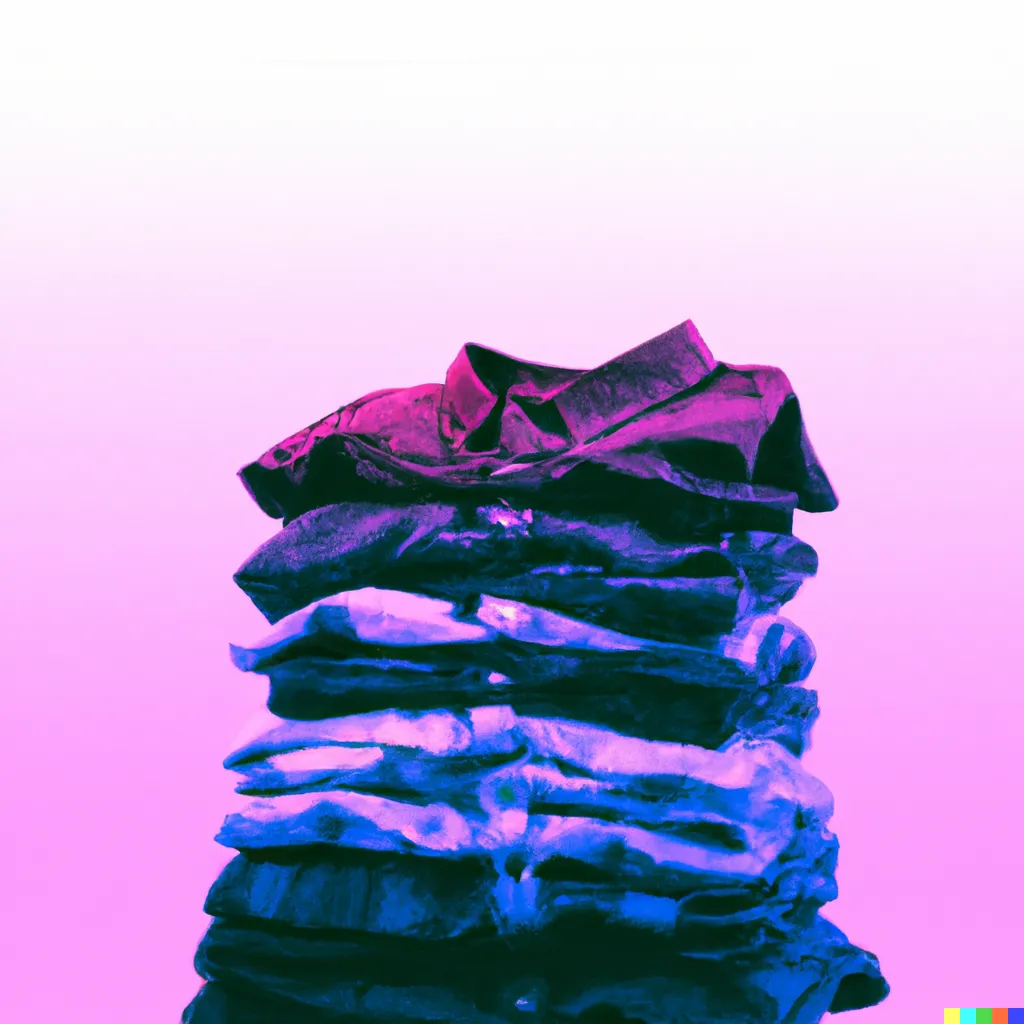
For example, I’ve taken this design:
And stripped out the background, allowing me to use it freely on many shirt colors:
Another option is to take the subject and have it outlined. Making this:
Into this:
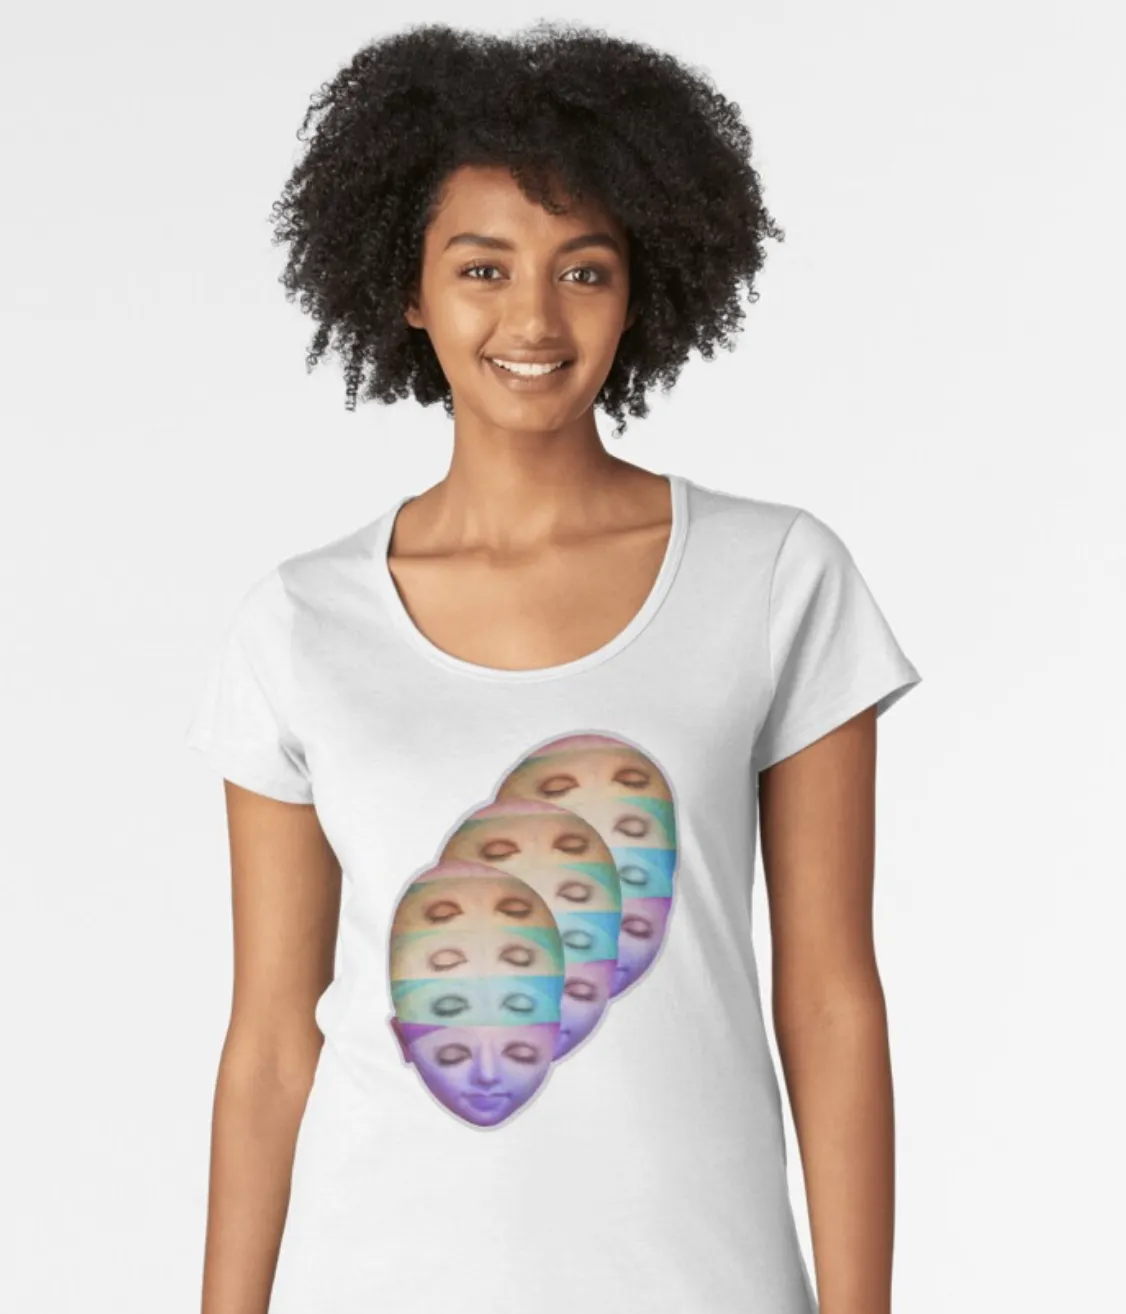
Finally, a third option is to use multiplication and placement of the same object in order to create nice compositions. Of course, this idea gained popularity thanks to Andy Warhol’s works, but it works just the same for DALL-E’s works, taking us from this:
To this:
Method #3 - Have DALL-E do the hard work
After doing a few of these I became annoyed with something. Why would I have to do all the hard work of cutting these when they are all computer generated? Shouldn’t the computer do the heavy lifting for me? Then I realized - why wouldn’t it?
By using more thoughtfully worded prompt, I was able to come up with a system to have DALL-E create stickerization ready images at scale. The secret sauce? I made my usual prompts, but added the following at the end:
solid well defined black border, solid white background
It worked like magic. I was able to have results such as the following:
While they all look great, some of them require additional work - specifically, they require some outpointing.
Outpainting is the process of taking DALL-E’s 1024x1024 generated images and creating additional pixels around it. From their announcement of the feature:
With Outpainting, users can extend the original image, creating large-scale images in any aspect ratio. Outpainting takes into account the image’s existing visual elements — including shadows, reflections, and textures — to maintain the context of the original image.
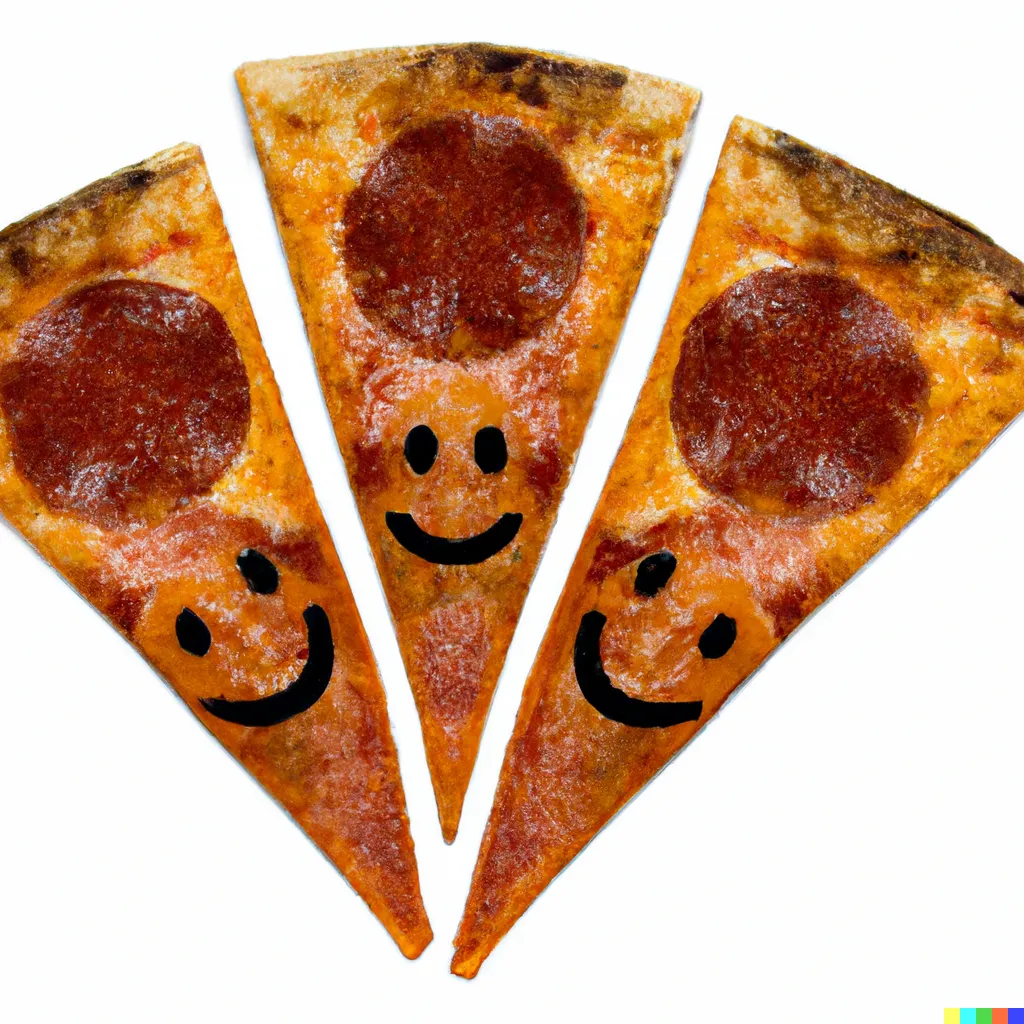
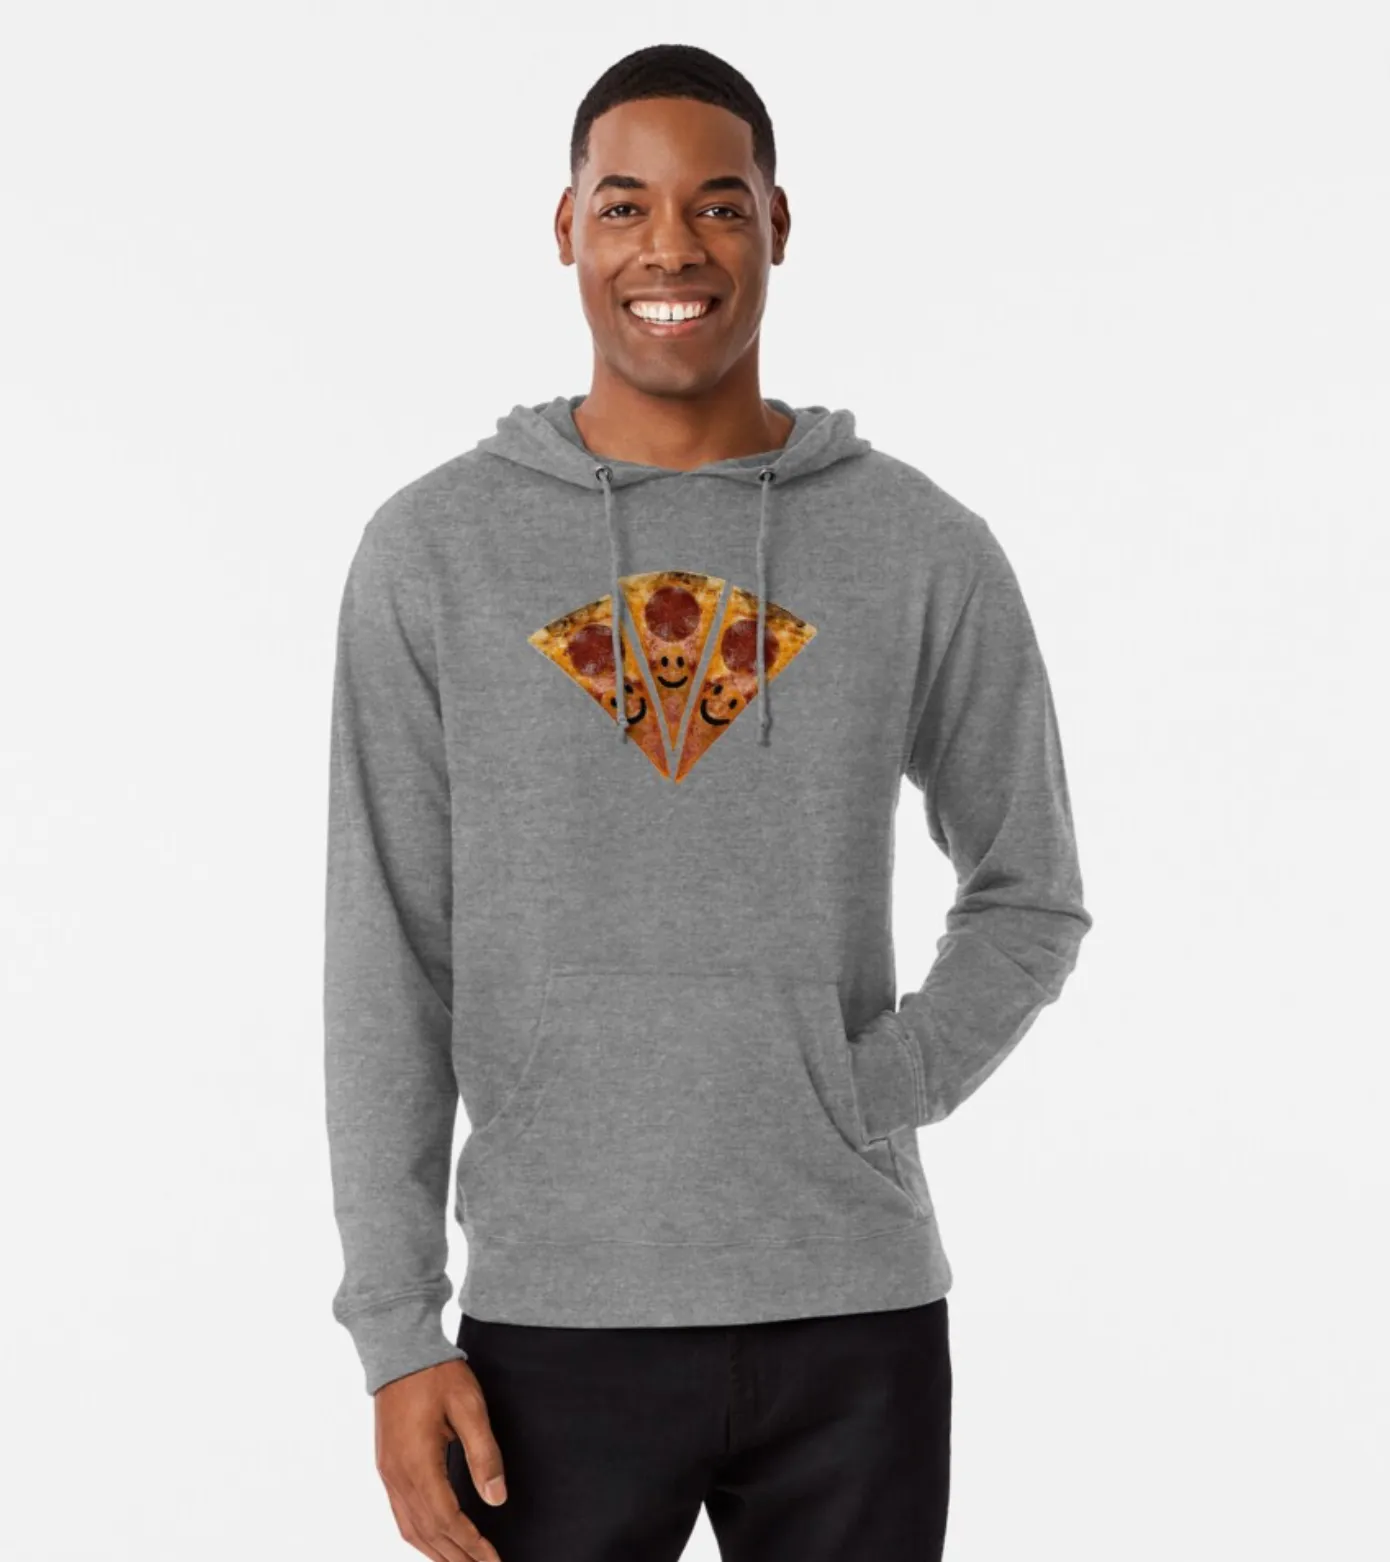
Let’s take the pizza slices as an example. As you can see above, the right and left slices are cut - which is a bummer, as we would’ve wanted the whole gang to be fully visible on our shirt. After using the Outpainting process, we get the full picture:

Now, we can finally and properly use this image on a shirt:
Conclusion
These are just some fun experiments I made over one morning. Obviously, the potential of AI-Generated art is overwhelmingly large and it is very exciting to live at times where this is at all possible. I hope that we will see more artists (hopefully some with better design skills then myself) use this technology more and more and unlock its potential.
I, for one, am very excited to see what they will create.
FIN